在設計餐飲程式時,會遇到外接第二螢幕做為客戶顯示或展示廣告。在Delphi如何撰寫?
判斷系統螢幕數量
[pascal]
screen.MonitorCount
[/pascal]
將畫面移至第N螢幕(第一螢幕為0、第二螢幕為1…..)
[pascal]
self.Top := screen.Monitors[0].Top;
self.left := screen.Monitors[0].left;
[/pascal]
大型網站架構..net 架構師.rabbitMQ.redis.行動開發.APP開發教學.PHP Laravel開發..net core C# 開發.架構師之路.Delphi開發.資料庫程式.進銷存.餐飲POS系統
在設計餐飲程式時,會遇到外接第二螢幕做為客戶顯示或展示廣告。在Delphi如何撰寫?
判斷系統螢幕數量
[pascal]
screen.MonitorCount
[/pascal]
將畫面移至第N螢幕(第一螢幕為0、第二螢幕為1…..)
[pascal]
self.Top := screen.Monitors[0].Top;
self.left := screen.Monitors[0].left;
[/pascal]
uses System.DateUtils;
[pascal]
// 取得某一天所在的星期一及星期天
procedure TForm1.Button1Click(Sender: TObject);
var dw1,dw7,dnow:tdatetime;
begin
dnow:=StrtoDatetime(edtnow.Text);
dw1:=(StartOfTheWeek(dnow));
edtw1.Text := Datetimetostr(dw1);
dw7:=(Endoftheweek(dnow));
edtw7.Text := Datetimetostr(dw7);
end;
[/pascal]
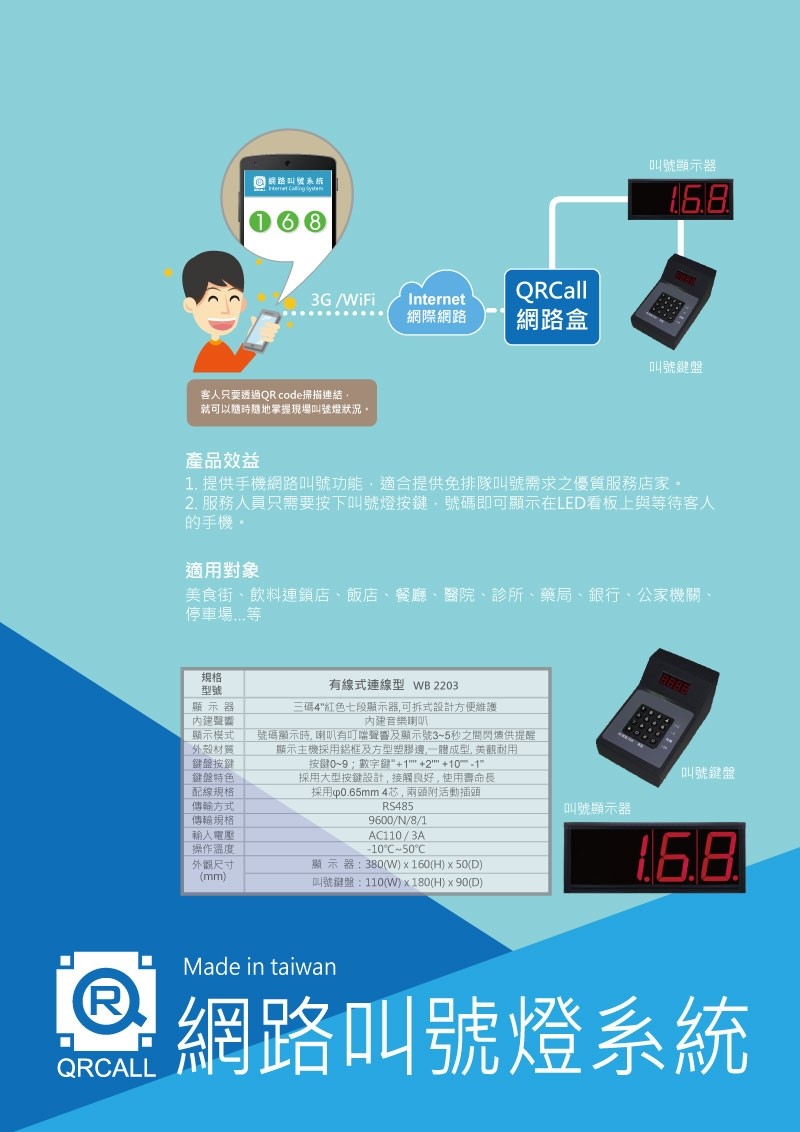
好久沒更新部落格了!最近正陷入結案地獄中,不過在網路上看到之前曾提過的取餐叫號器的廠商,引進了新的雲端叫號系統。對於餐飲POS系統的服務又更加升級了,可以先電話預約訂購後,再透過網路知道目前的叫號,在接近時再繞過去拿就行了!這也可以運用在醫療系統上,在預約掛號後,知道目前的叫號號碼。分享給大家!

早上看到大陸網友留言發問,在Delphi的VCL架構中,只要Screen.Fonts就可以取得系統的字型列表,那在FMX(FireMonkey)架構裡沒有Screen.Fonts,該如何取得系統的字型列表呢?壽山做了一個簡單的程式做回應跟說明囉:)
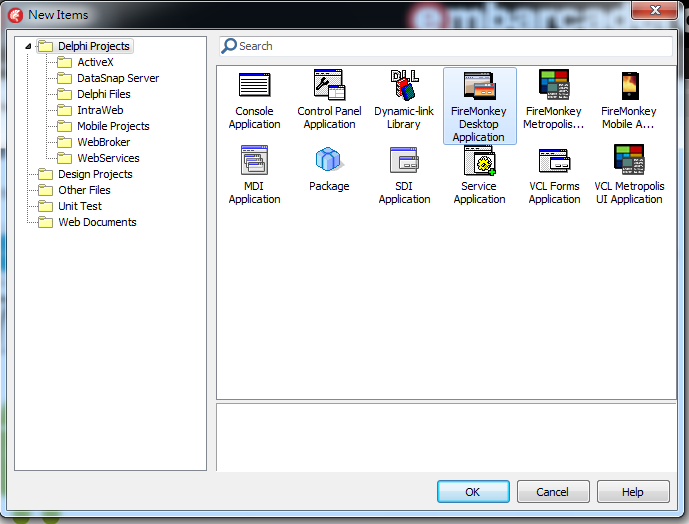
首先我們新增一個FireMonkey Desktop Application專案
接著在畫面上放三個元件,Listbox、Label以及Button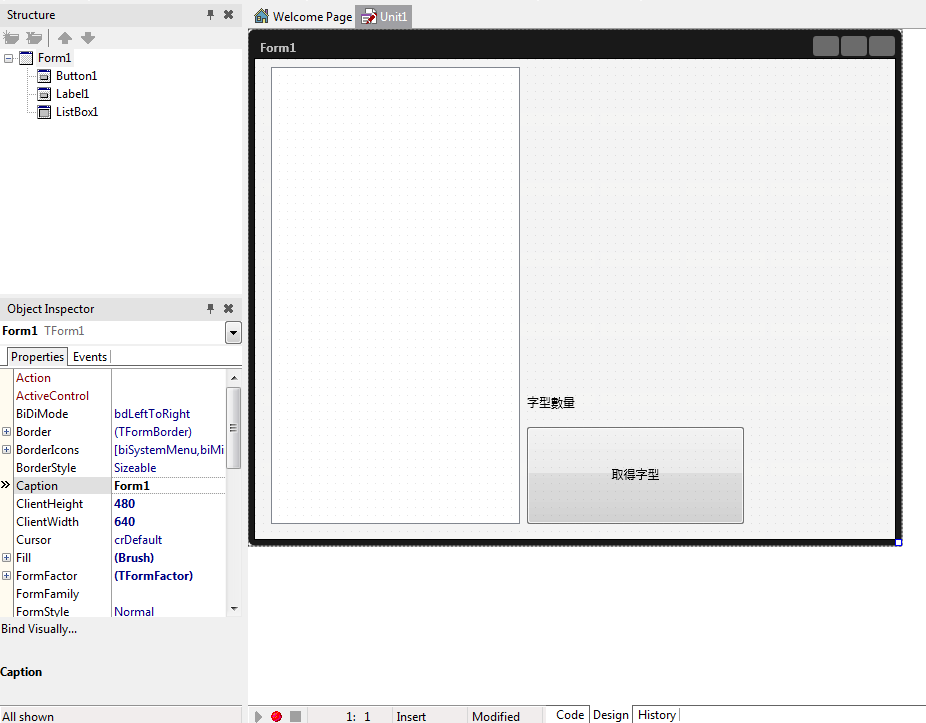
首先,在Uses的下面加上
  {$IFDEF MACOS}
  MacApi.Appkit,Macapi.CoreFoundation, Macapi.Foundation,
  {$ENDIF}
  {$IFDEF MSWINDOWS}
  Winapi.Messages, Winapi.Windows,
  {$ENDIF}
接著我們要寫一個CollectFonts的函數,讓程式在不同平台可以抓到字型。
主要運用的技巧是
Mac OS裡的NSFontManager
Windows裡的EnumFontFamiliesEx
{$IFDEF MSWINDOWS}
function EnumFontsProc(var LogFont: TLogFont; var TextMetric: TTextMetric;
  FontType: Integer; Data: Pointer): Integer; stdcall;
var
  S: TStrings;
  Temp: string;
begin
  S := TStrings(Data);
  Temp := LogFont.lfFaceName;
  if (S.Count = 0) or (AnsiCompareText(S[S.Count-1], Temp) <> 0) then
    S.Add(Temp);
  Result := 1;
end;
{$ENDIF}

procedure CollectFonts(FontList: TStringList);
var
{$IFDEF MACOS}
  fManager: NsFontManager;
  list:NSArray;
  lItem:NSString;
{$ENDIF}
{$IFDEF MSWINDOWS}
  DC: HDC;
  LFont: TLogFont;
{$ENDIF}
  i: Integer;
begin
  {$IFDEF MACOS}
    fManager := TNsFontManager.Wrap(TNsFontManager.OCClass.sharedFontManager);
    list := fManager.availableFontFamilies;
    if (List <> nil) and (List.count > 0) then
    begin
      for i := 0 to List.Count-1 do
      begin
        lItem := TNSString.Wrap(List.objectAtIndex(i));
        FontList.Add(String(lItem.UTF8String))
      end;
    end;
  {$ENDIF}
  {$IFDEF MSWINDOWS}
    DC := GetDC(0);
    FillChar(LFont, sizeof(LFont), 0);
    LFont.lfCharset := DEFAULT_CHARSET;
    EnumFontFamiliesEx(DC, LFont, @EnumFontsProc, Winapi.Windows.LPARAM(FontList), 0);
    ReleaseDC(0, DC);
  {$ENDIF}
end;
最後在Button1Click事件加上
procedure TForm1.Button1Click(Sender: TObject);
var fList: TStringList;
i: Integer;
begin
fList := TStringList.Create;
CollectFonts(fList);
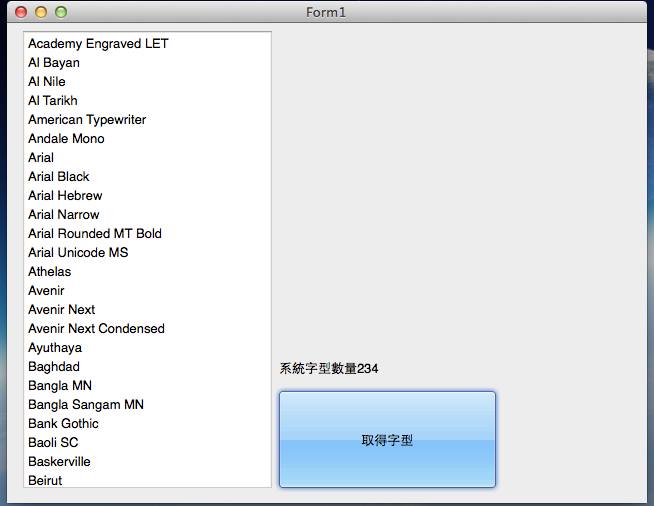
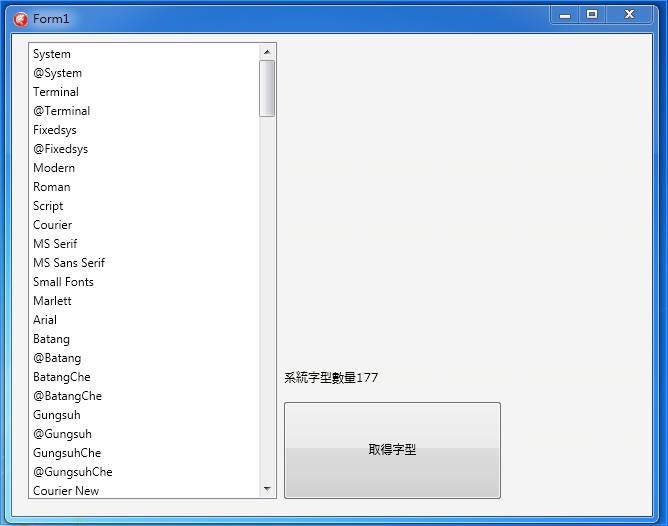
Label1.Text := '系統字型數量'+ IntToStr(fList.Count);
for i := 0 to fList.Count -1 do
begin
ListBox1.Items.Add(FList[i]);
end;
fList.Free;
end;
在Windows及Mac OS執行的畫面如下

Youtube影片在分享時,是很有規則的縮圖
http://img.youtube.com/vi/VIDEO_ID/#.jpg
0.jpg (預設)480×360
1.jpg 第一張縮圖
2.jpg 第二張縮圖
3.jpg 第三張縮圖
以及依品質的縮圖
default.jpg
hqdefault.jpg
mqdefault.jpg
sddefault.jpg
maxresdefault.jpg
不過vine沒有這樣的規則,所以只好自己抓取影片頁面裡的og:image了!
建立一個 get_vine_thumbnail.php
function get_vine_thumbnail($id){
	$vine = file_get_contents("https://vine.co/v/{$id}");
	preg_match('/property="og:image" content="(.*?)"/', $vine, $matches);
	return ($matches[1]) ? $matches[1] : false;
}
$id1 = $_GET['id'];
header('Content-type: image/jpeg');
$image = imagecreatefromjpeg(get_vine_thumbnail($id1));
imagejpeg($image);
使用時就是 get_vine_thumbnail.php?id=xxxx就可以了!
相關連結:
https://developers.google.com/youtube/v3/
http://stackoverflow.com/questions/2068344/how-do-i-get-a-youtube-video-thumbnail-from-the-youtube-api
https://developers.google.com/youtube/2.0/developers_guide_php?csw=1
昨天在Codedata發表的那篇「Delphi APP 開發入門(七)通知與雲端推播」,網友問說可不可以自己寫一個Windows程式推播?當然是可以的!
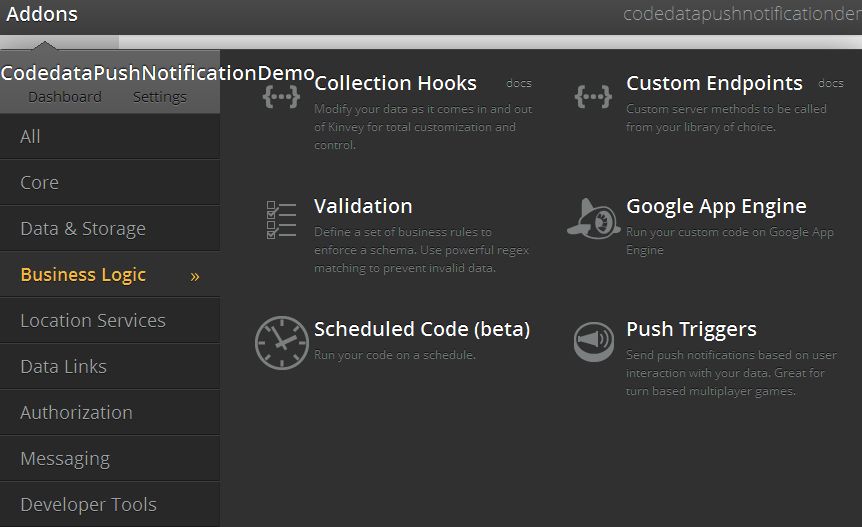
一、到 Kinvey 中Addons -> Business Logic -> Custom Endpoints
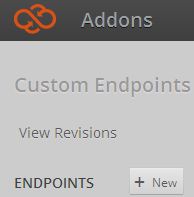
二、按下New新增,增加一個名稱為sendMessage的Endpoints
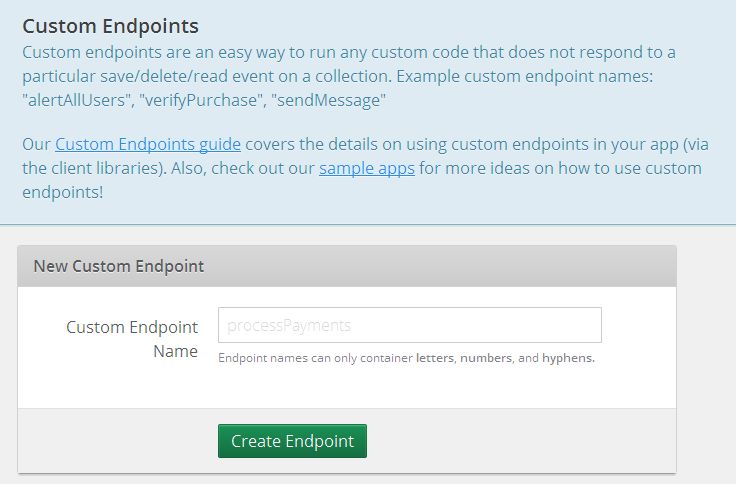
三、建立完成後在函數裡面加上下面的程式碼(如果對Custom Endpoints有興趣可以參考Custom Endpoints guide。
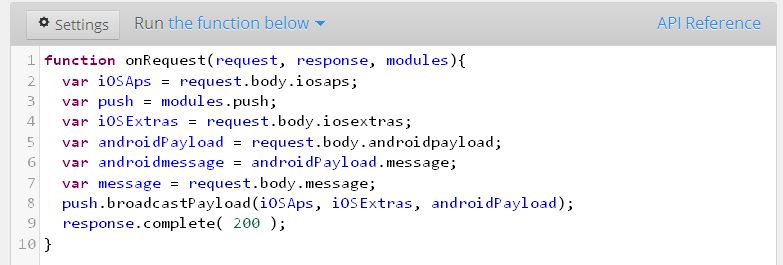
  var iOSAps = request.body.iosaps;
  var push = modules.push;
  var iOSExtras = request.body.iosextras;
  var androidPayload = request.body.androidpayload;
  var androidmessage = androidPayload.message;
  var message = request.body.message;
  push.broadcastPayload(iOSAps, iOSExtras, androidPayload);
  response.complete( 200 );
四、接著回到程式部份,我們要在KinveyProvider1的PushEndpoint 屬性設定為在kinvey新增的endpoint名稱’sendMessage’。接著在畫面上增加BackendPush1,將Provider 設定為 KinveyProvider1
五、在畫面上新增Edit元件以及Button元件,在Button的onclick元件中寫上程式碼如下
procedure TForm1.Button1Click(Sender: TObject);
begin
  backendpush1.GCM.Message := edit1.Text;
  backendpush1.Push;
end;
這樣就可以了!一樣附上原始碼供大家參考
https://github.com/superlevin/XE6KinveyPush
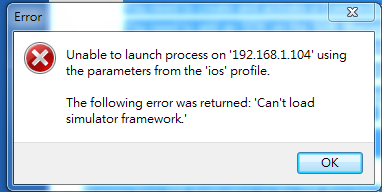
因為學習Swift語言的關係,就把XCode6 beta版本也安裝上來!不過卻發生要在iOS Simulator執行程式XE6開發的程式時,出現”Can’t load simulator framework’的錯誤訊息。
因為在網路上遍尋不著解決方案,索性自己發揮柯南精神解決。於是把問題鎖定在XCode的command line上面,在一番測試後果然找到問題就是它了~
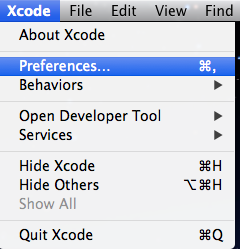
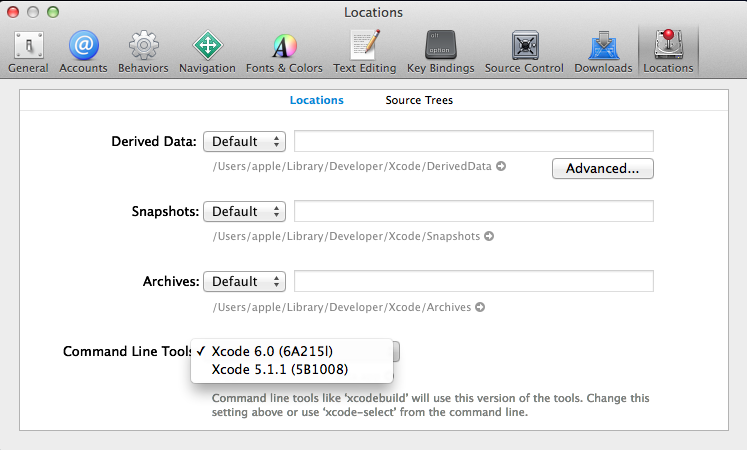
在Xcode的Preferences中,有個Locations頁籤,裡面有command line tool,預設是 xcode6。改回成Xcode 5.1.1就可以了!分享給各位~
當APP不在前景執行時,能夠用自己的平台或伺服器發送通知給行動的一項技術。在iOS平台上有APNS(Apple Push Notification Service),而Android平台上則叫做GCM(Google Cloud Messaging),在今天我們先以Android的GCM搭配BaaS服務Kinvey為例子。
1.進入網站 https://console.developers.google.com
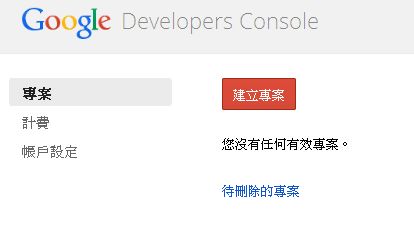
2.輸入專案名稱跟專案ID
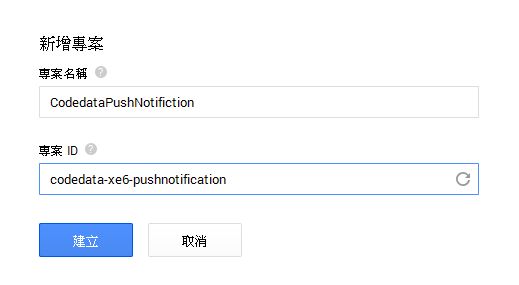
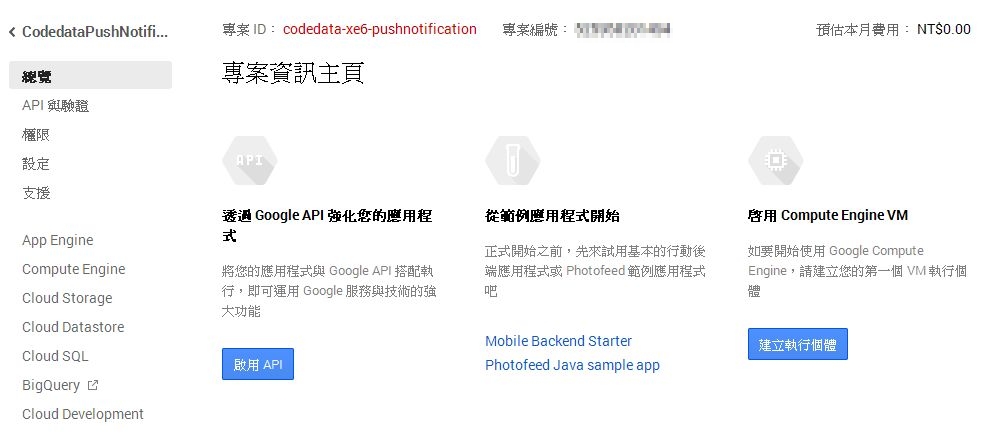
3.完成後,記得專案編號(等等在其他設定會用到)
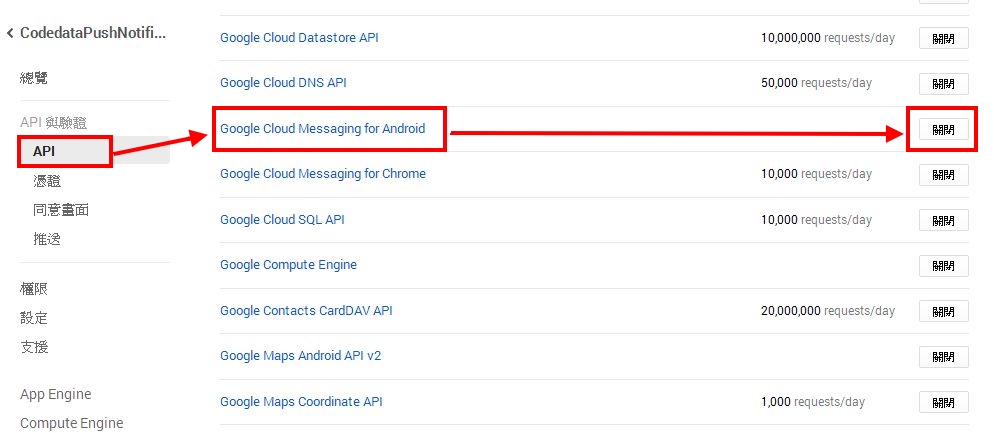
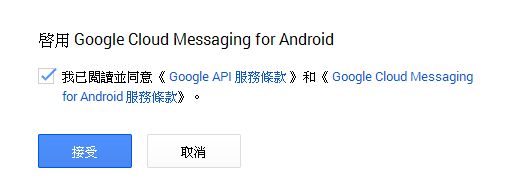
4.接著點選API 找到 Google Cloud Messageing for Anroid 後按關閉按鈕打開
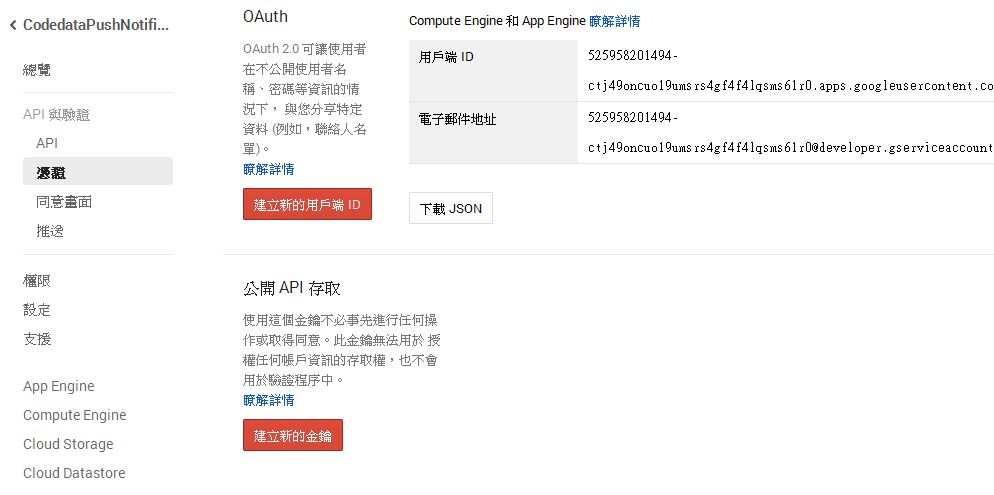
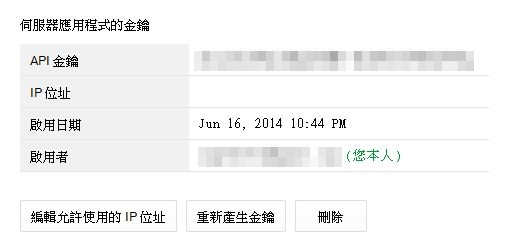
五、點選建立新的金鑰
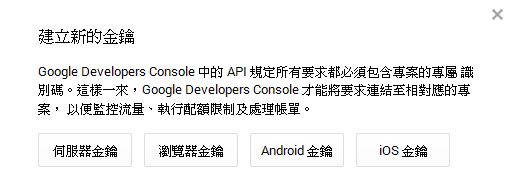
六、點選伺服器金鑰
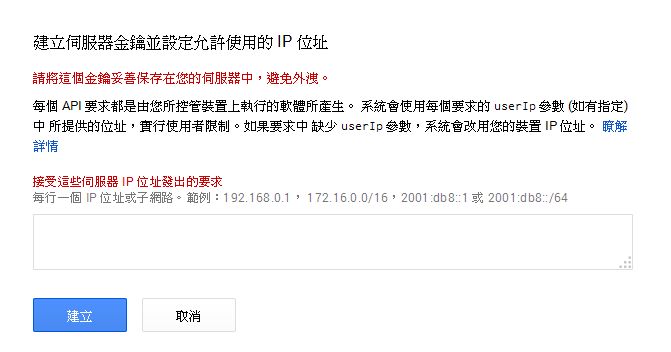
七、如果沒有特別允許使用IP可以略過後按建立就行了
八、一樣要記得API金鑰
在行動裝置的開發領域目前有個BaaS(後端即服務:Backend as a Service)的技術概念。BaaS是指為行動裝置開發者提供整合雲端的基礎服務,像是資料/文件的儲存或是帳號管理、訊息推送、社群網路整合等….
而在Delphi XE6中支援二個熱門的服務為Kinvey及Parse,在這邊我們以Kinvey做為例子。
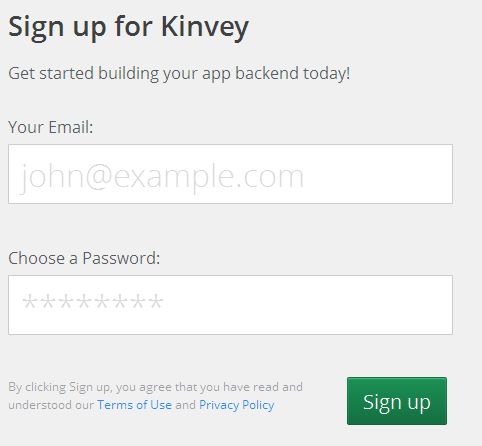
1.進入Kinvey網站(http://www.kinvey.com/)按下Sign Up註冊
2.註冊帳號只要電子郵件跟密碼就行了
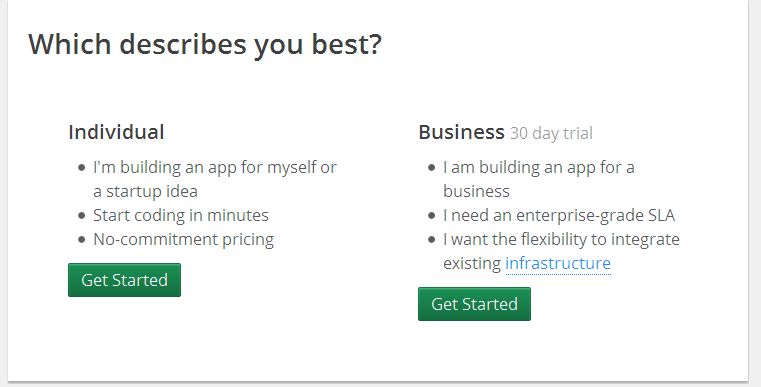
3.點選Individual 個人帳戶的Get Started即可
4.接著建立一個新的專案,平台的話選擇Other(其他)的REST API即可
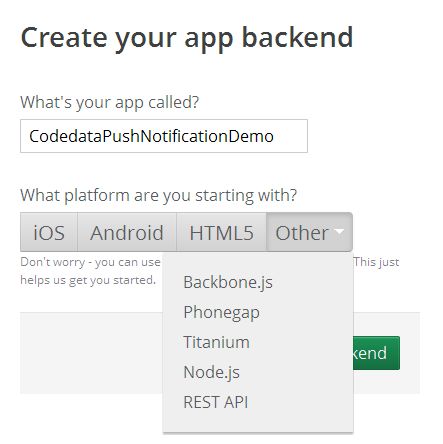
5.建立完成後,右下角的API Keys要記下來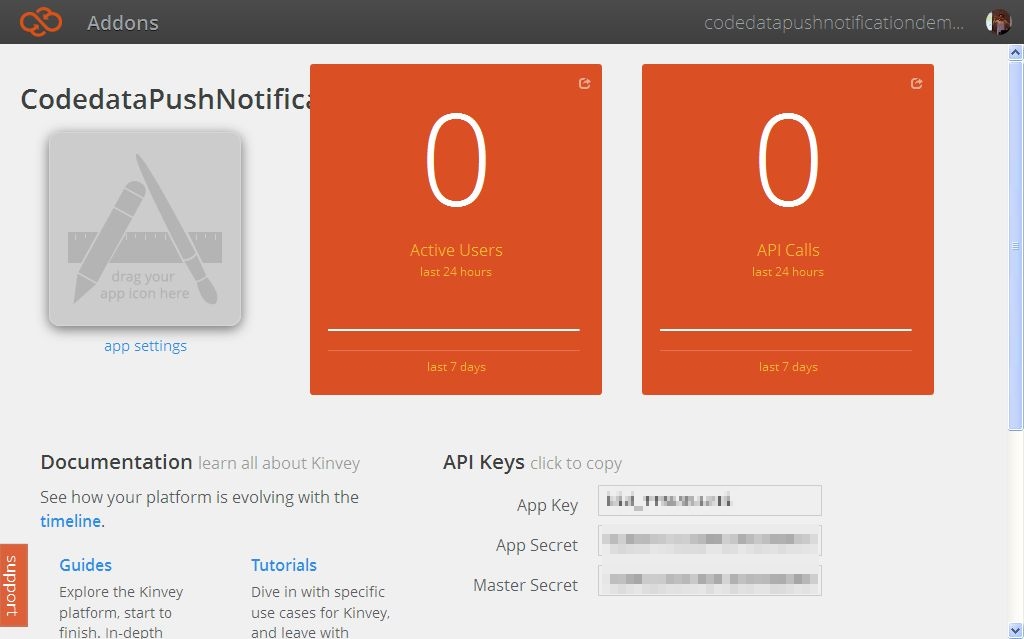
6.接著我們要建立可以存取服務的使用者,點選上面的Addons,在Core內有Users點入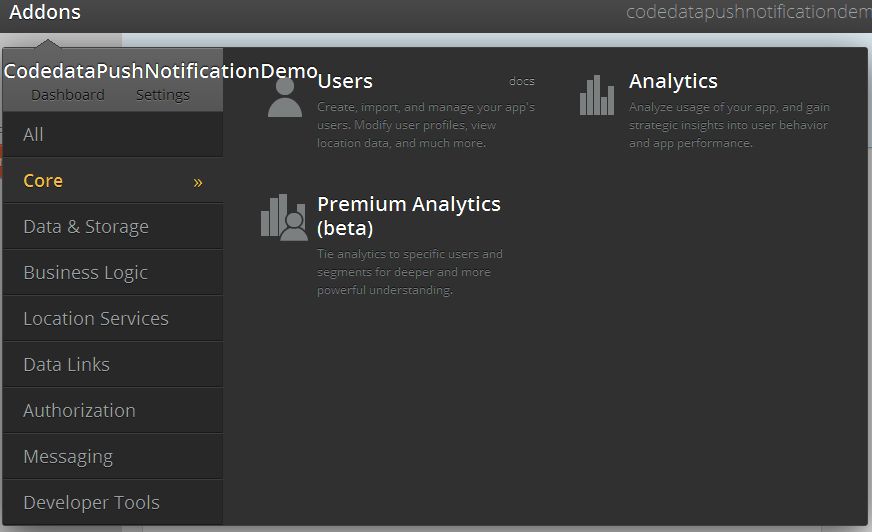
7.接著點選Add User新增使用者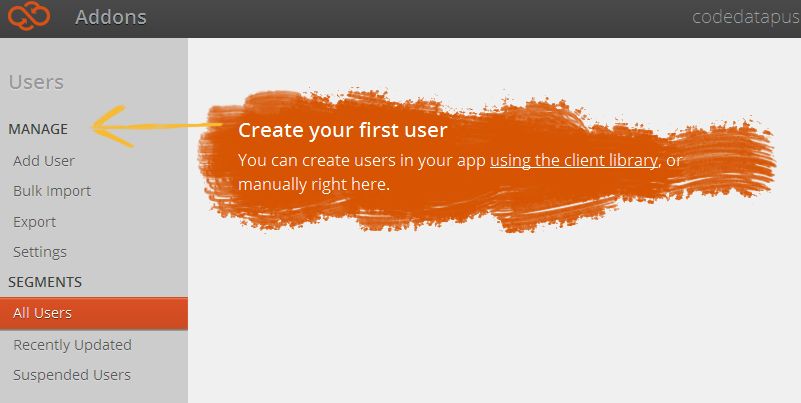
8.只要輸入帳號密碼就可以,我們建立一個test使用者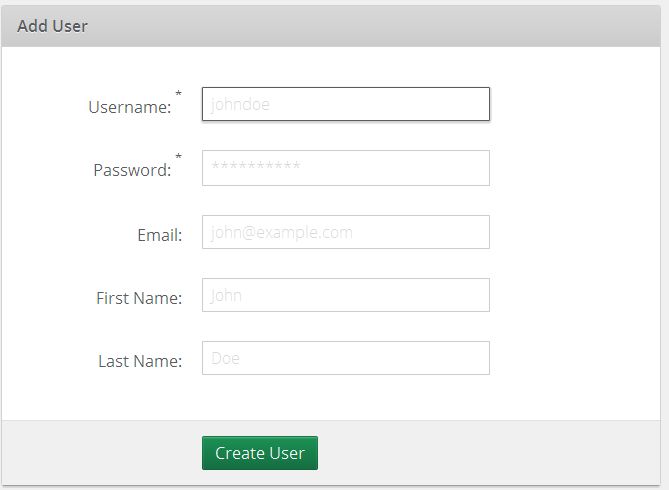
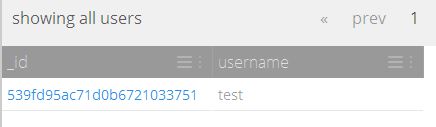
9. 建立完成後可以看見使用者列表
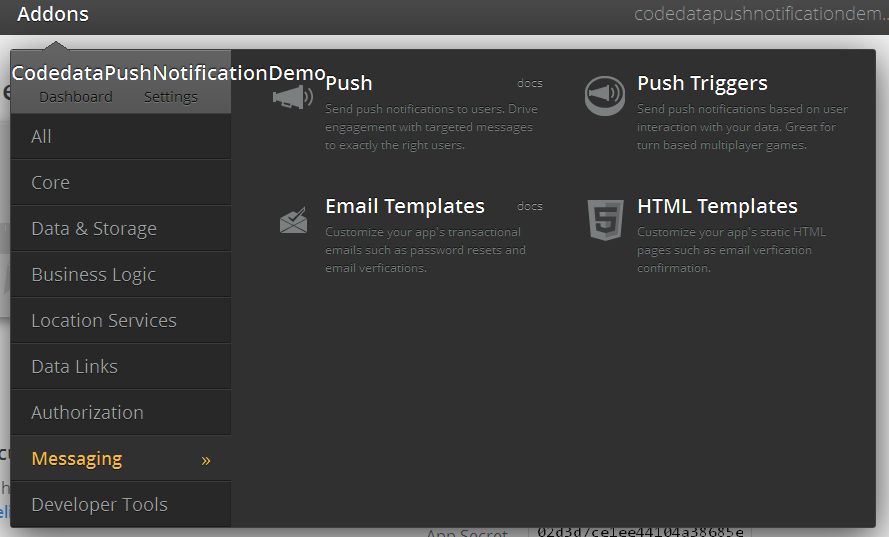
10.接著建立待會使用的 Push Notification,一樣在Addons的目錄下有一個Messaging,裡面有一個Push
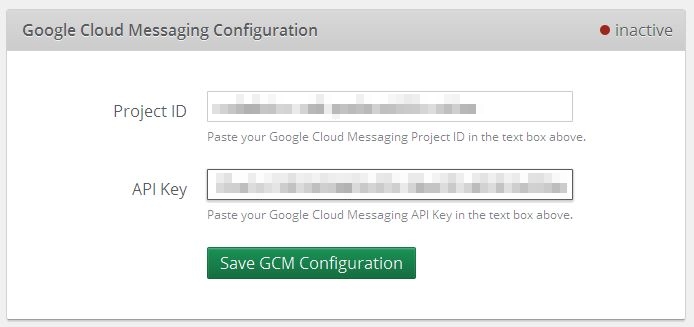
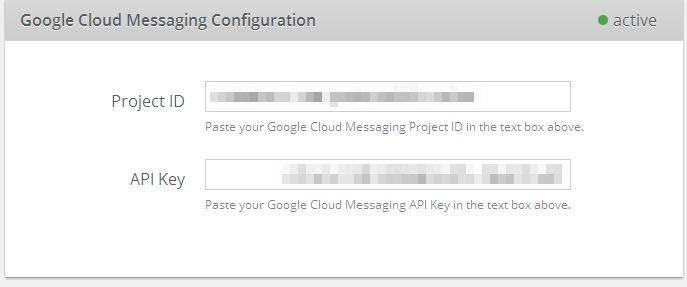
11.接著我們將剛才在Google控制台的專案編號填入Project ID、API金鑰填入API Key,接著按下Save GCM Configuration。右上角會由inactive轉為active。這樣就完成了相關的申請跟設定,不過先別關掉它。等等會再使用到!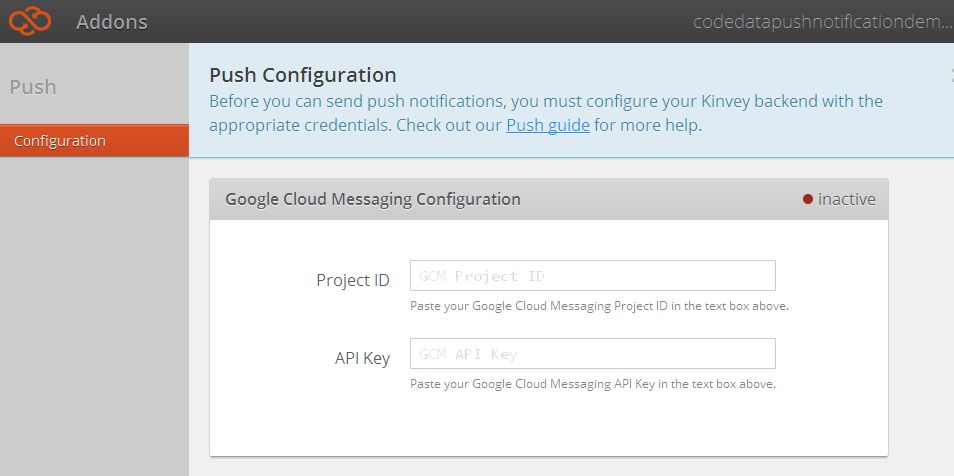
1.我們延續剛才的通知範例,在畫面加上ListView元件,將Align設為Bottom
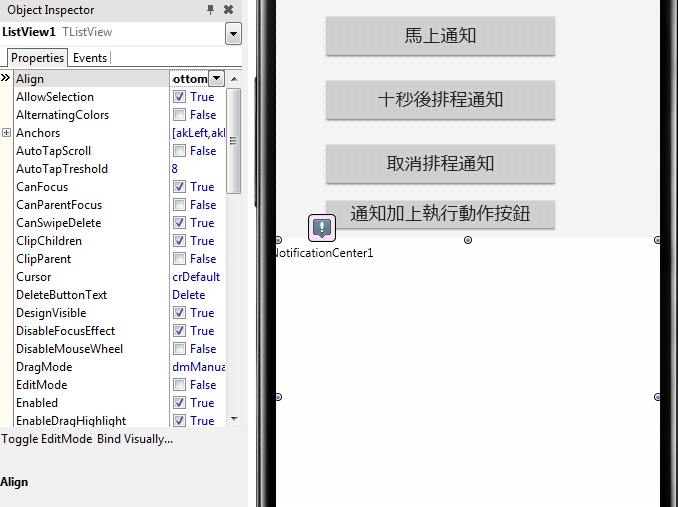
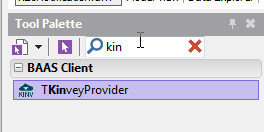
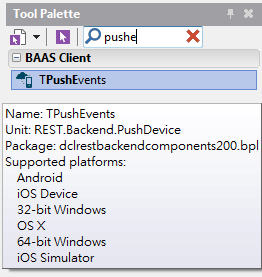
2.接著在畫面上放上二個元件,一個是TKinveyProvider以及TPushEvents
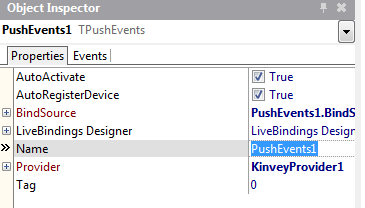
3.PushEvents1中的AutoActivate、AutoRegisterDevice設為True以及Provider指定KinveyProvider1
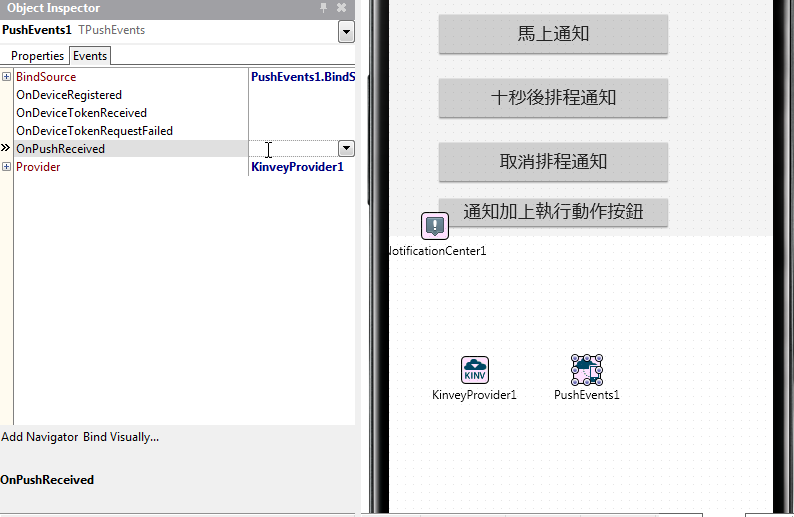
4.設定 OnPushReceived事件,在裡面的程式寫上
|
1
2
3
4
5
|
procedure TForm1.PushEvents1PushReceived(Sender: TObject; const AData: TPushData);begin ListView1.Items.Add.Text := AData.Message;end; |
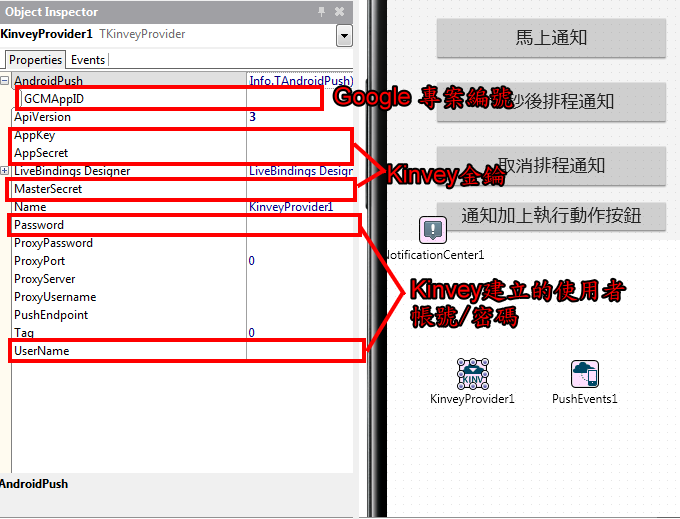
5.接著在KinveyProvider1設定相關參數
6.最後開啟專案目錄下的AndroidManifest.template.xml(這個檔案是Delphi編譯過程中產生AndroidManifest.xml的範本檔。
在幾個位置加入設定
.<%uses-permisson%>後面加上
|
1
2
3
4
5
6
7
8
9
10
11
12
13
14
15
16
17
18
19
20
21
22
|
<!-- GCM connects to Google Services. --> <uses-permission android:name="android.permission.INTERNET" /> <!-- GCM requires a Google account. --> <uses-permission android:name="android.permission.GET_ACCOUNTS" /> <!-- Keeps the processor from sleeping when a message is received. --> <uses-permission android:name="android.permission.WAKE_LOCK" /> <!-- Creates a custom permission so only this app can receive its messages. NOTE: the permission *must* be called PACKAGE.permission.C2D_MESSAGE, where PACKAGE is the application's package name. --> <permission android:name="%package%.permission.C2D_MESSAGE" android:protectionLevel="signature" /> <uses-permission android:name="%package%.permission.C2D_MESSAGE" /> <!-- This app has permission to register and receive data message. --> <uses-permission android:name="com.google.android.c2dm.permission.RECEIVE" /> |
.</intent-filter></activity> 後面加上
|
1
2
3
4
5
6
7
8
|
<receiverandroid:name="com.embarcadero.gcm.notifications.GCMNotification" android:exported="true"android:permission="com.google.android.c2dm.permission.SEND" > <intent-filter> <action android:name="com.google.android.c2dm.intent.RECEIVE" /> <category android:name="%package%" /> </intent-filter></receiver> |
接著就可以執行程式了!
程式執行後,我們回到Kinvey網站,輸入要推播的訊息後按 Send Push Notification
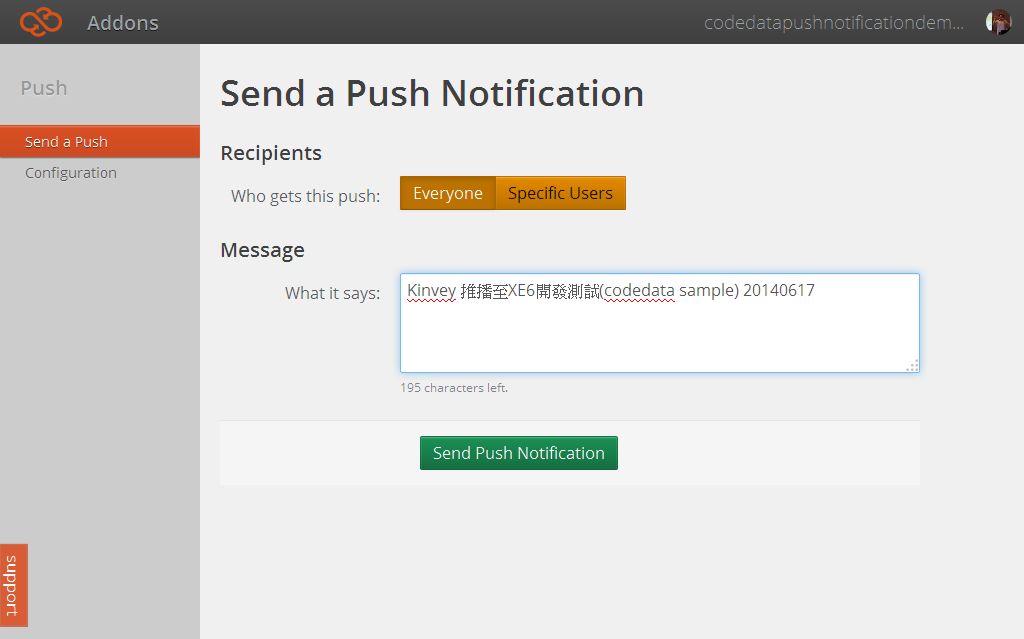
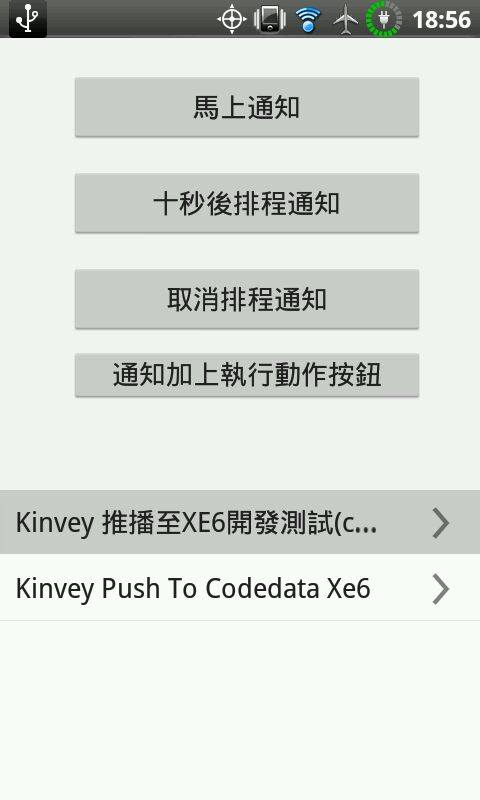
可以看到程式的Listview會出現推播的訊息。
最後附上原始碼
網路大神Xdite自己寫的教學手冊,前陣子為了極力推廣學習ROR將Rails 101這本電子書免費開放下載。今天又將Rails 102開放了~
Rails 101 是給初級新手入門的手冊
而Rails 102 是給高級新手的更瞭解 Ruby on Rails 相關知識以及MVC架構的知識
對岸工程師實作的SwiftWeather,如何在Swift使用cocoapods,怎麼在程式中使用Objective-C程式碼,如何用Core Location、AFNetworking。
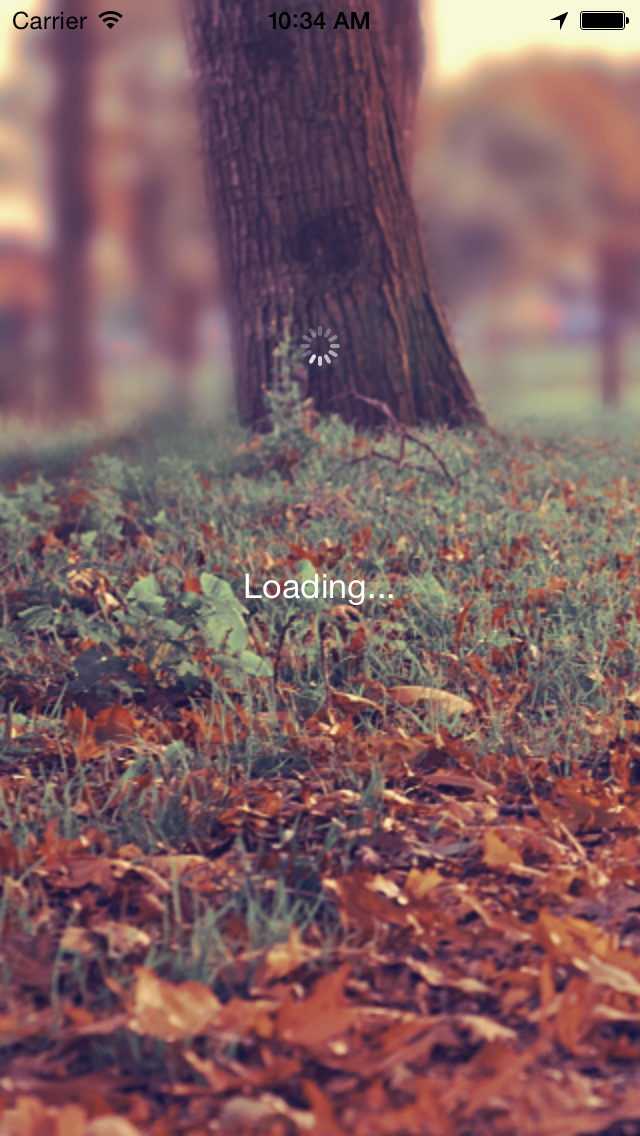
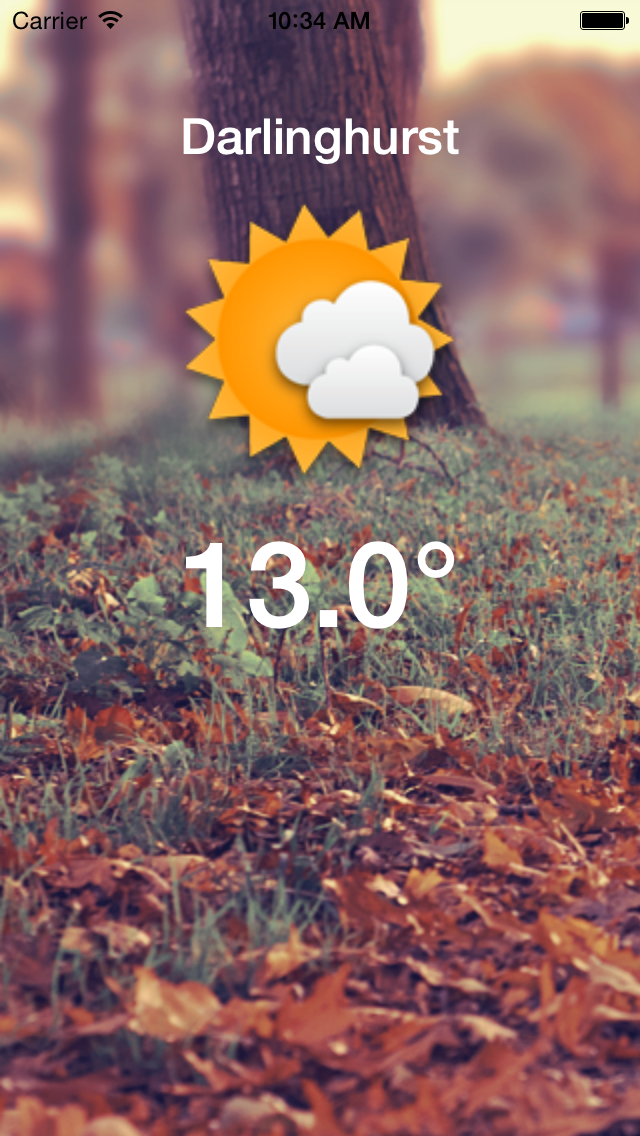
GitHub原始碼 https://github.com/JakeLin/SwiftWeather