chatGPT與line官方帳號結合 = line ai 小助理

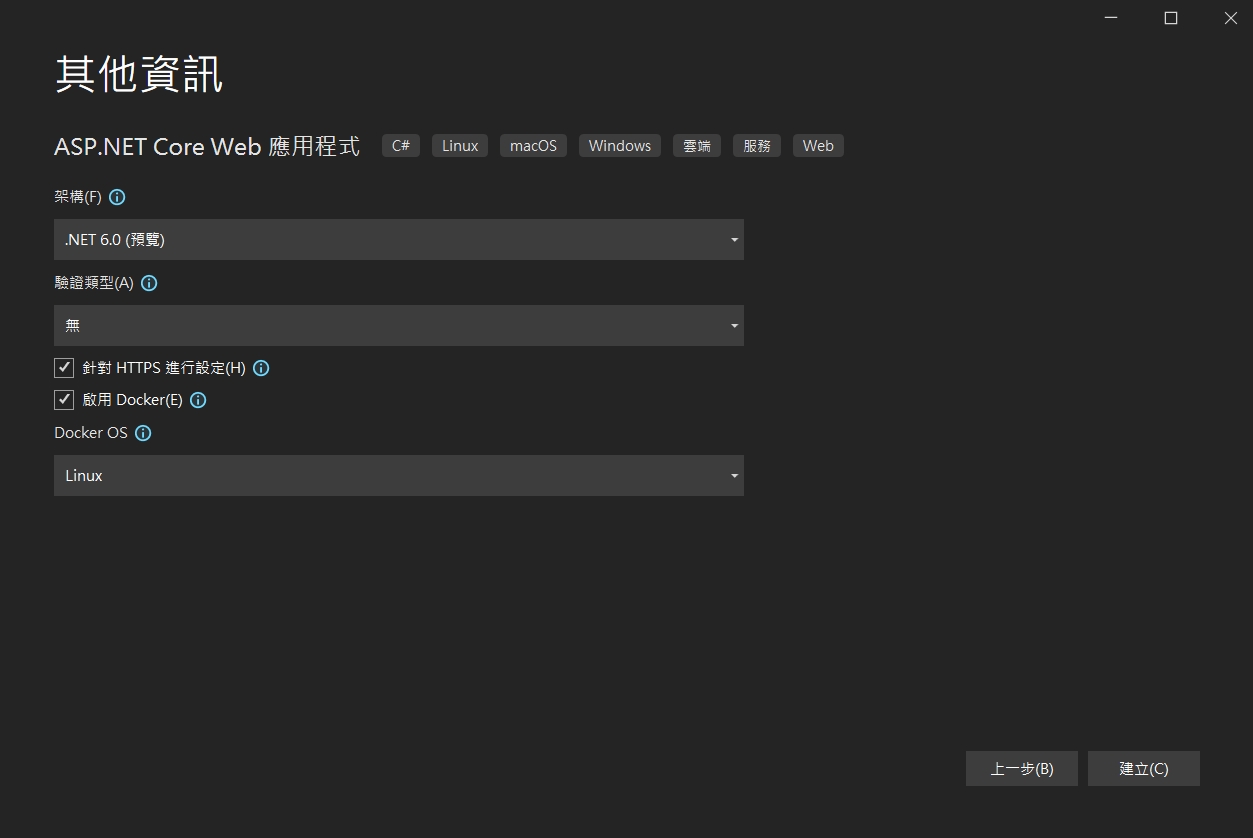
OpenAI設計的ChatGPT問世後,很快的ai的使用人數破億。且chatgpt讓ai整個流行了起來~ 想說台灣最流行的通訊工具line,有沒有機會跟chatgpt串到一起,於是很快的用php以及.net core都串了一次。簡單明瞭~很易懂

分享關鍵的php,有問題歡迎line: superlevin 林壽山


$api_key = 'xxxxxxxxxx';
$curl = curl_init();
curl_setopt_array($curl, [
CURLOPT_URL => 'https://api.openai.com/v1/completions',
CURLOPT_RETURNTRANSFER => true,
CURLOPT_POST => true,
CURLOPT_HTTPHEADER => [
'Content-Type: application/json',
'Authorization: Bearer ' . $api_key
],
CURLOPT_POSTFIELDS => json_encode([
'prompt' => $ask_question,
'model' => 'text-davinci-003',
'max_tokens' => 1000,
'temperature' => 0.3
])
]);
$response = curl_exec($curl);

$json = json_decode($response, true);


.Net 7 開發增進效能的小撇步

預計在2022年11月發布的.net7目前進入RC2的版本。來談談.net7 做了那些效能上的改進~

LINQ部份

1針對max/min最佳化

2針對Average/sum

3新增order/orderDescending 取代orderby/orderbydescending

4 System.IO的改善 WriteAllText改ReadAllText

5 針對Jsonserializer NoCachedOptions提昇

6Guid的 GuidEquals提昇

7ParseBigInt提昇

8ParseBool

9 Stopwatch中的getprocessbyname與getcurrentprocessname

10 在stopwatch加上getelapsedtime取得時間戳

第四方金流高鉅初體驗

最近跟第四方金流高鉅做串接服務,主要是以金流以及訂閱式服務開發為需求。

串接上倒是沒有很多特別要注意的地方,我想大部份的模式都與其他金流服務綠界~

等搞定後再分享程式碼出來

相關資源:

高鉅第四方金流模擬串接服務

https://pay.usecase.cc/simulator/payment/orders

高鉅第四方金流交易設計概要

https://doc.usecase.cc/Payment/Store/?php#paypage

自然人憑證作為公文系統、簽核系統簽章用憑證

最近要用.net c#去開發憑證簽證、加解密的功能,於是下午跑去申請了自然人憑證。然後瞭解一下卡片中的資料~繼續努力中,似乎自然人憑證與未來的新式晶片身份證都會當做很重要的憑證以及加解密的依據。

內政部憑證 網址: https://moica.nat.gov.tw/index.html

電子簽章法 https://law.moj.gov.tw/LawClass/LawAll.aspx?pcode=J0080037

跨平台網頁元件下載 網址: https://moica.nat.gov.tw/rac_plugin.html

HiPKI Local Server範例 網址: https://gpkiapi.nat.gov.tw/PKCS7Verify/

http://localhost:61161

HiPKI Local Server (version:1.3.4.103339) at 127.0.0.1:61161

http://127.0.0.1:61161/pkcs11info


http://127.0.0.1:61161/sign

http://127.0.0.1:61161/decrypt

ODP.net 支援 .net 6與Entity Framework Core 6

Oracle開發團隊釋出新的ODP.NET 支援Oracle Database 11g Release 2 (11.2.0.4) 以上的版本,包括免費的21c xe、21c ee跟 Autonomous DB.

ODP.NET Core for .NET 6  以及 ODP.NET EF Core for EF Core 6 都免費透過 NugetNU取得。

來源

Announcing Oracle Support for .NET 6 and Entity Framework Core 6

.Net 6 安裝正式版FastReport元件透過Nuget方式安裝教學

先瞭解什麼是Nuget

Nuget(https://www.nuget.org/)是微軟Open出來的一個套件管理機制,NuGet 套件就是副檔名為 .nupkg 的單一 ZIP 檔案,內含已編譯程式碼 (DLL)、其他與該程式碼相關的檔案,以及包含套件版本號碼這類資訊的描述性資訊清單。

安裝FastReport完成後在資料夾看到有一個Nugets的資料夾

工具→Nuget套件管理員→套件管理員設定

套件來源新增一個Name: FastReport 位置指向剛才的資料夾

下拉套件來源,選擇剛才新增的FastReport,就可以選到我們購買的元件了

Visual Studio 2022 預覽版安裝

因為Visual Studio2022 預覽版本是跟著.net 6綁一起,於是下載預覽版試用。

下載後開啟在標題列可以看到是 Visual Studio Enterprise 2002 Preview ,版本號是17.0.0 Preview 4.1。在第一個分頁工作負載中,依照自己開發需求去勾選你要開發的項目以及平台有那些,這邊我勾的是ASP.NET/Azure/Node.js/.net desktop/database等等。

第二個頁籤個別元件的話,在.net的部份預設是勾選.net 6,如果你的舊專案有舊的版本要維護,記得要把相對應的套件勾選起來

接著在程式碼工具中,可以勾選像Code Map/程式碼複製品Code Clone跟類別設計工具Class Design。

語言套件就不說了XDD 可以增加英文語系讓自己看起來厲害點(誤

安裝位置的話,預設是C槽,如果要安裝到別的地方的話就可以調整下。右下角顯示大小是11.36G,沒問題就按下安裝去泡杯咖啡吧(喂!要上班呀

我就看著它裝B XDDD

經過了77四十九天後,安裝完畢了

安裝完成後可以看到自動開啟Visual Studio 2022,它還自動帶回我Visual Studio 2019的一些設定(馬賽克)

在架構的下拉可以看到.net 6.0的預覽版本可以玩囉!

.net 6 preview加上對http/3支援

http3協定是架構在以往被認為最不穩定的UDP基礎上,而為了消除UDP的不確定性,加上了QUIC協定。

透過QUIC來替代TCP對於可靠以及流量的控制,使得http3可以有效可靠的進行傳輸。

在.net 6的preview版本中,微軟也加上了對http/3的支援,也許它會是http協定的一估新的未來

C# ASP.net執行APPcmd/DNScmd實踐網站自動平台化

最近在測試,如果透過web申請帳號後,可不可以直接在DNS上一增子網域以及在IIS上增加站台的方式,直接申請後就有站台,在Windows 的網站主機上,似乎要透過appcmd與dnscmd達到。後來弄出了一個可以執行的方式,主要重點在於要有較高權限的帳密透過process執行cmd模式再去下指令。分享一下

/// <summary>

        /// 新增IIS站台

        /// </summary>

        /// <param name=”subdomain”>網站名稱</param>

        /// <param name=”domain”>網域</param>

        /// <param name=”webpath”>網頁位置</param>

        /// <returns></returns>

        public bool AddSite(string subdomain, string domain, string webpath)

        {

            using (Process p = new Process())

            {

                p.StartInfo.FileName = @”cmd.exe”;

                p.StartInfo.UseShellExecute = false;

                p.StartInfo.CreateNoWindow = true;

                p.StartInfo.RedirectStandardError = true;

                p.StartInfo.RedirectStandardInput = true;

                p.StartInfo.RedirectStandardOutput = true;

                p.StartInfo.WindowStyle = ProcessWindowStyle.Hidden;

                p.StartInfo.UserName = “高權限帳號”;

                string pw = “高權限密碼”;

                SecureString ss = new SecureString();   

                foreach (char c in pw)

                {

                    ss.AppendChar(c);

                }

                p.StartInfo.Password = ss;

                //

                p.StartInfo.Arguments = “/c appcmd add site /name:”+subdomain+” /bindings:\”http/*:80:”+subdomain+”.”+domain+”,https/*:443:”+subdomain+”.”+domain+”\” /physicalPath:\””+webpath+”\””;

                p.Start();

                p.WaitForExit();

                StreamReader sr = p.StandardOutput;

                p.Close();

                string message = sr.ReadToEnd().Replace(“\n”, “<br />”);

                if (message.Contains(“ERROR”))

                {

                    return false;

                }

                else

                {

                    return true;

                }

            }

        }

        /// <summary>

        /// 透過指令新增子網域(如: levin.ksi.com.tw)

        /// </summary>

        /// <param name=”subdomain”>子網域名稱</param>

        /// <param name=”domain”>主網域</param>

        /// <param name=”ip”>主機IP</param>

        /// <returns></returns>

        public bool AddDNS(string subdomain,string domain,string ip)

        {

            using (Process p = new Process())

            {

                p.StartInfo.FileName = @”cmd.exe”;

                p.StartInfo.UseShellExecute = false;

                p.StartInfo.CreateNoWindow = true;

                p.StartInfo.RedirectStandardError = true;

                p.StartInfo.RedirectStandardInput = true;

                p.StartInfo.RedirectStandardOutput = true;

                p.StartInfo.WindowStyle = ProcessWindowStyle.Hidden;

                p.StartInfo.UserName = “高權限帳號”;

                string pw = “高權限密碼”;

                SecureString ss = new SecureString();

                foreach (char c in pw)

                {

                    ss.AppendChar(c);

                }

                p.StartInfo.Password = ss;

                p.StartInfo.Arguments = @”/c dnscmd /recordadd ” + domain + ” ” + subdomain + ” A ” + ip;

                p.Start();

                p.WaitForExit();

                StreamReader sr = p.StandardOutput;

                p.Close();

                string message = sr.ReadToEnd().Replace(“\n”, “<br />”);

                if (message.Contains(“成功”)){

                    return true;

                }

                else

                {

                    return false;

                }

            }

        }