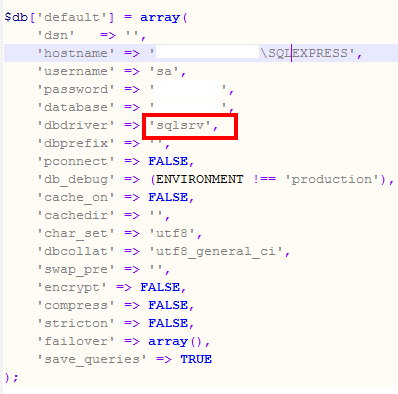
CodeIgniter on Win10記得裝ODBC Driver 11 for SQL Server

在新的Win10上裝上XAMPP後發現CI連不上SQL Server,於是先用原生的方式找到解決的方法

$serverName = "localhost\sqlexpress";
$connectionInfo = array( "Database"=>"Pos", "UID"=>"sa", "PWD"=>"");
$conn = sqlsrv_connect( $serverName, $connectionInfo);
if( $conn ) {
echo "Connection established.
";
}else{
echo "Connection could not be established.
";
die( print_r( sqlsrv_errors(), true));
}

才知道WIN10預設沒有ODBC Driver 11 for SQL Server

https://www.microsoft.com/zh-TW/download/details.aspx?id=36434

PHP教學 – 這學期教的laravel 5.3課程內容

上個學期是教Codeigniter,這學期開始也要進入Laravel了!內容大致如下面~
Laravel介紹
MVC架構解說
Git版本控制介紹與安裝
Composer套件管理

Laravel安裝

Package安裝及使用
Route路由
Migrations/Seed 資料的遷移與填充

Eloquent ORM資料庫互動

View與Blade模板引擎
Controller實戰

CRUD 綜合運用

表單與驗證技巧
會員認證
網站安全性

CodeIgniter PHP 產生 Sitemap

網站建立了Sitemap.xml文件能夠快速地被Google、Bing等收錄且有利於搜尋的檔案。
CodeIgniter產生的方式:
controller
[php]
Class Seo extends CI_Controller {

function sitemap()
{

$data = "";//網站的url
header("Content-Type: text/xml;charset=iso-8859-1");
$this->load->view("sitemap",$data);
}
}
[/php]
views
[php]
<?= ‘<?xml version="1.0" encoding="UTF-8" ?>’ ?>

<urlset xmlns="http://www.sitemaps.org/schemas/sitemap/0.9">
<url>
<loc><?= base_url();?></loc>
<priority>1.0</priority>
</url>

<!– My code is looking quite different, but the principle is similar –>
<?php foreach($data as $url) { ?>
<url>
<loc><?= base_url().$url ?></loc>
<priority>0.5</priority>
</url>
<?php } ?>

</urlset>
[/php]
config/routes.php

$route[‘seo/sitemap\.xml’] = “seo/sitemap”;

CodeIgniter php上傳後FTP至另一台主機

二台主機都是使用 遠振主機
system/libraries/upload.php
[php]
$cmd = function_exists(‘escapeshellarg’)
? ‘file –brief –mime ‘.@escapeshellarg($file[‘tmp_name’]).’ 2>&1′
: ‘file –brief –mime ‘.$file[‘tmp_name’].’ 2>&1′;
[/php]

view.php
[php]
<form method="post" enctype="multipart/form-data">
<label>選擇檔案</label>
<input type="file" name="file" />
<input type="submit" name="submit" value="上傳">
</form>
[/php]

controller.php
[php]
if($this->input->post(‘submit’)){
//上傳到本機
$config[‘upload_path’] = @’./uploads/’;
$config[‘allowed_types’] = ‘jpg’;
$this->load->library(‘upload’, $config);

if($this->upload->do_upload(‘file’))
{
// 上傳檔案
$upload_data = $this->upload->data();
$fileName = $upload_data[‘file_name’];

// 本機檔案位置
$source = @’./uploads/’.$fileName;

// 載入ftp函式庫
$this->load->library(‘ftp’);

// ftp參數
$ftp_config[‘hostname’] = ‘xxxx’;
$ftp_config[‘username’] = ‘xxxx’;
$ftp_config[‘password’] = ‘xxxx’;
$ftp_config[‘debug’] = TRUE;

// 連線ftp
$this->ftp->connect($ftp_config);

// ftp檔案位置
$destination = ‘/public_html/assets/’.$fileName;

// 上傳ftp
$this->ftp->upload($source, ".".$destination,"auto",0777);

// 關閉ftp
$this->ftp->close();

// 刪除本機資料
@unlink($source);
}
}
[/php]

Delphi 搭配 CodeIgniter上傳檔案

php端

[php]
$str_no = $this->input->post(‘strid’);
$filename1 = $this->input->post(‘filename’);
$config[‘upload_path’] = ‘./uploads/’;
$new_name = $str_no.’-‘.$filename1;
$config[‘file_name’] = $new_name;
$config[‘allowed_types’] = ‘*’;
$config[‘max_size’] = ‘1000000000’;

$this->load->library(‘upload’,$config);

if ( ! $this->upload->do_upload(‘myfile’))
{
$error = array(‘error’ => $this->upload->display_errors());

}
else{
$data = array(‘upload_data’ => $this->upload->data());
print_r($data);
}
[php]

Delphi

use IdMultipartFormData
var
PostData: TIdMultipartFormDataStream;
begin
PostData := TIdMultipartFormDataStream.Create;
try
PostData.AddFile(‘myfile’, Self.GetApplicationPath + ‘\file.ini’);
PostData.AddFormField(‘strid’,’999′);
PostData.AddFormField(‘filename’,’file.ini’);

idhttp1.Post(‘http://xxxx/Home/upload/’, PostData)
finally
PostData.Free;
end;

CodeIgniter 4 里程碑第一階段達成

2015年ci開發團隊宣佈了CodeIgniter4.0的開發藍圖後,2016/6/24在官方論壇宣布達成里程碑第一階段「CodeIgniter4.0.0-dev Reaches Milestone 1」。

依照藍圖的話就是完成下列的修正:

  • Autoloader
  • Dependency Injection
  • Logging
  • Exception Handling
  • HTTP Request/Response Layers (or Input/Output)
  • Routing
  • Controllers
  • Models
  • Database Layer
  • Config
  • Security

Laravel5上傳虛擬主機

一直找不到Laravel5上傳虛擬主機的方式,一方面也是自己對Laravel沒有像Codeigniter這麼清楚。
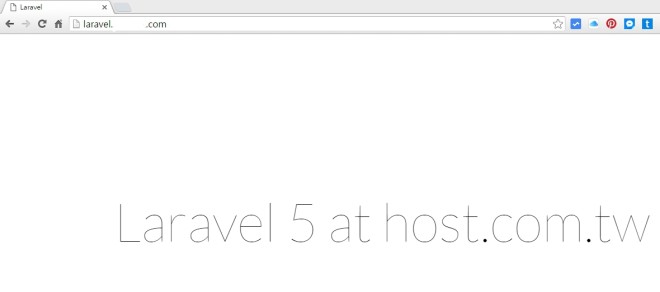
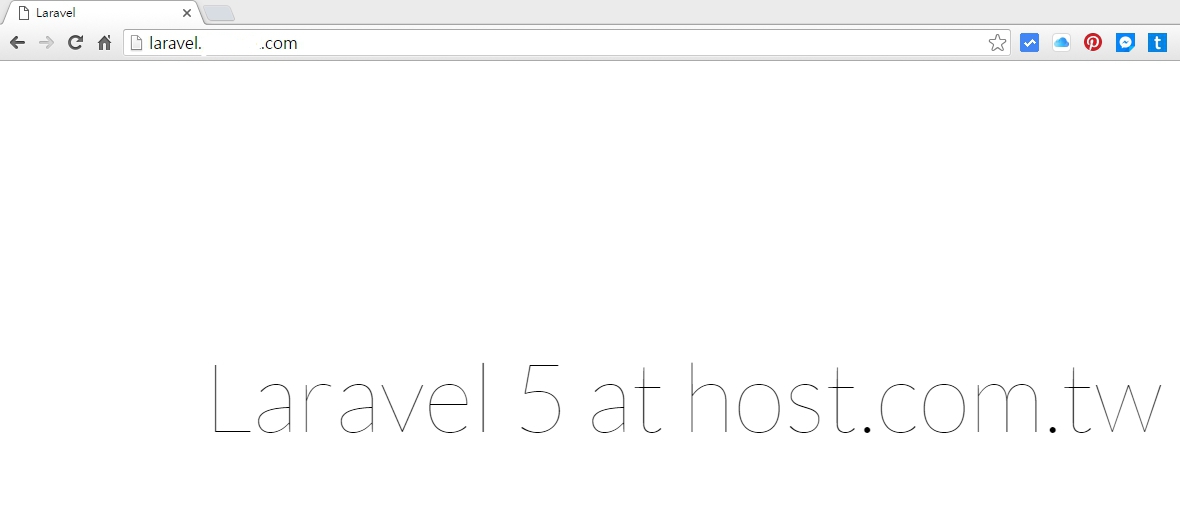
於是昨天先試著將Laravel5的執行目錄搬到根目錄下,然後再將它上傳到遠振虛擬主機。終於把這個簡潔、優雅為網頁藝術家創造的PHP 框架上傳上去了。(不過不能直接在虛擬主機執行composer安裝)
1455239163252

遠振虛擬主機租用 >> 遠振資訊官方網站
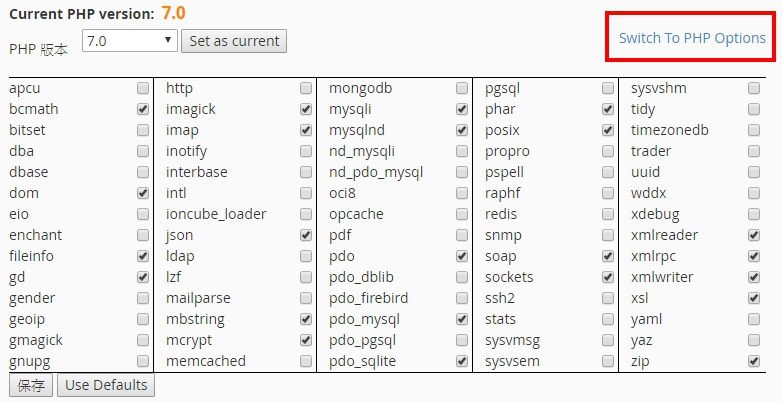
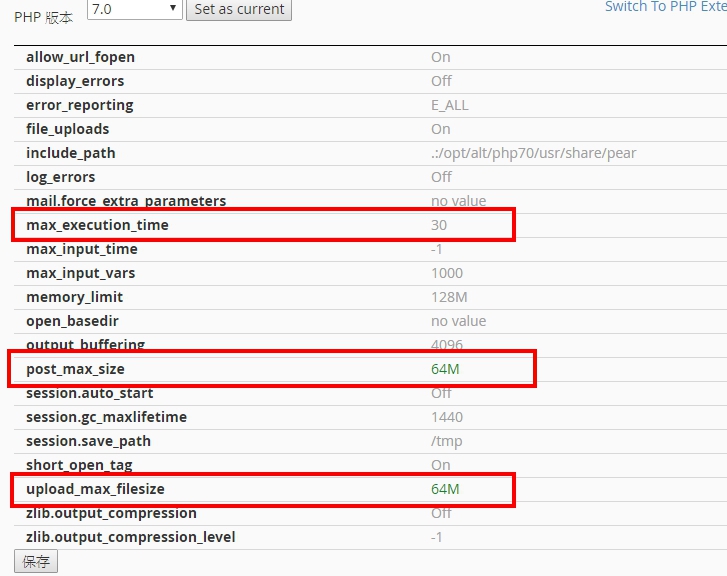
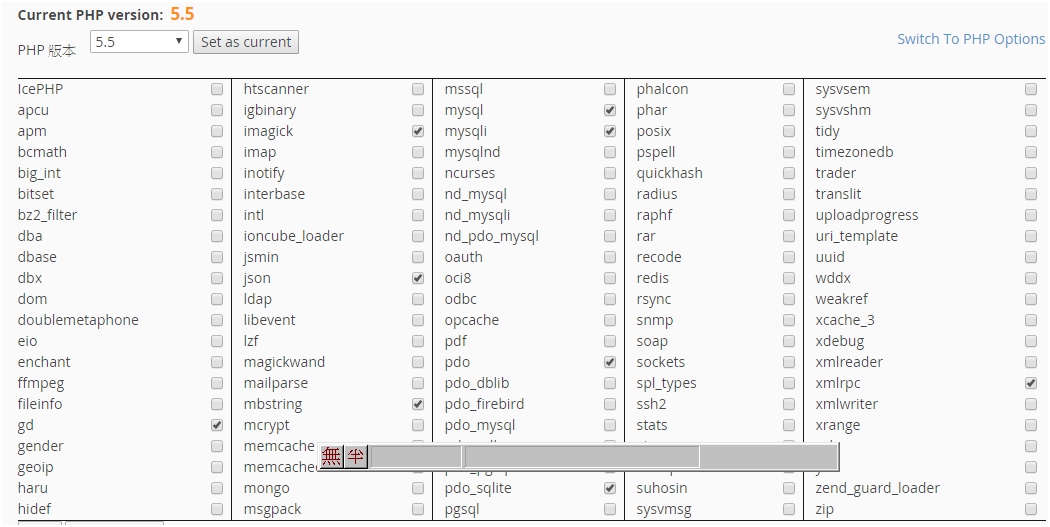
注意: php的版本要在5.5.9以上的版本(遠振虛擬主機可以選擇5.5、5.6跟最新的7.0)
1455239893267

XAMPP連結SQL SERVER方式

XAMPP(也有免安裝版本) 是目前Windows上面最熱門的php開發環境套件,唯一美中不足的是無法連結MS SQL。至於有沒有解決方式?當然是有的囉!

一、先看一下目前XAMPP的phpinfo(),看到without-mssql…..一開始有點嚇到!不過別警張

二、到微軟網站下載Microsoft Drivers for PHP for SQL Server,對應的版本是

  • Version 3.2 supports PHP 5.6, 5.5, and 5.4
  • Version 3.1 supports PHP 5.5 and 5.4
  • Version 3.0 supports PHP 5.4.

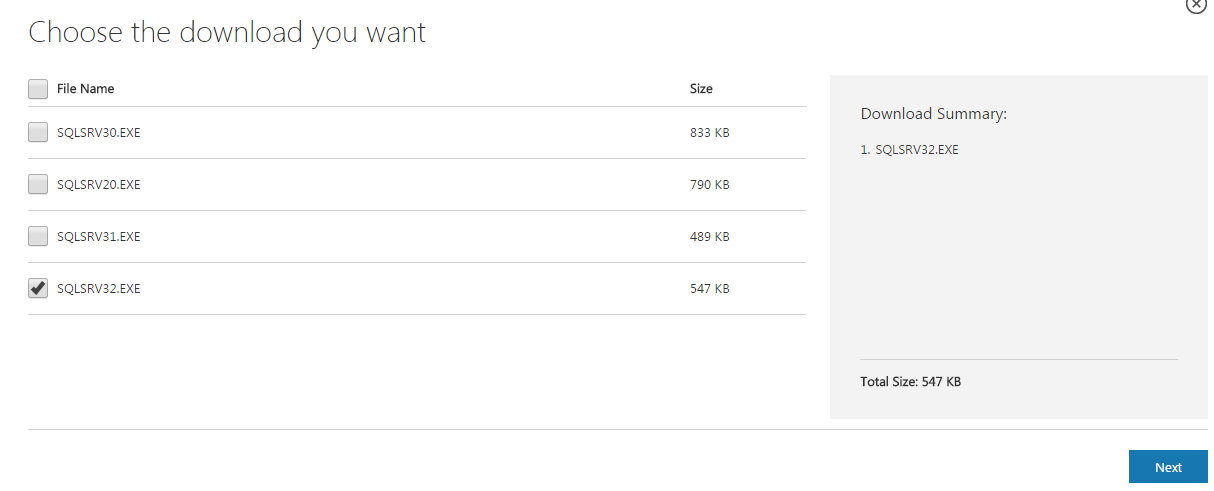
我們的版本是5.6,所以下載SQLSRV32.EXE即可。下載後按右鍵解壓縮。

xampmssql0024.接下來我們確認一下PHP是ThreadSafe或是non-ThreadSafe版本,到XAMPP\php目錄下,找php.dll版本。看到是php5ts.dll(PHP5 ThreadSafe)。

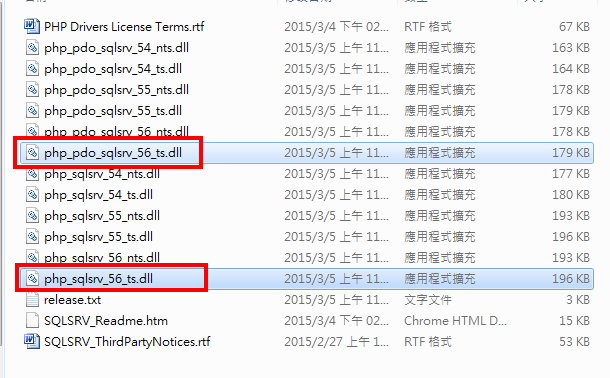
五、確定版本後,回到剛才解開的檔案複製以下的檔案到xampp\php\ext目錄下

xampmssql004

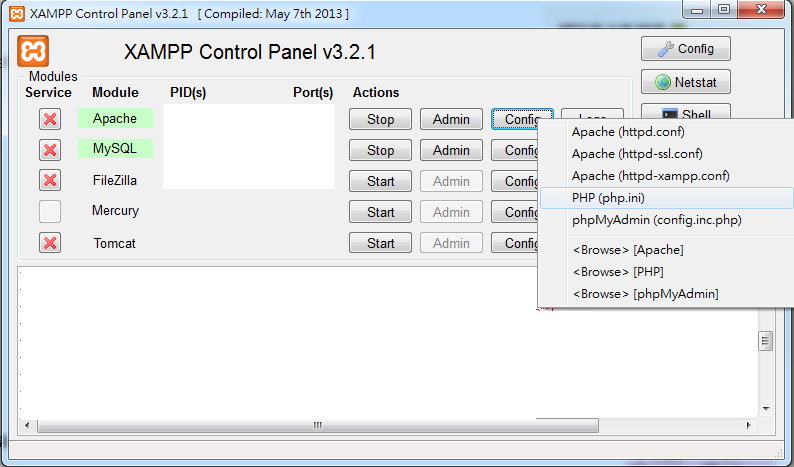
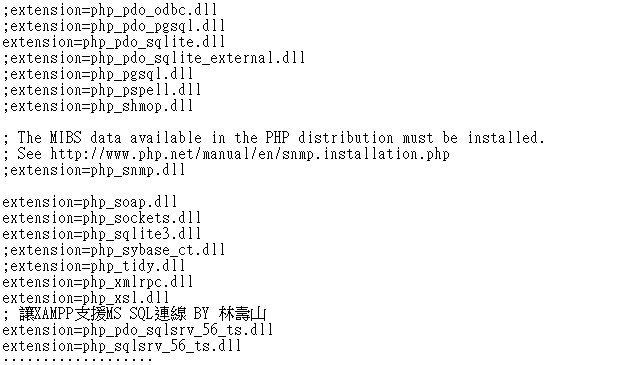
六、接著編輯php.ini,尋找extension=區塊,在下面加上二行(注意.dll名稱是你剛才copy過去的版本名稱)

extension=php_pdo_sqlsrv_56_ts.dll
extension=php_sqlsrv_56_ts.dll

xampmssql005


xampmssql006

七、存檔後重新開啟APACHE

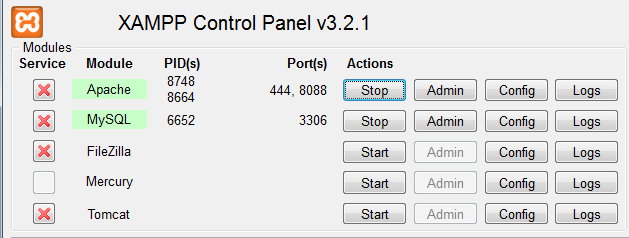
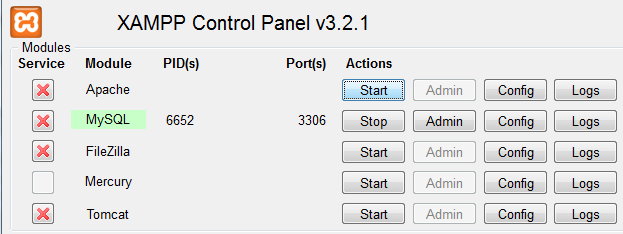
xampmssql008 xampmssql007


八、回到phpinfo()頁面,如果安裝成功可以搜尋到sqlsrv跟pdo_sqlsrvxampmssql010 xampmssql009九、接著就可以連線到sql資料庫(本文以CodeIgniter為例)

xampmssql012 xampmssql011

xampmssql013
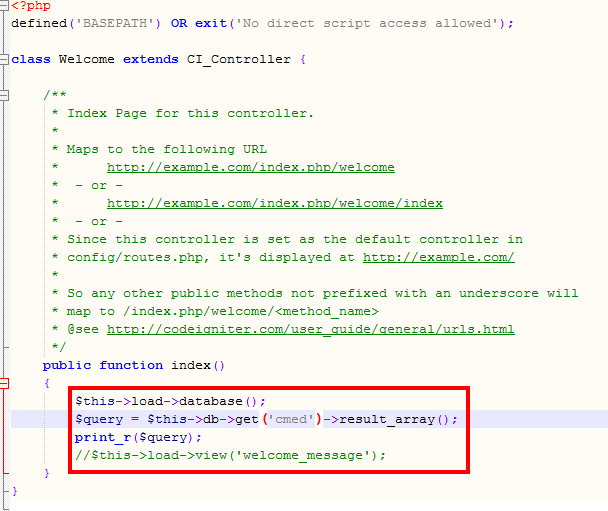
$this->load->database();
$query = $this->db->get(‘cmed’)->result_array();
array_walk_recursive($query, function(&$value, $key) {
if(is_string($value)) {
$value = urlencode($value);
}
});
$json = urldecode(json_encode($query));
echo $json;


備註:

Microsoft® ODBC Driver 11 for SQL Server® – Windows

Microsoft ODBC Driver For SQL Server 提供從 Windows 到 Microsoft SQL Server 的原生連線能力。


2015.8.29 新增免安裝整合包,下載解壓縮後執行xampp-control 即可運作。

按我下載