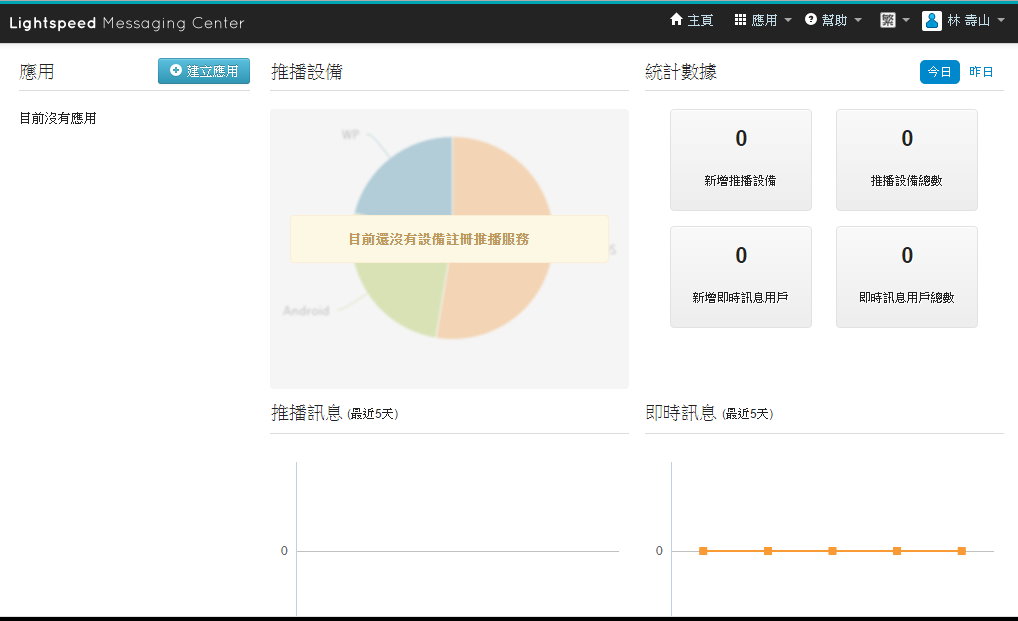
昨天在Codedata發表的那篇「Delphi APP 開發入門(七)通知與雲端推播」,網友問說可不可以自己寫一個Windows程式推播?當然是可以的!
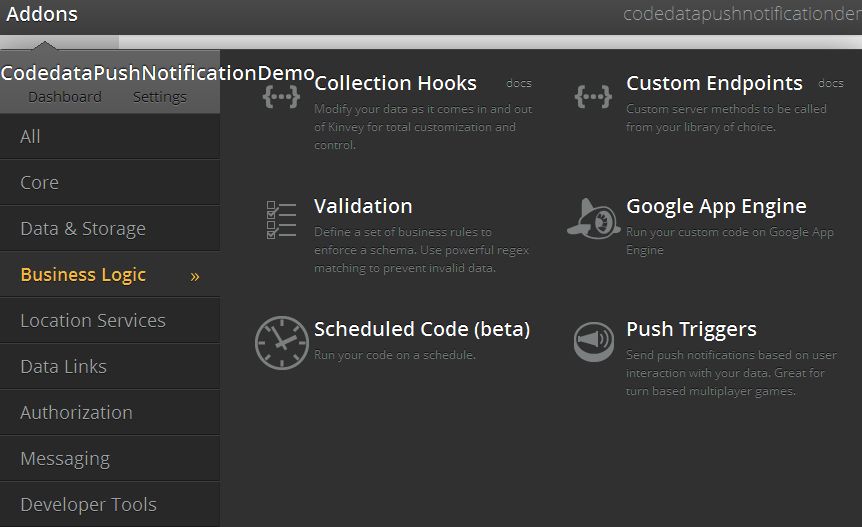
一、到 Kinvey 中Addons -> Business Logic -> Custom Endpoints
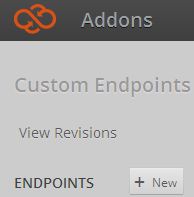
二、按下New新增,增加一個名稱為sendMessage的Endpoints
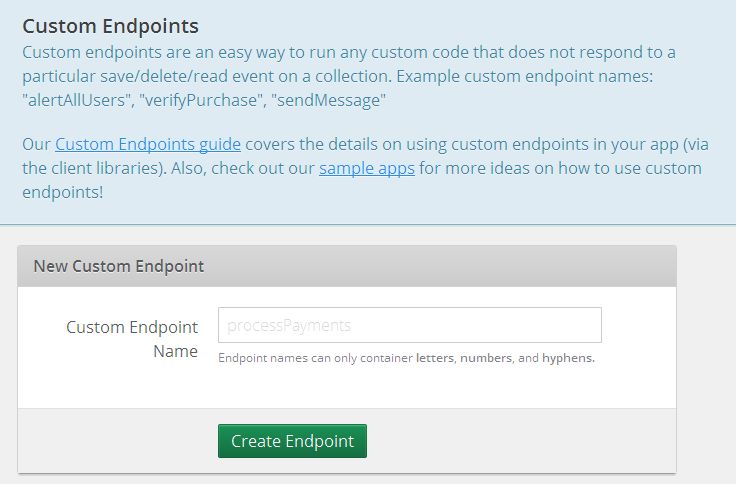
三、建立完成後在函數裡面加上下面的程式碼(如果對Custom Endpoints有興趣可以參考Custom Endpoints guide。
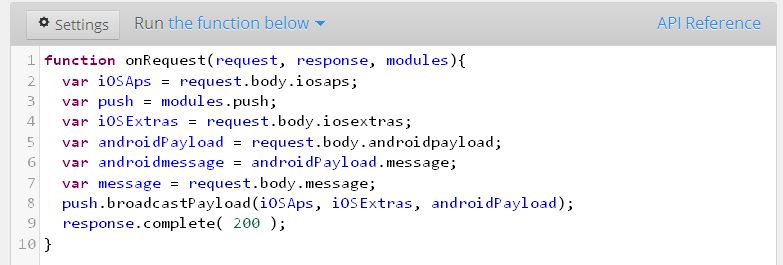
  var iOSAps = request.body.iosaps;
  var push = modules.push;
  var iOSExtras = request.body.iosextras;
  var androidPayload = request.body.androidpayload;
  var androidmessage = androidPayload.message;
  var message = request.body.message;
  push.broadcastPayload(iOSAps, iOSExtras, androidPayload);
  response.complete( 200 );
四、接著回到程式部份,我們要在KinveyProvider1的PushEndpoint 屬性設定為在kinvey新增的endpoint名稱’sendMessage’。接著在畫面上增加BackendPush1,將Provider 設定為 KinveyProvider1
五、在畫面上新增Edit元件以及Button元件,在Button的onclick元件中寫上程式碼如下
procedure TForm1.Button1Click(Sender: TObject);
begin
  backendpush1.GCM.Message := edit1.Text;
  backendpush1.Push;
end;
這樣就可以了!一樣附上原始碼供大家參考
https://github.com/superlevin/XE6KinveyPush