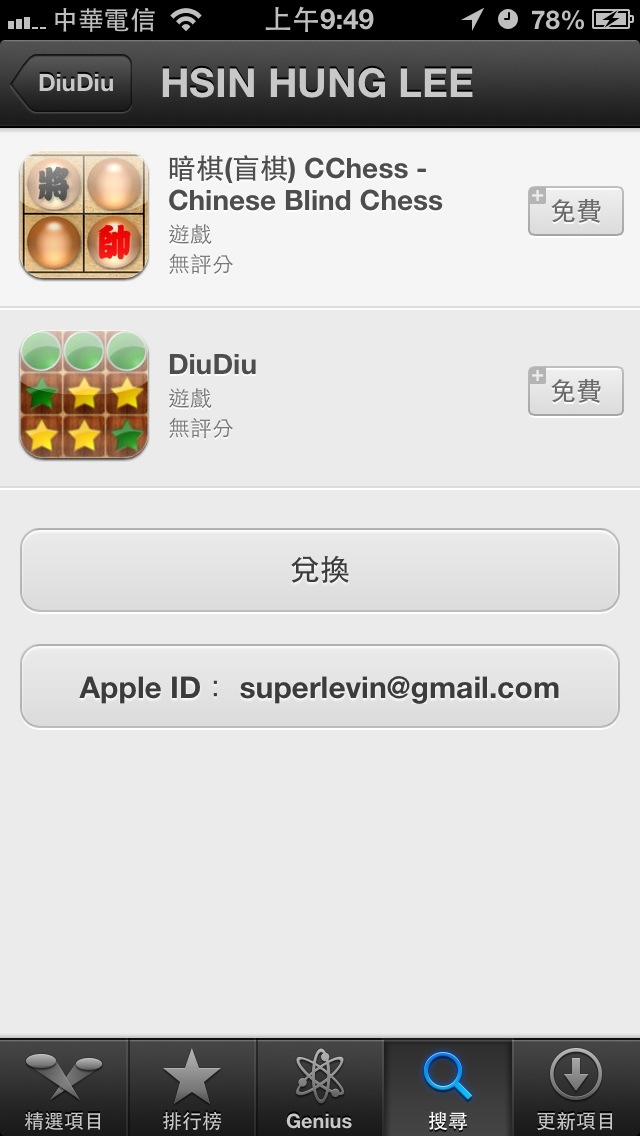
強者前東家老闆,同時也是 Delphi K.Top討論區站長 領航天使(李信宏),透過自己實作的方式分享如何使用Delphi XE4開發iOS以及上架。簡報中也看到實際有上架了二個app,CChess(中國象棋暗棋)以及DiuDiu。這意味著以前利用Delphi 寫的遊戲,可以不用很痛苦的透過Delphi XE4移植到 iOS上囉!
大型網站架構..net 架構師.rabbitMQ.redis.行動開發.APP開發教學.PHP Laravel開發..net core C# 開發.架構師之路.Delphi開發.資料庫程式.進銷存.餐飲POS系統
強者前東家老闆,同時也是 Delphi K.Top討論區站長 領航天使(李信宏),透過自己實作的方式分享如何使用Delphi XE4開發iOS以及上架。簡報中也看到實際有上架了二個app,CChess(中國象棋暗棋)以及DiuDiu。這意味著以前利用Delphi 寫的遊戲,可以不用很痛苦的透過Delphi XE4移植到 iOS上囉!
Embarcadero官方的文件 iOS Tutorials: Delphi iOS Application Development ,對於使用Delphi XE4開發iOS有興趣的朋友,一定得下載下來看看的好文件。
下載網址: http://docs.embarcadero.com/products/rad_studio/radstudioXE4/iOS%20Tutorial%20en.pdf
示範如果快速使用Delphi XE4開發iOS定位功能的程式
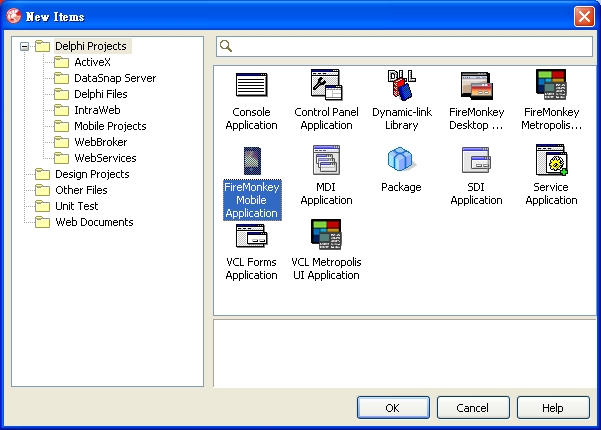
1.建立一個新的FireMonkey Mobile Application
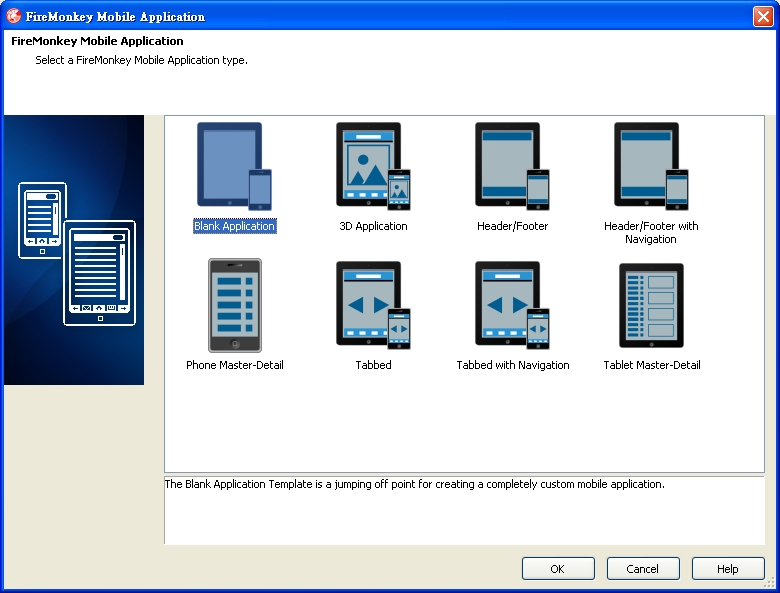
2.選擇 Blank Application 空白類型。
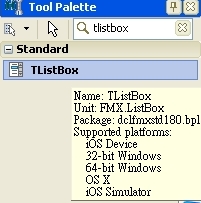
3.新增元件ListBox,將 Align 改為 alTop; GroupingKind 改為 GsGrouped;StyleLookup 改為 transparentlistboxstyle。
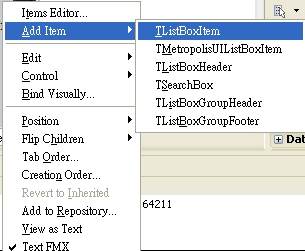
4. ListBox按右鍵,Add Item 新增 TListBoxHeader,在裡面新增Label ,屬性 Align 設為 alClient ; StyleLookup 設為 toollabel ; TextAlign 設為 taCenter。

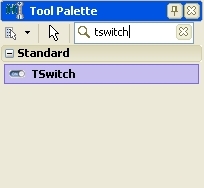
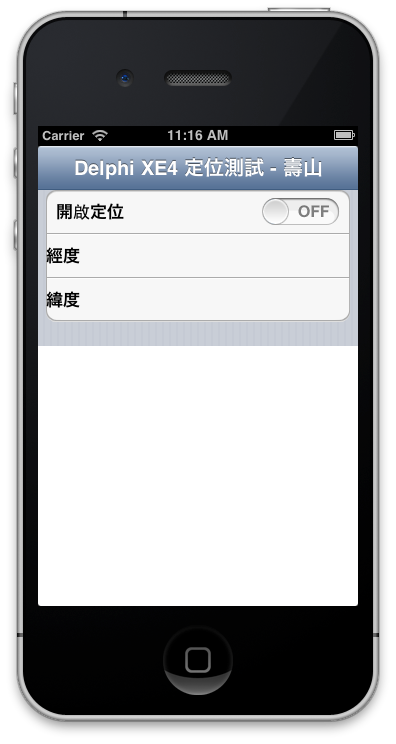
5. 接著新增三個 TListBoxItem,分別是開啟定位、經度、緯度。在開啟定位的右側新增TSwitch開關來開啟定位功能。經度、緯度使用TLabel。
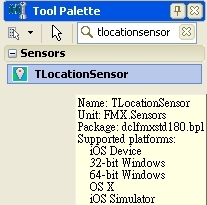
6.接著在畫面上佈置TWebBrowser跟TLocationSensor,TWebBrowser的 Align 設為 alClient。

7.佈置好的畫面如下圖
8. 在Switch1 的 OnSwitch 事件中新增程式如下
[delphi]
procedure TForm1.Switch1Switch(Sender: TObject);
begin
LocationSensor1.Active := Switch1.IsChecked ;
end;
[/delphi]
9.接著在 LocationSensor1 的 OnLocationChange事件中新增程式如下
[delphi]
procedure TForm1.LocationSensor1LocationChanged(Sender: TObject;
const OldLocation, NewLocation: TLocationCoord2D);
const
sGoogleMapURL : String = ‘https://maps.google.com/maps?q=%s,%s&output=embed’;
begin
label3.Text := ‘經度: ‘ + NewLocation.Latitude.ToString;
label2.Text := ‘緯度: ‘ + NewLocation.Longitude.ToString;
WebBrowser1.Navigate(Format(sGoogleMapURL,
[NewLocation.Latitude.ToString,
NewLocation.Longitude.ToString]));
end;
[/delphi]
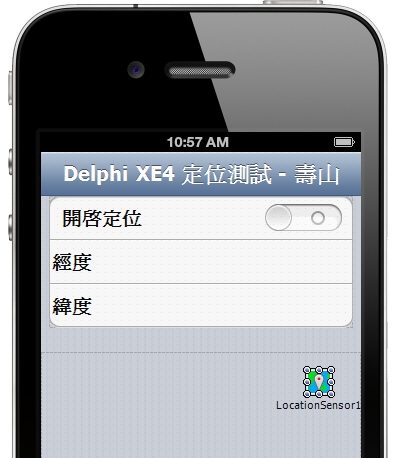
10.大功告成!我們來看執行結果

這是李維所教的小撇步,果然有些眉眉角角要注意!
如果單純使用ListBox元件的話,畫面設定好像這樣。
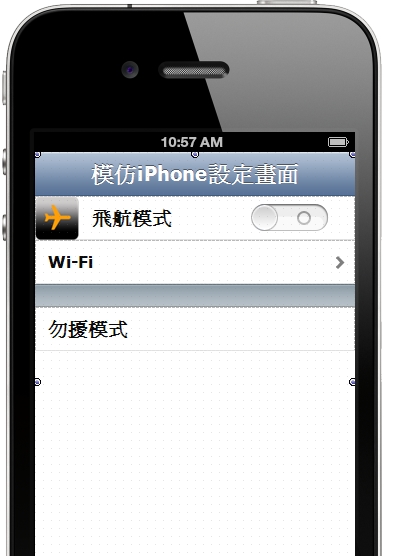
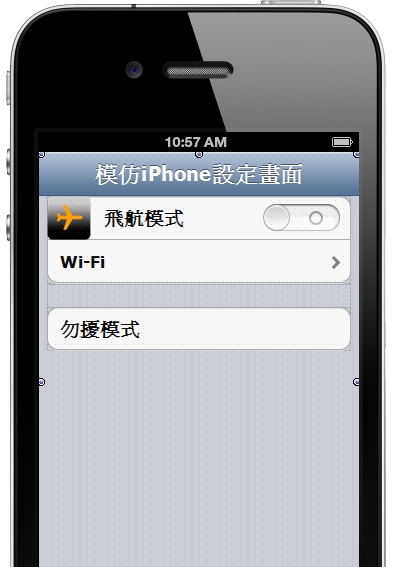
不過在調整ListBox二個屬性後,就山寨的更像了喔!
1. GroupingKind 改成 gsGrouped
2. Stylelookup 改成 transparentlistboxstyle
在上一篇文章中,筆者教大家如何在Mac系統中配置PAServer了,接下來要教大家如何設計可以同時執行在Windows及Mac OS的程式。
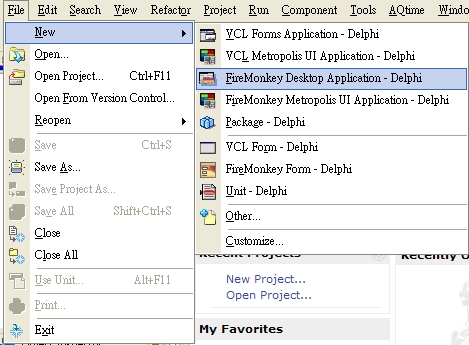
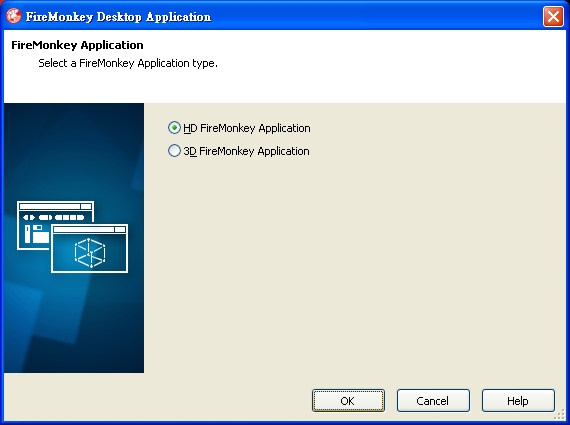
一、File→New選取FireMonkey Desktop Application
二、接下來選擇一般的HD FireMonkey Application
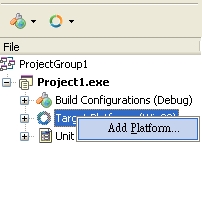
三、新增專案後,在專案的Target Platform按右鍵,選擇Add Platform
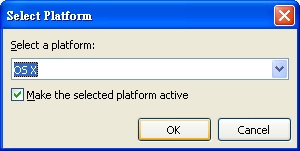
四、接著選擇OS X後按ok
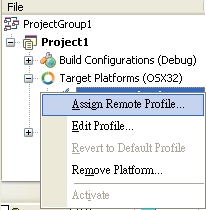
五、接著在OS X按右鍵 Assign Remote Profile 設置OS X的編譯環境
六、Profile name填上你要的名字
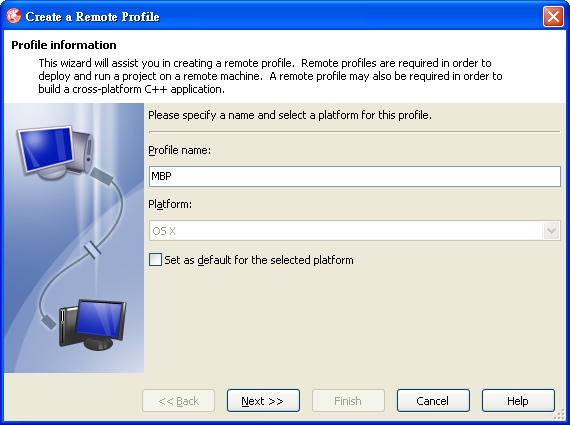
七、Host name填上你在上一篇文章設置的MAC OS主機位置,password則設置上篇文章所設定的密碼。

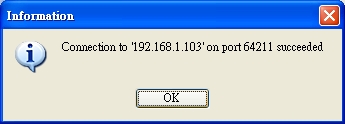
八、按 Test Connection測試是否可以連得上(記得要執行paserver)
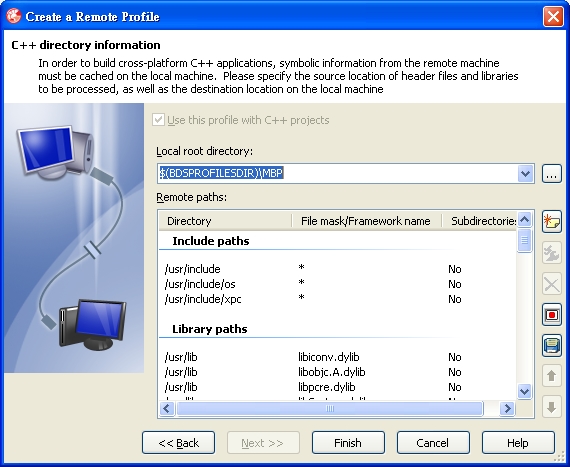
九、如果順利的話,按下Finish就大功告成!
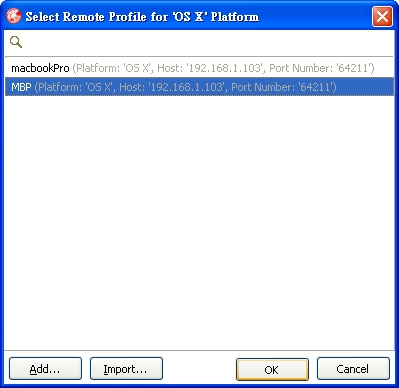
九、接著點選剛才建立的Platform名稱按OK!
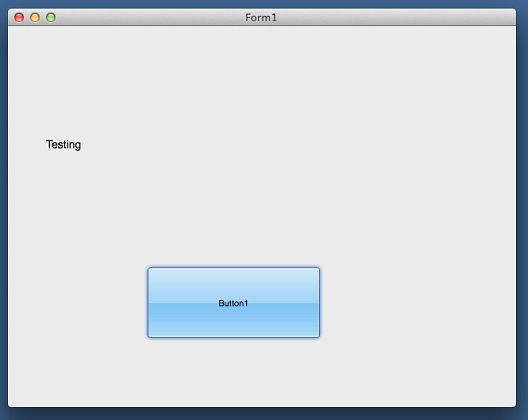
十一、如果設定沒錯的話,在XE3按下執行後,程式就會直接執行在Mac OS的畫面上囉!
1.安裝PAServer
將 \Program Files\Embarcadero\RAD Studio\10.0\PAServer中的setup_paserver.zip 複製到 Mac OSX系统
2.將setup_paserver.zip解壓縮進行安裝。
3.安裝完後,進行環境配置
\user\XXXX\Applications\Embarcadero\RADPAServer\10.0\,執行paserver
4.執行後,paserver會請您設定密碼,設定完後就配置ok!
5.利用文字編輯程式打開目錄下的 paserver.command,在第二行後面加上-password=xxxx,xxxx是你在上一步驟設定的密碼。儲存後關閉!
6.幫 paserver.command建立捷徑(替身),或是利用「系統偏好設定」→「帳號」→「登入項目」讓它隨系統啟動。