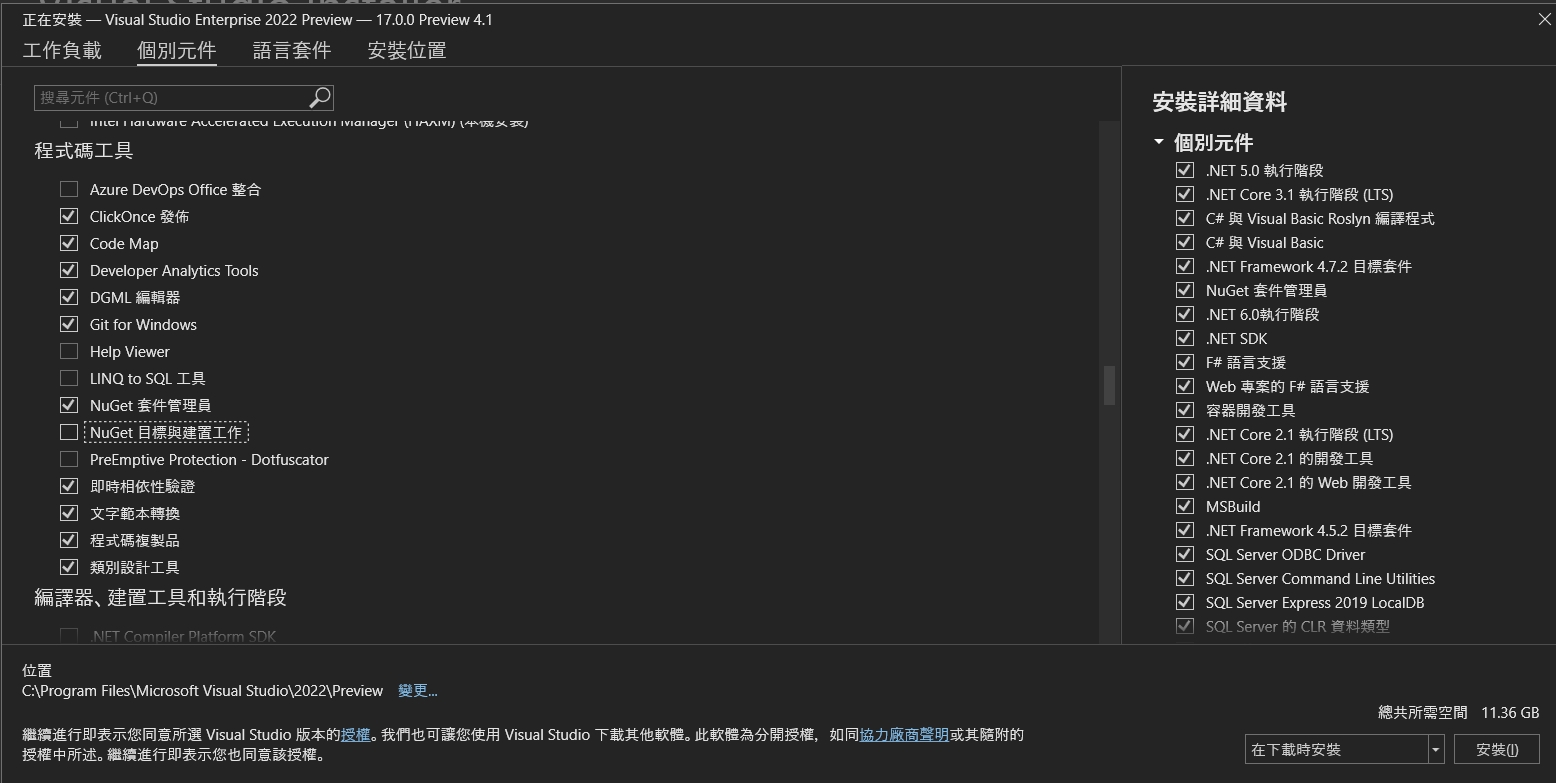
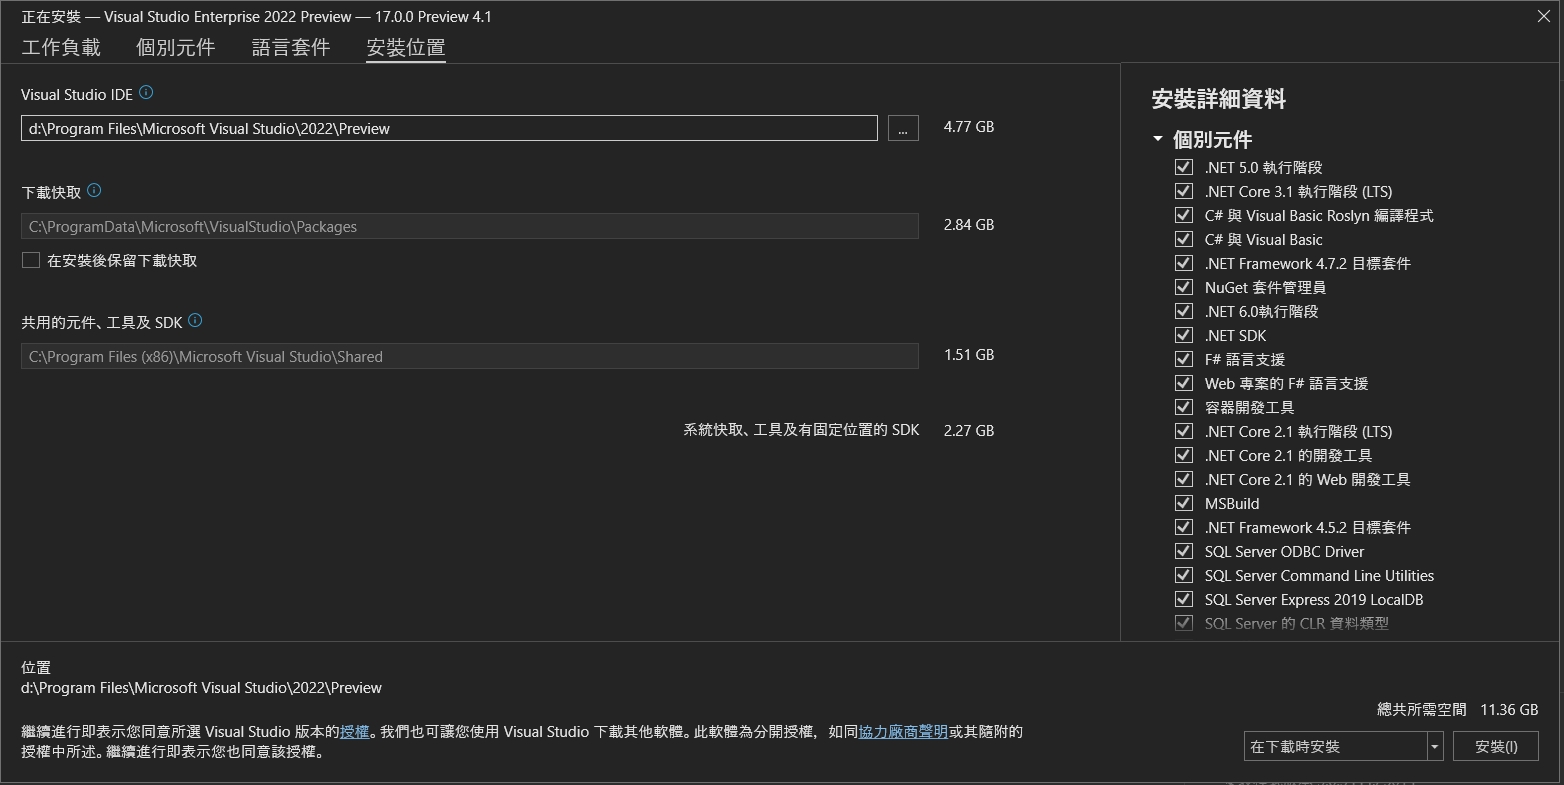
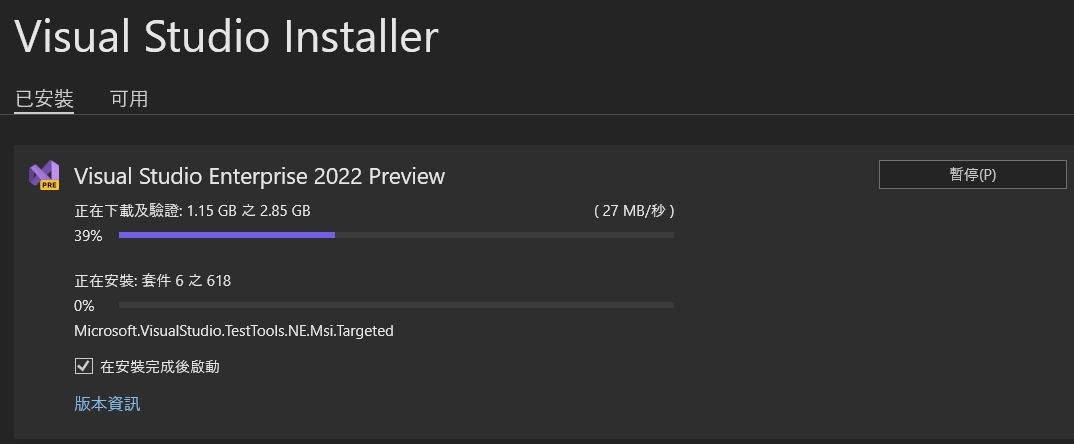
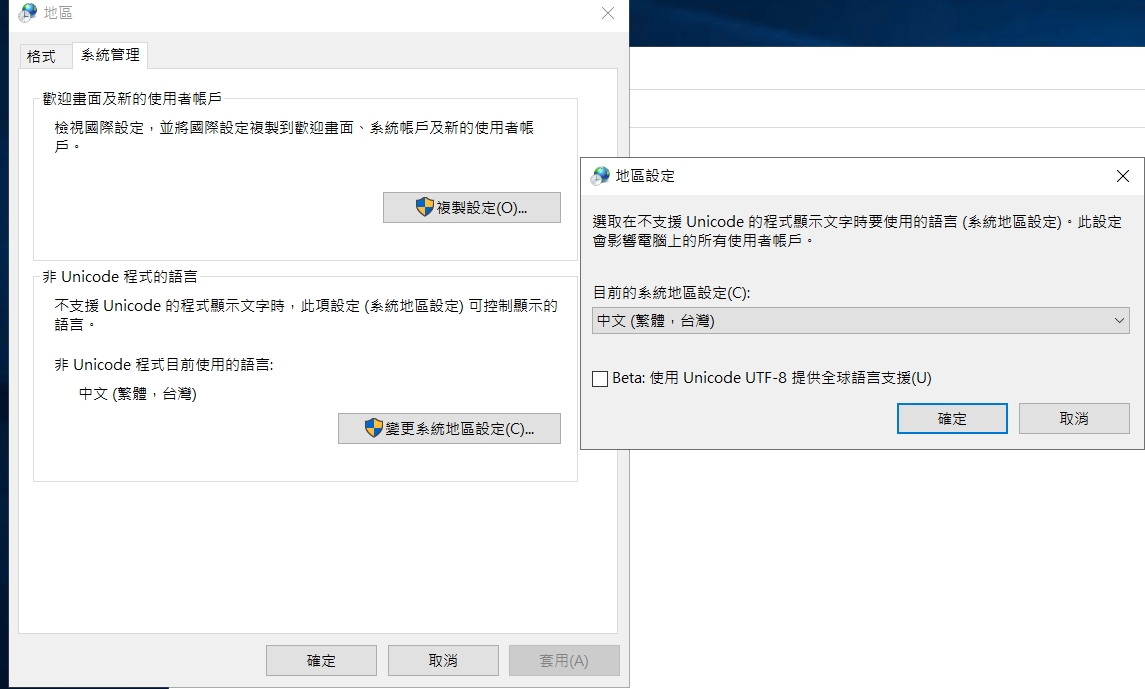
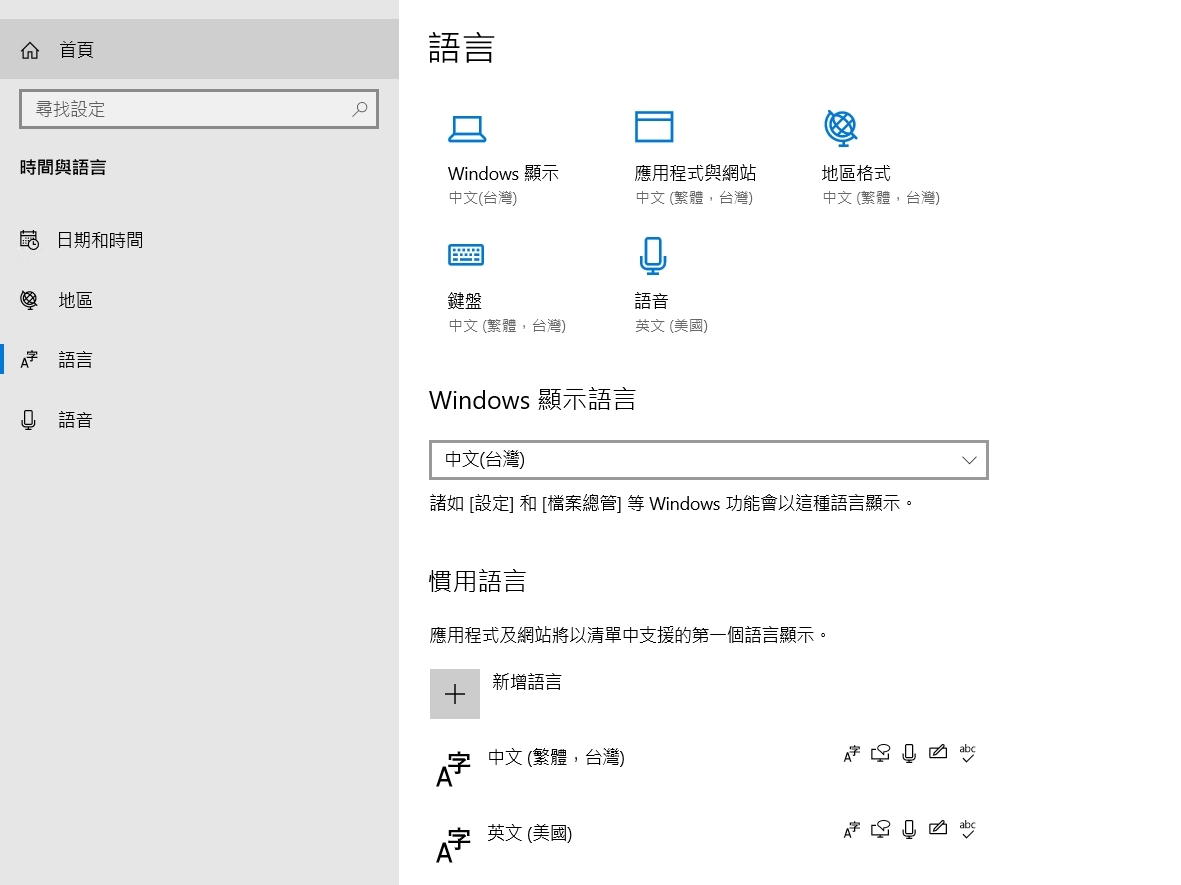
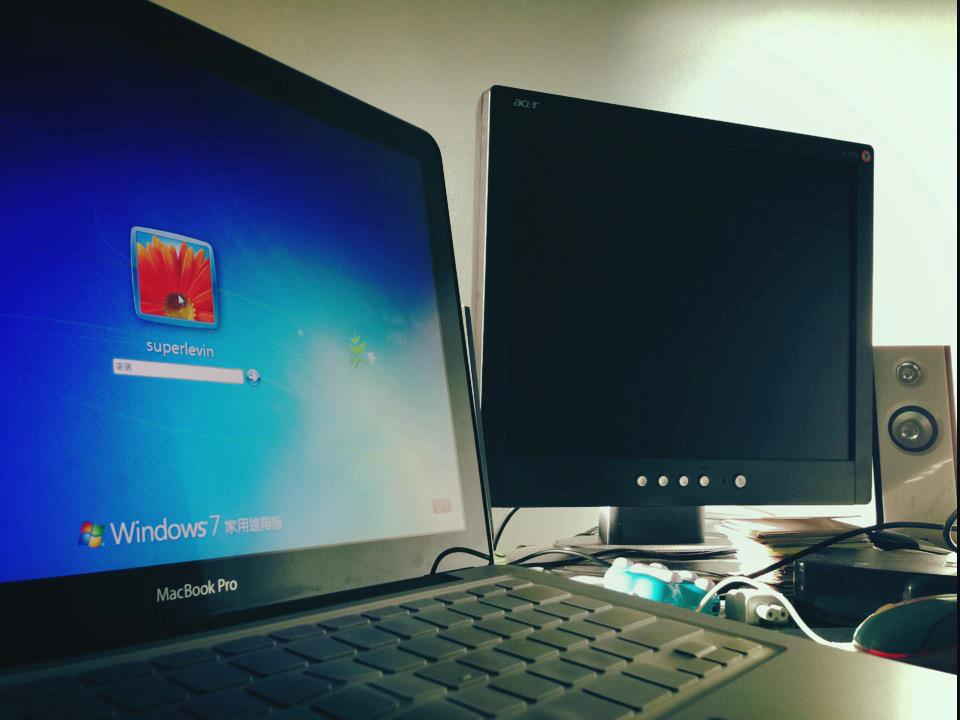
不管在AWS開EC2,還是Azure開虛擬機器,上面預設安裝的系統都會是英文版的。
要顯示中文的話除了在語言上面要新增中文繁體,台灣外

也要記得在設定中的地區系統管理,有一個非Unicode程式的語言,要變更為中文 繁體.台灣,不然會出現亂碼的冏境。

大型網站架構..net 架構師.rabbitMQ.redis.行動開發.APP開發教學.PHP Laravel開發..net core C# 開發.架構師之路.Delphi開發.資料庫程式.進銷存.餐飲POS系統
不管在AWS開EC2,還是Azure開虛擬機器,上面預設安裝的系統都會是英文版的。
要顯示中文的話除了在語言上面要新增中文繁體,台灣外

也要記得在設定中的地區系統管理,有一個非Unicode程式的語言,要變更為中文 繁體.台灣,不然會出現亂碼的冏境。

http3協定是架構在以往被認為最不穩定的UDP基礎上,而為了消除UDP的不確定性,加上了QUIC協定。
透過QUIC來替代TCP對於可靠以及流量的控制,使得http3可以有效可靠的進行傳輸。
在.net 6的preview版本中,微軟也加上了對http/3的支援,也許它會是http協定的一估新的未來
https://laravel-news.com/laravel-8-58-0
增加了updateOrFail()、exclude的排除驗證方式、http retry、whereRelation等這功
2000年從商業經營科系轉至勤益的資訊管理科二專部後,就開始接觸Delphi5這門程式語言,記得當初使用QB/VB都覺得不到位,遇到Delphi後覺得這開發工具真的很強大,於是努力學習精進。
這門語言,也讓我得到了在國泰電腦的第一份軟體業工讀生工作後,甚至讓我進入海軍陸戰隊服役時,因為對資料庫程式的特別專長,也參與了兵棋、陸戰隊進銷存等專案開發。退伍後,也陸續進入公司開發過中醫醫療軟體、檢驗儀器系統連線、會計、人事薪資、票據、餐飲POS等系統,客戶也從中醫診所、檢驗室、檢驗所到流通業、百貨業甚至超市業。
毫無疑問的,Delphi是近25年來我覺得唯一也是擁有絕對地位的Windows資料庫應用程式開發工具王者,從幹掉VB、Powerbuilder的工具來看,近幾年也著重在APP的開發上,但也許因為有不少開源的開發語言(如:Cordova、Xamarin、NativeScript、React Native、Electron、Flutter) 導致優勢不再。連近期公司的走向也是主要以雲端開發為主了!
雖然還不致於正式跟它Say Goodbye~不過使用它的頻率真的減少許多就是

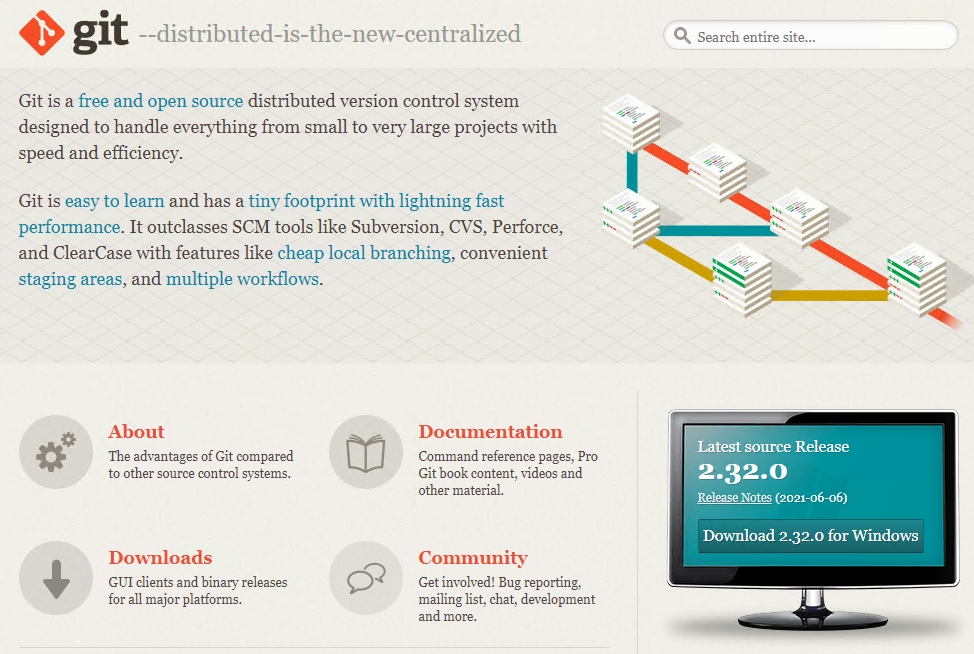
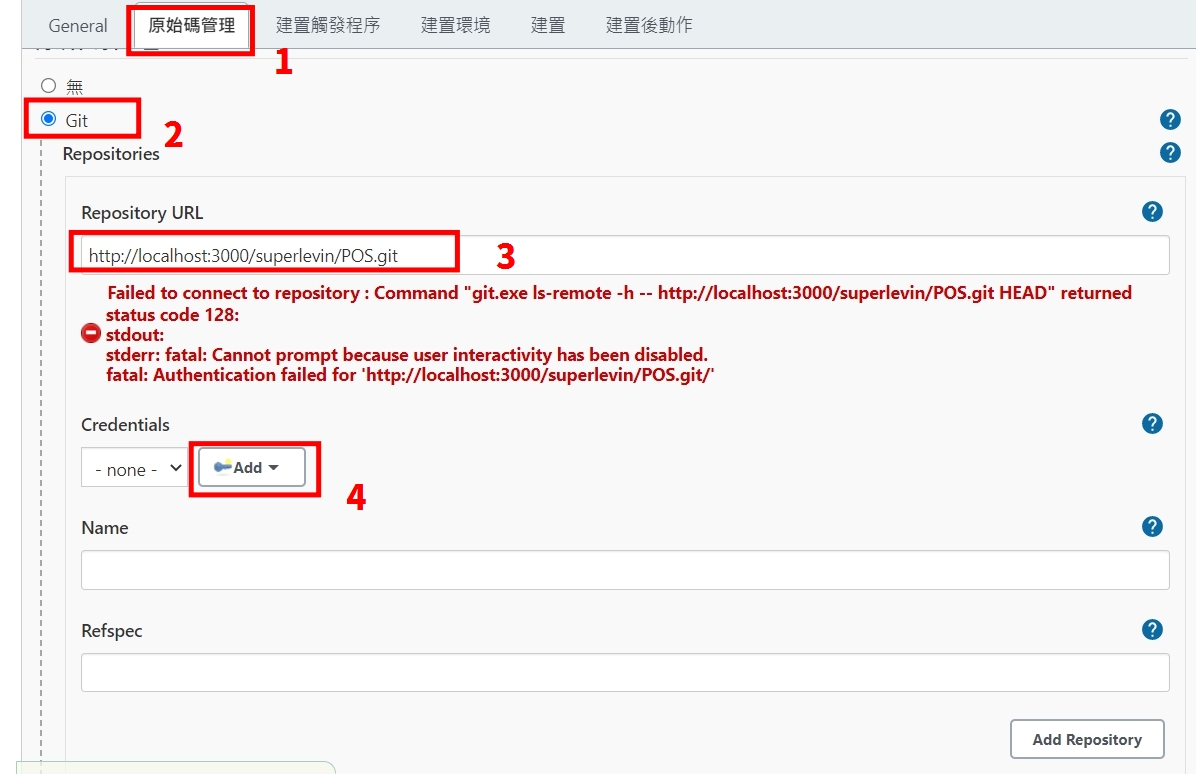
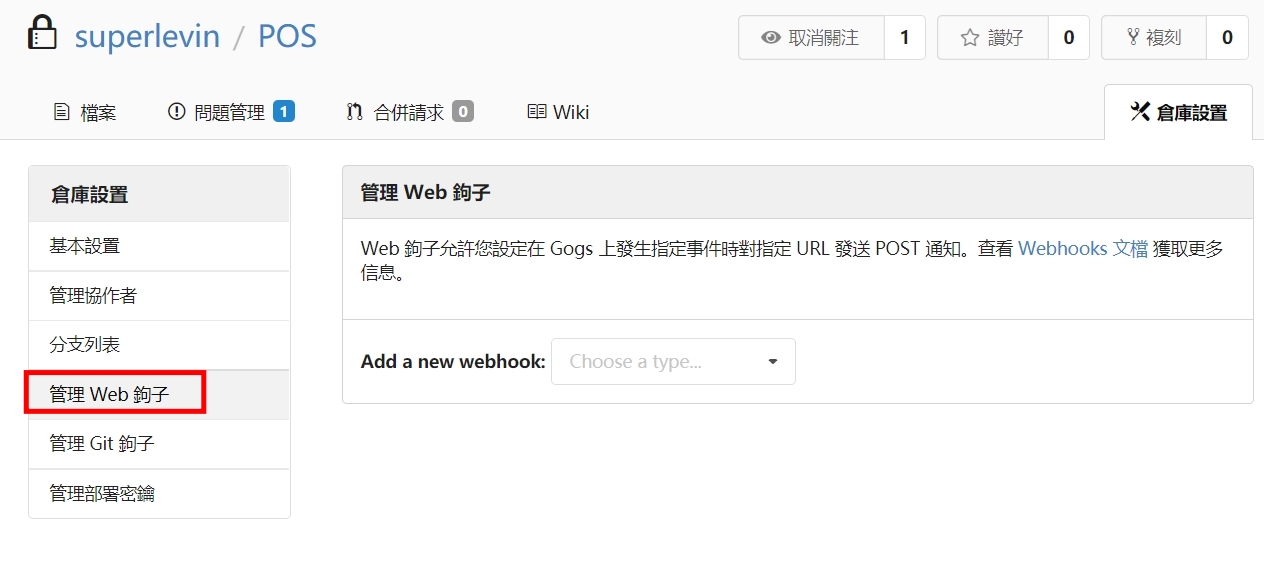
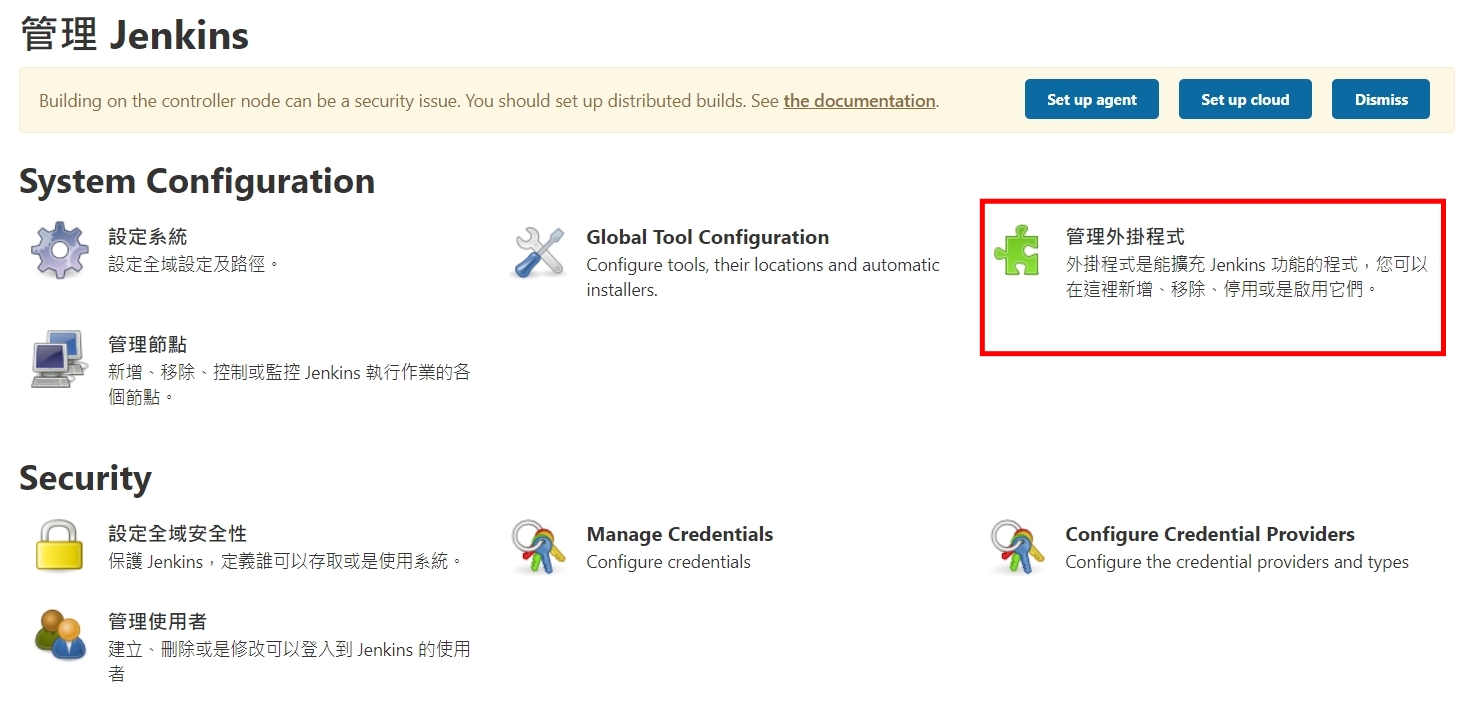
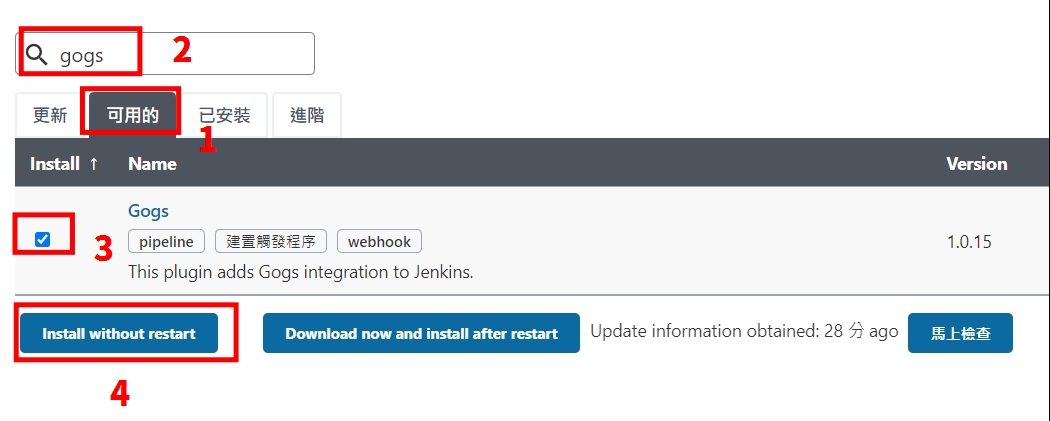
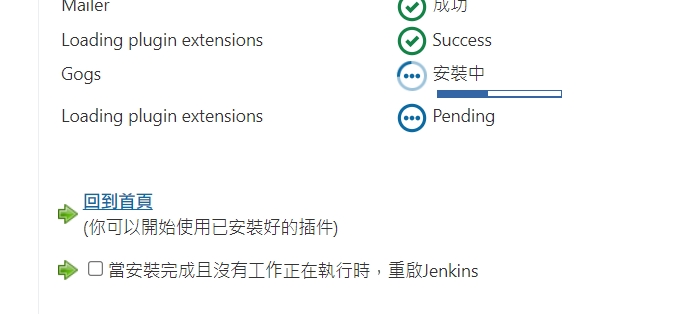
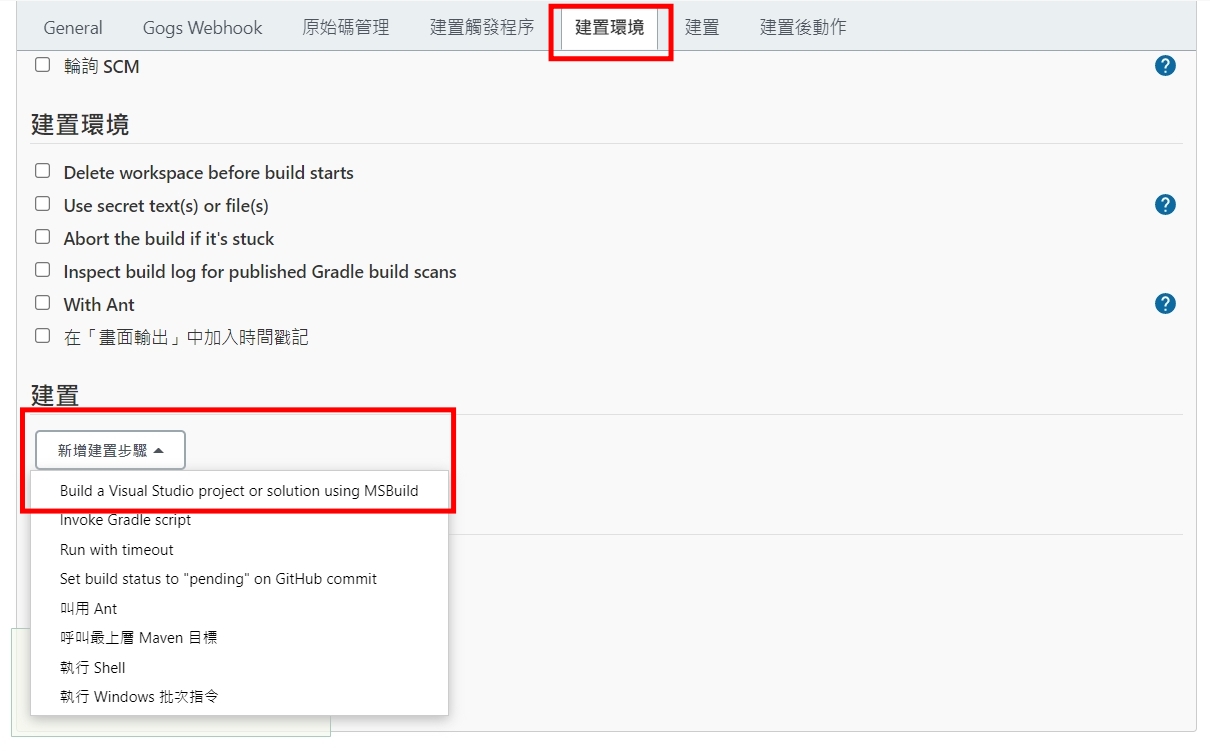
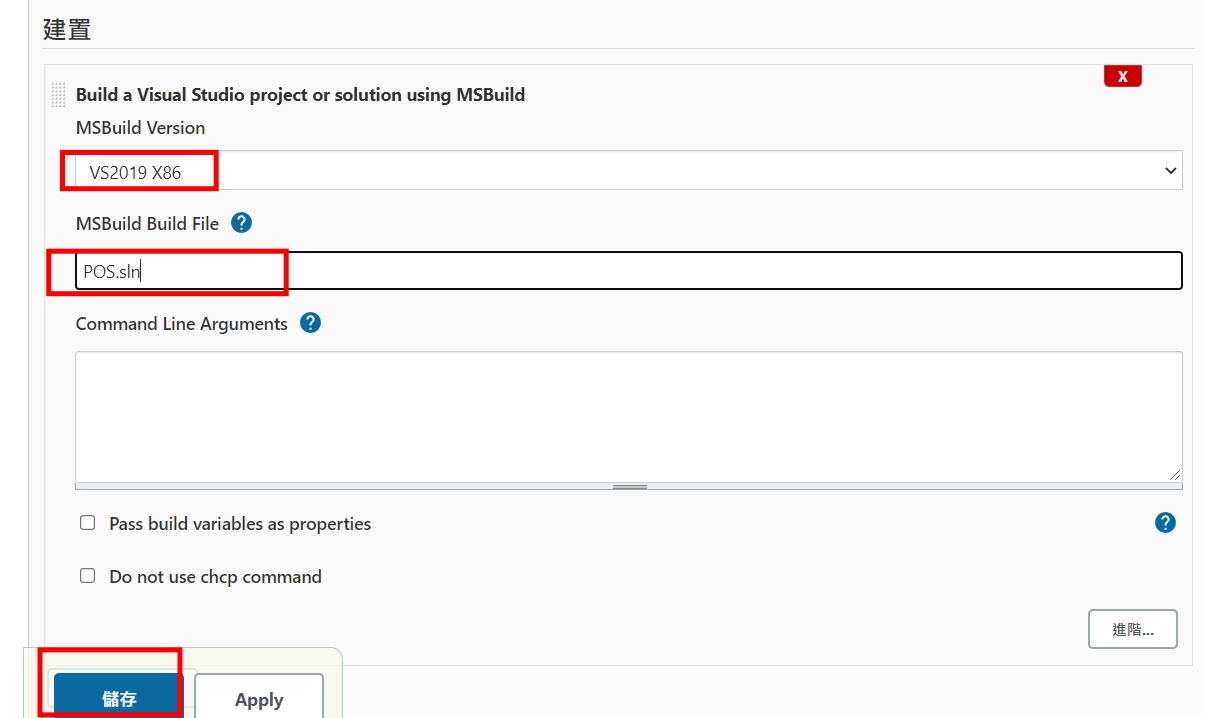
一、安裝Git

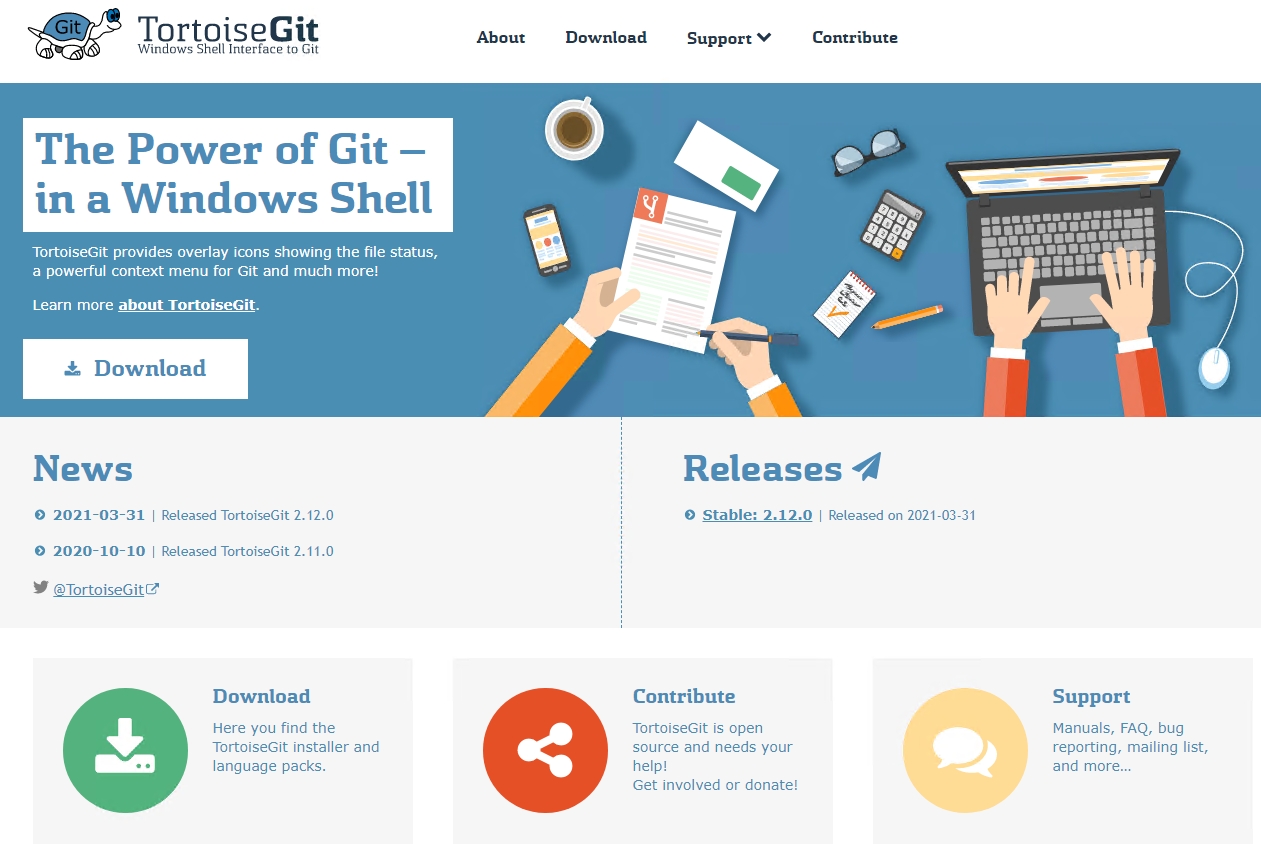
二、安裝 T

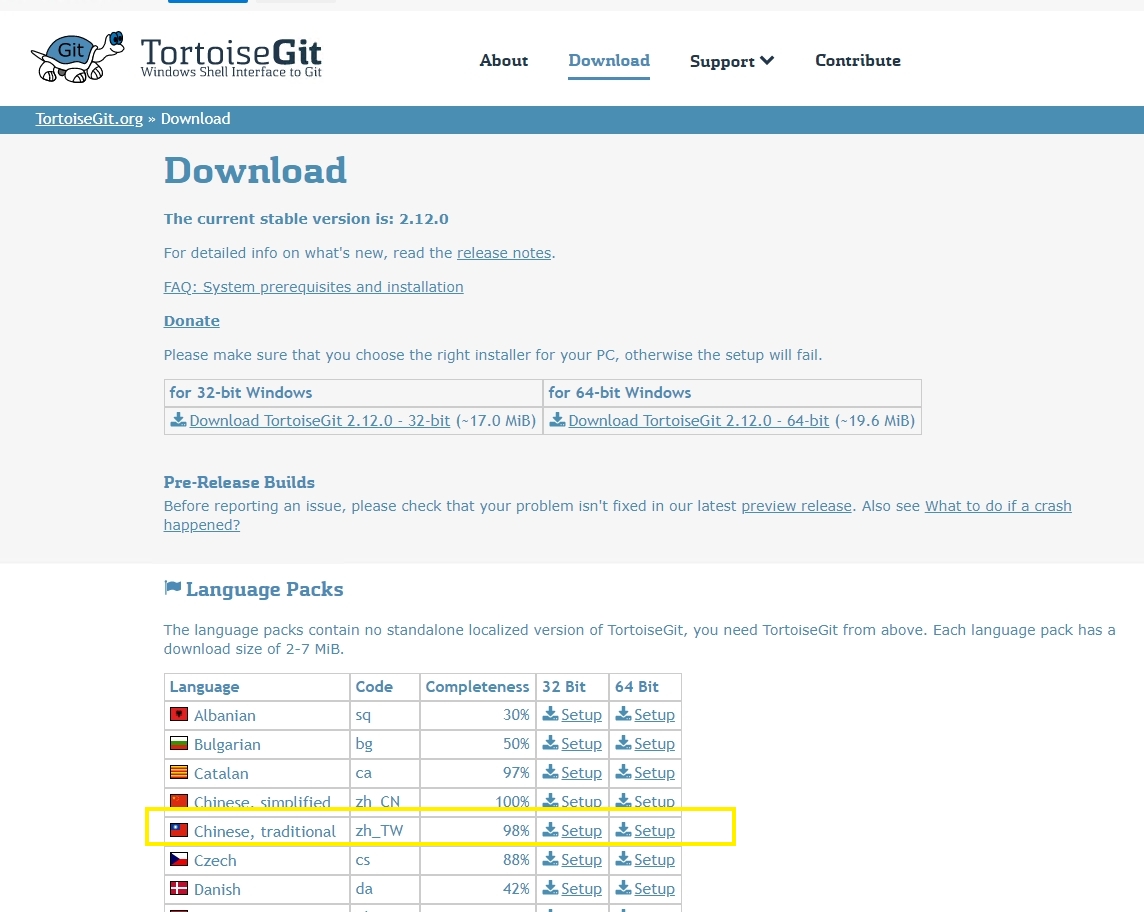
三、記得有繁體中文的語系包,可以一起安裝上

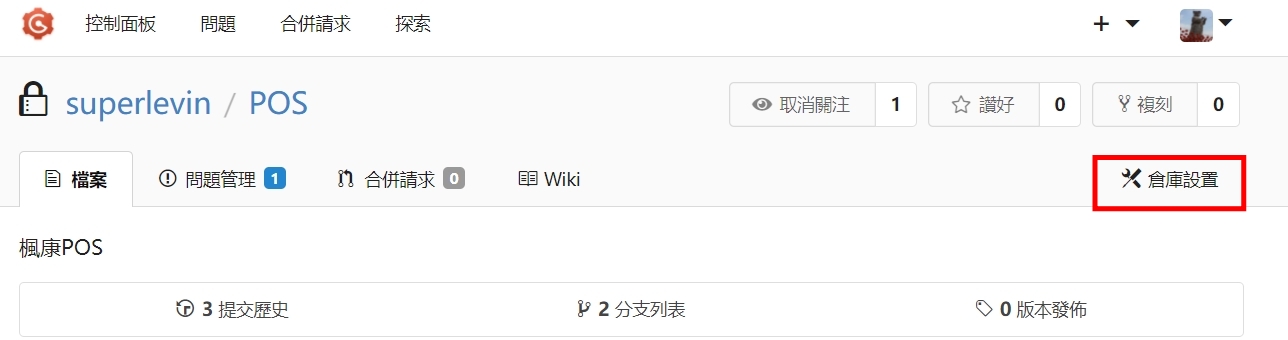
四、安裝Gogs

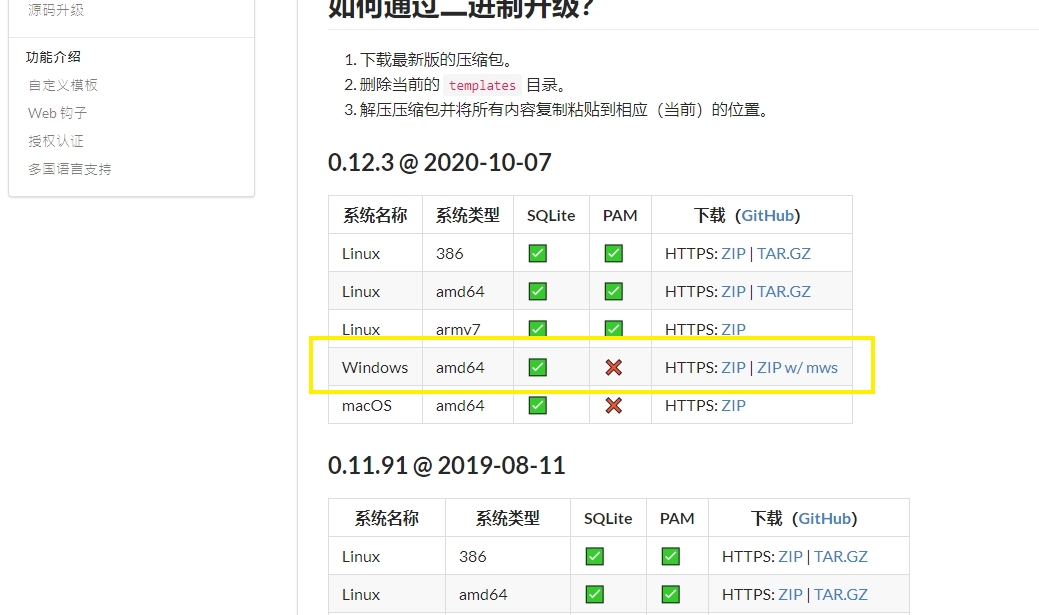
五、下載透過二進制即可,切到目錄 gogs web

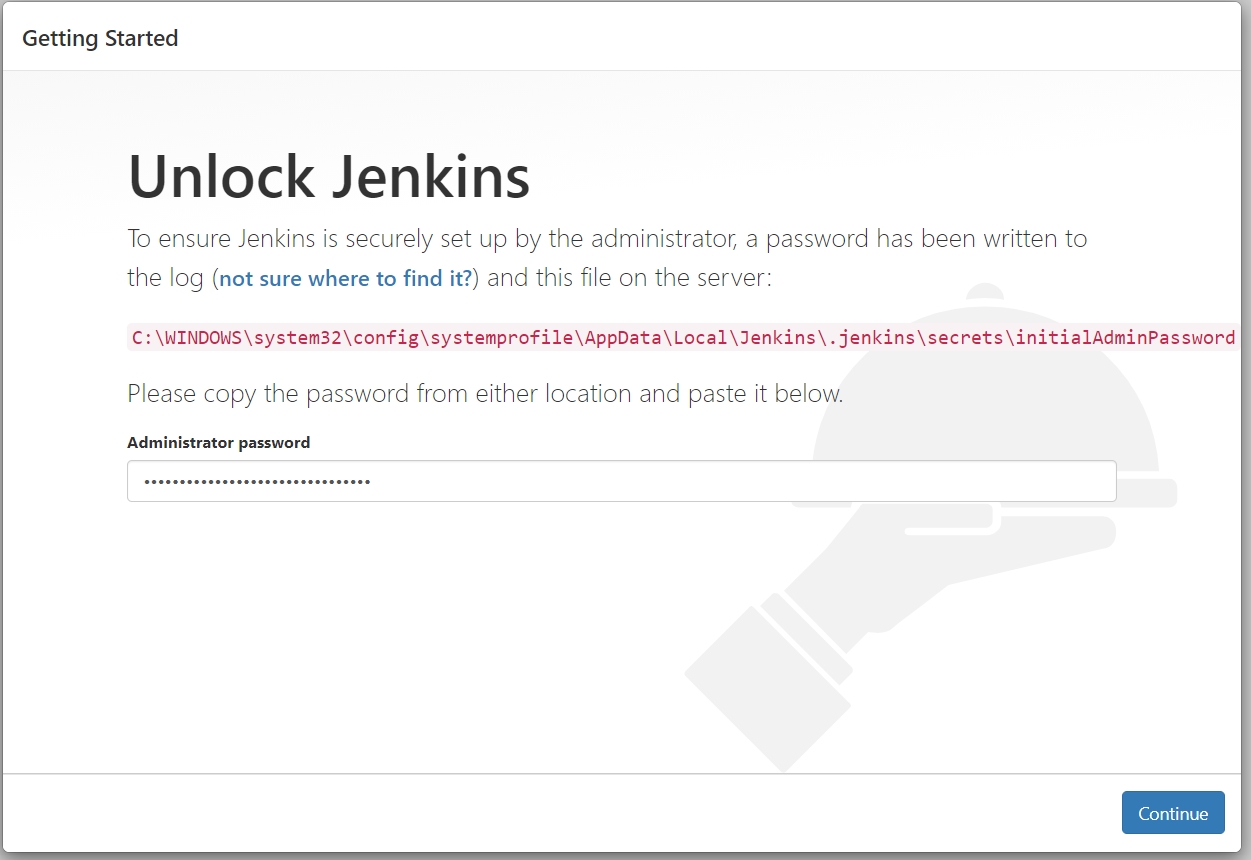
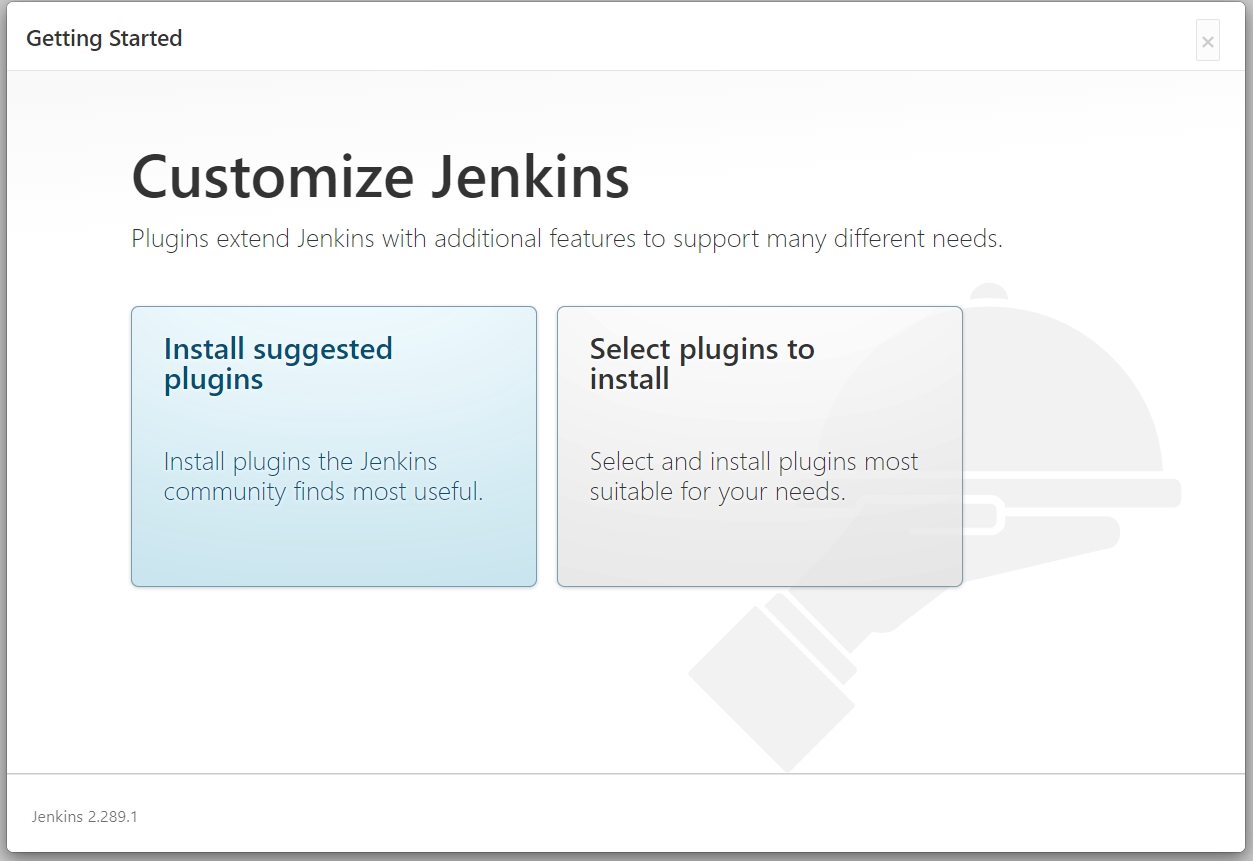
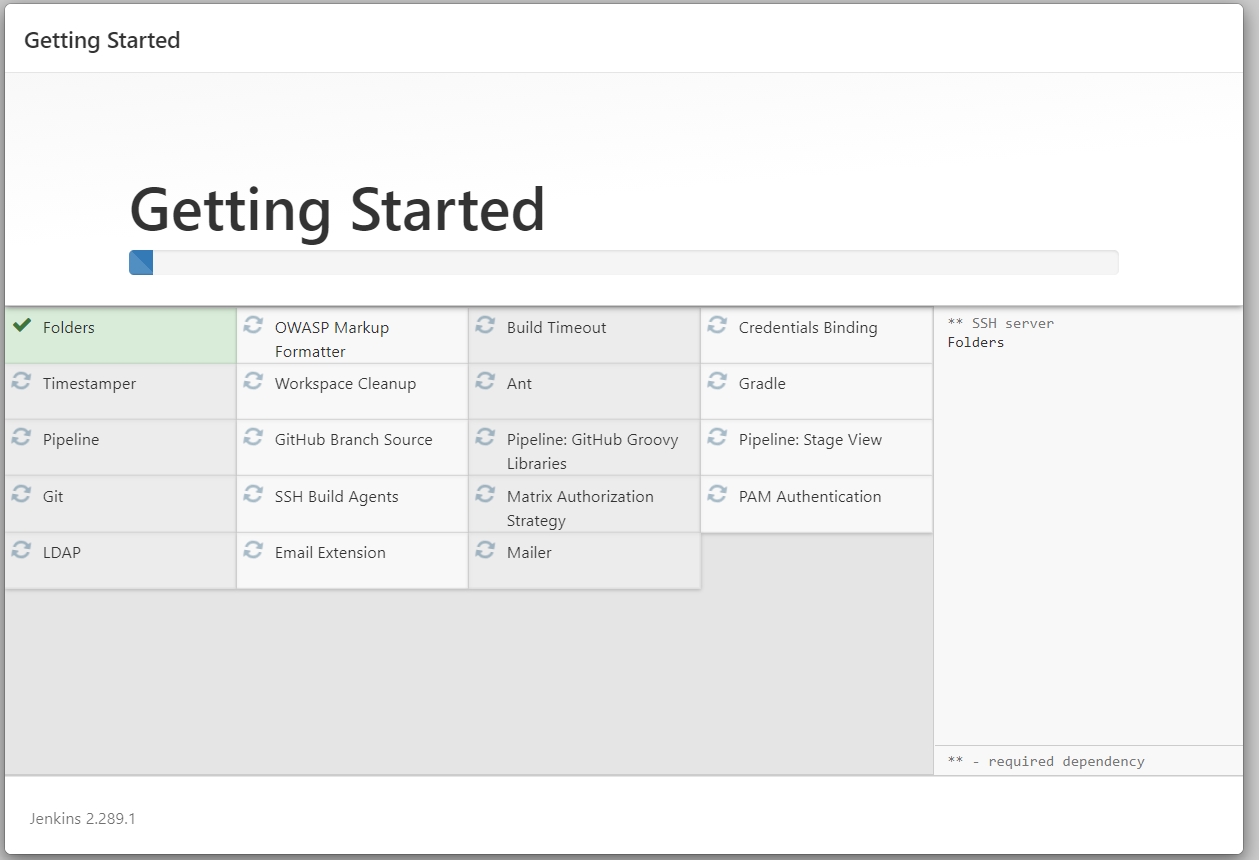
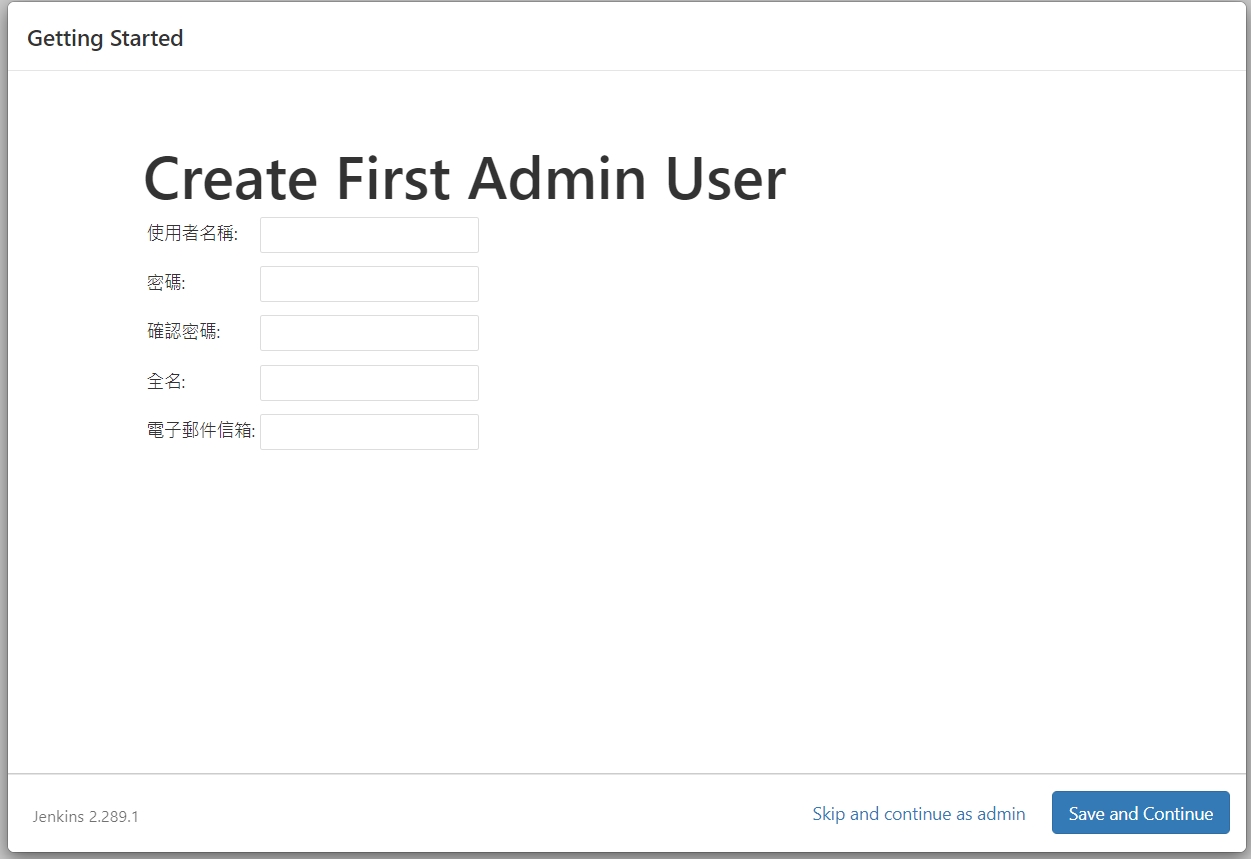
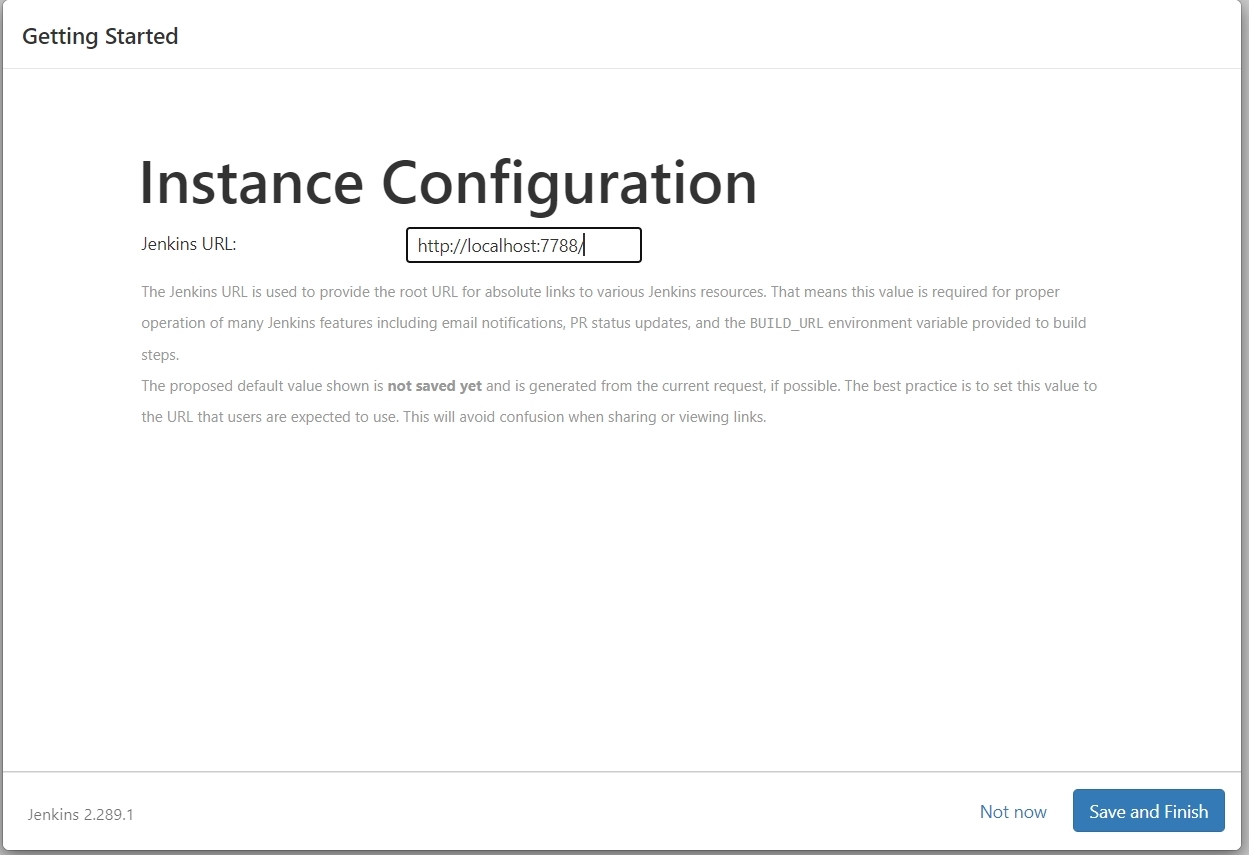
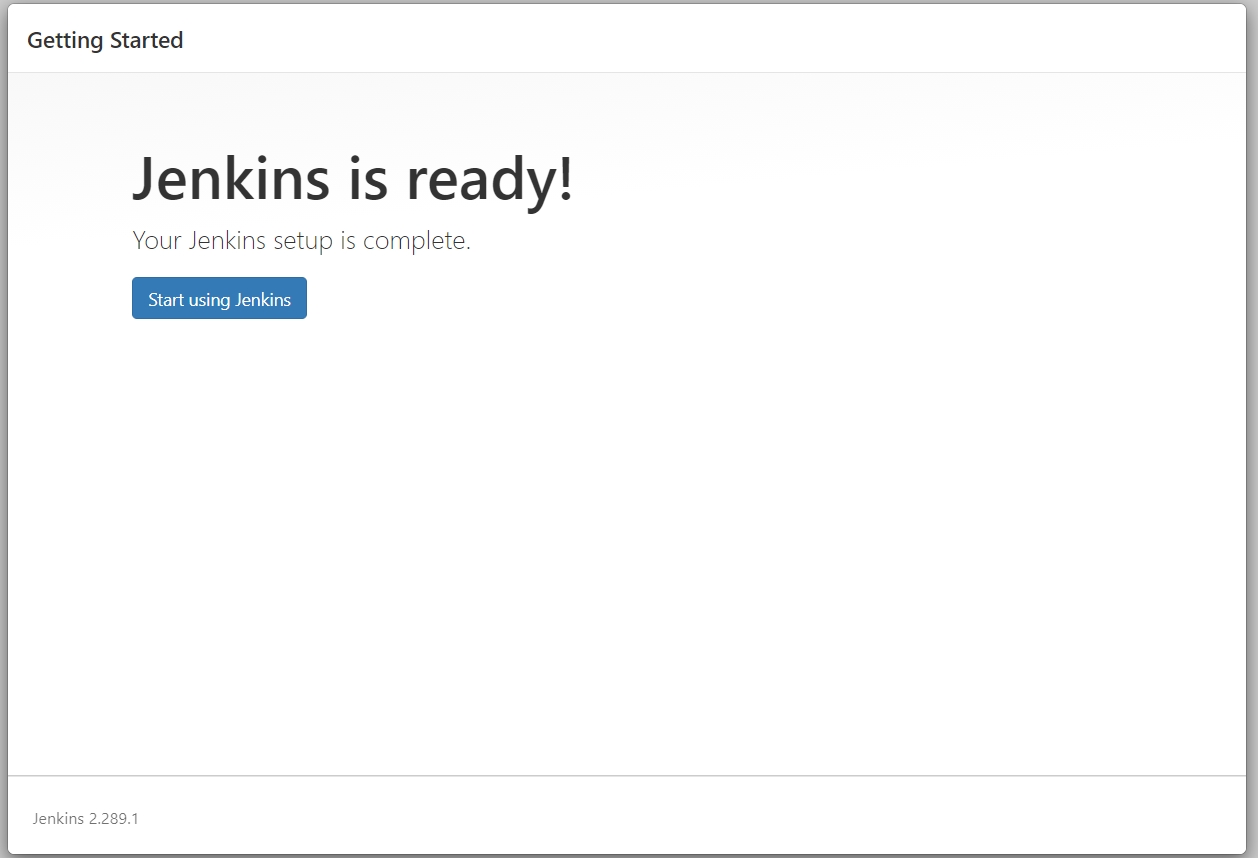
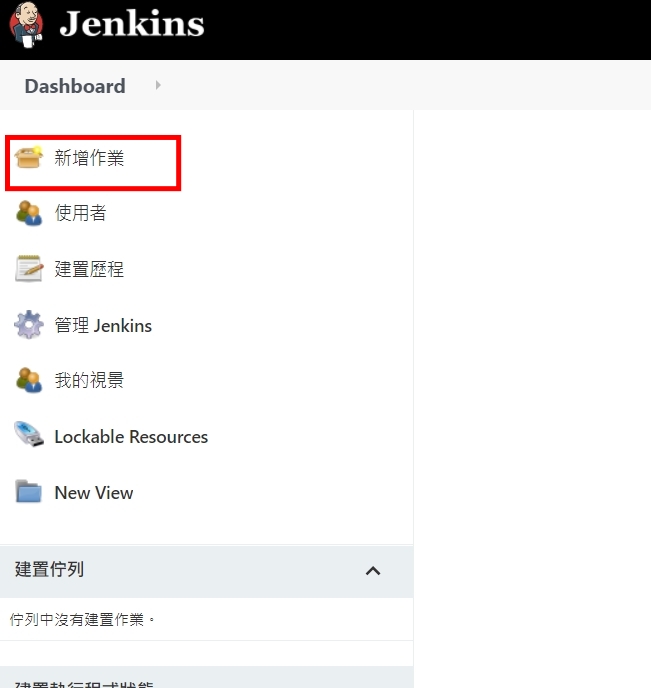
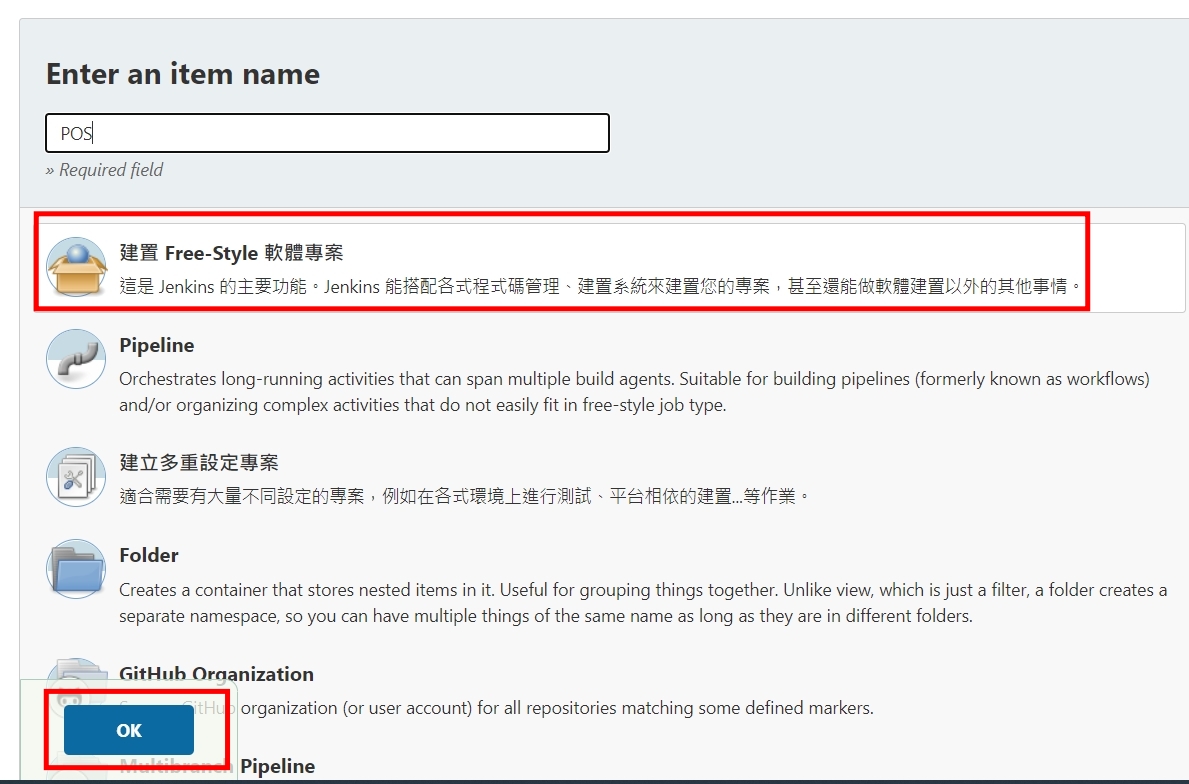
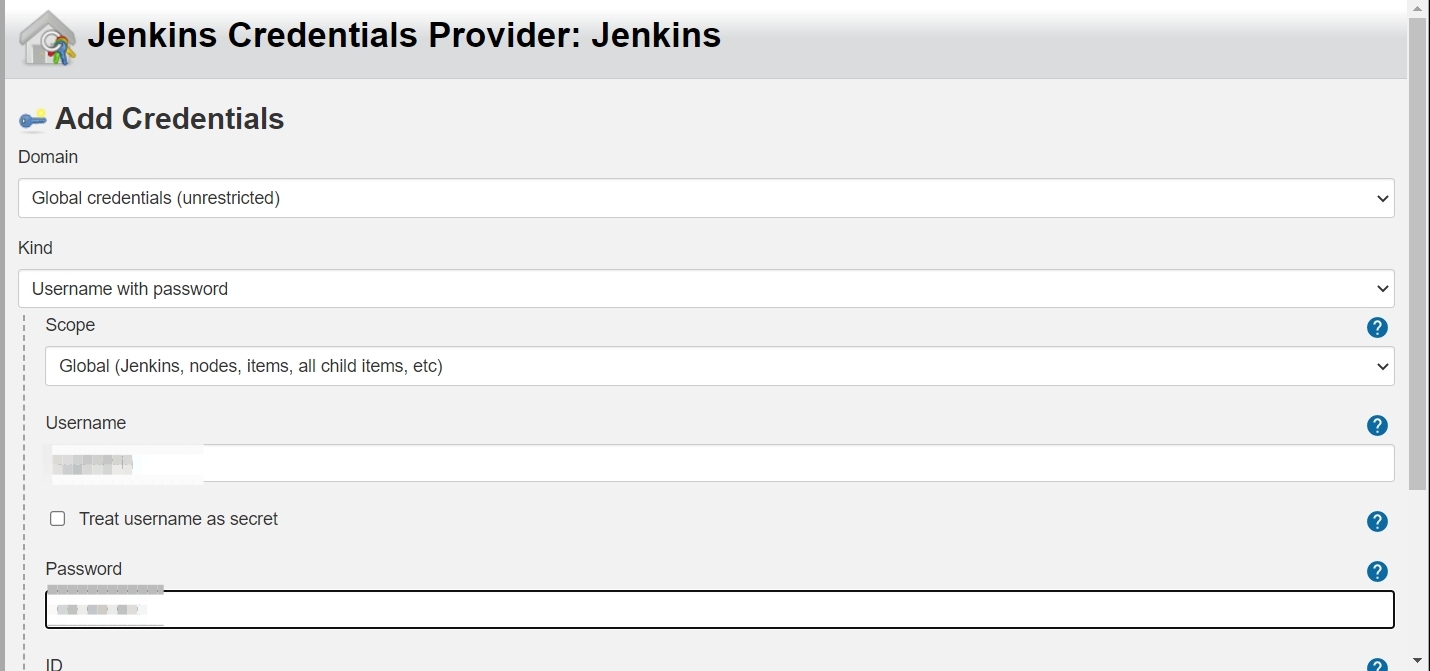
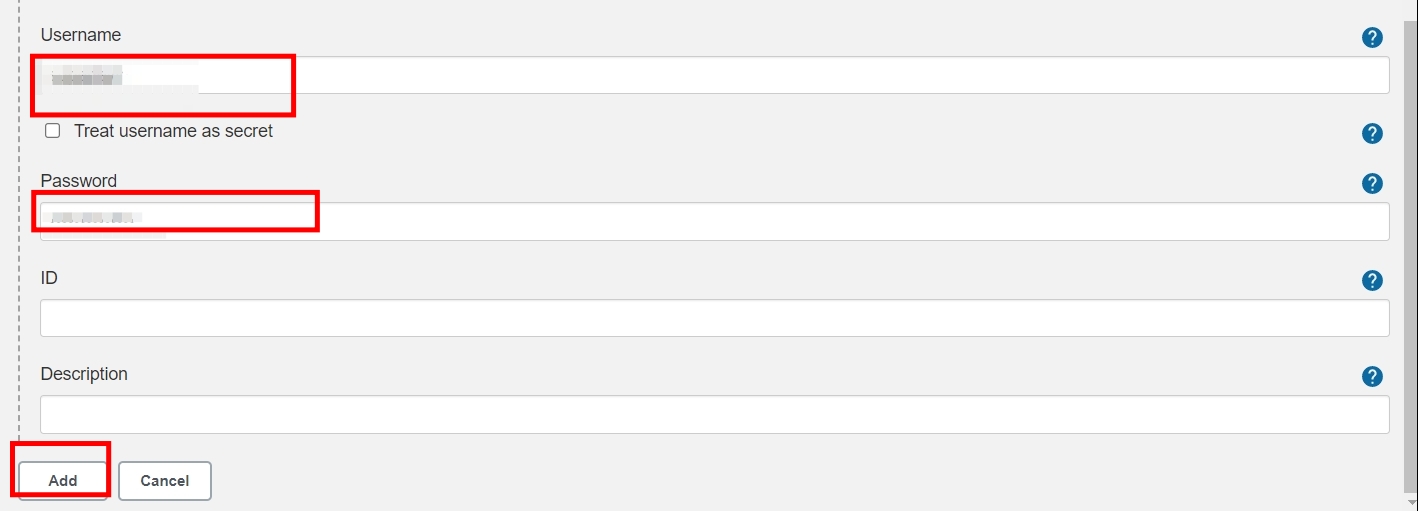
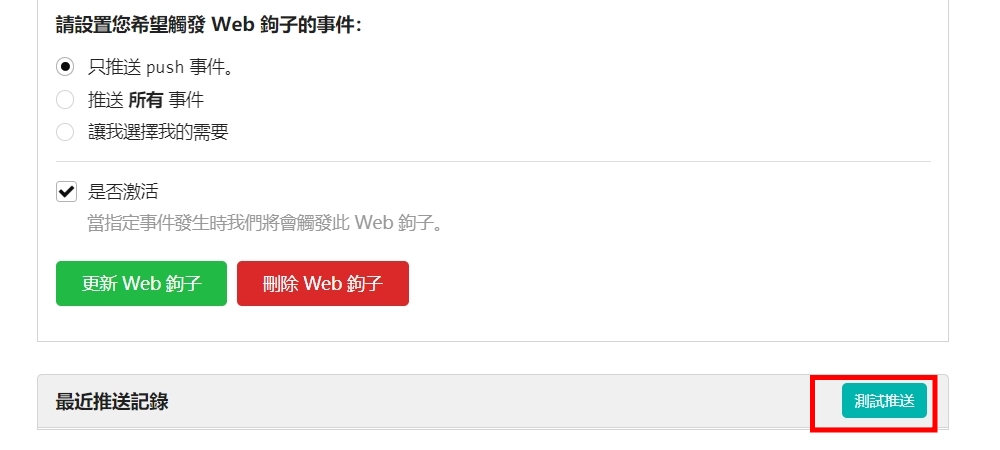
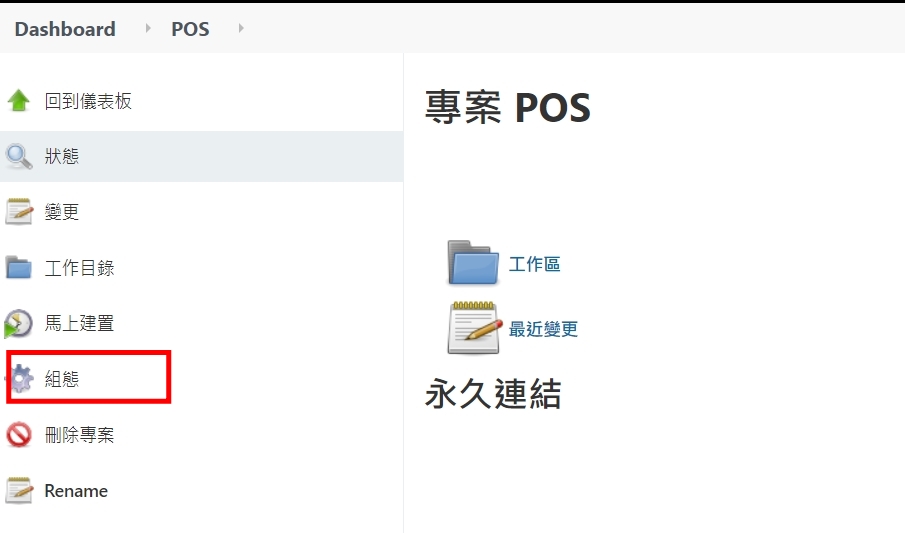
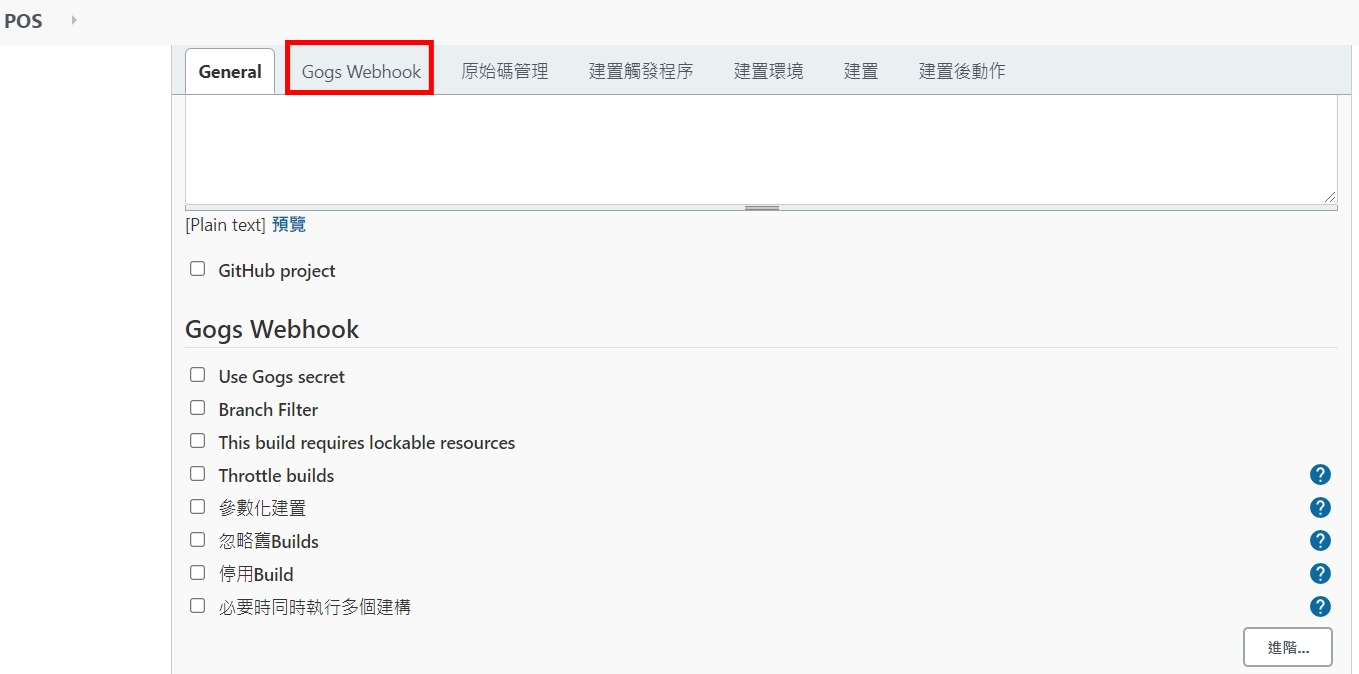
六、下載Jenkins安裝


一、install Hyper-V.bat
pushd "%~dp0"
dir /b %SystemRoot%\servicing\Packages*Hyper-V*.mum >hyper-v.txt
for /f %%i in ('findstr /i . hyper-v.txt 2^>nul') do dism /online /norestart /add-package:"%SystemRoot%\servicing\Packages\%%i"
del hyper-v.txt
Dism /online /enable-feature /featurename:Microsoft-Hyper-V -All /LimitAccess /ALL
pause
二、安裝containers
pushd "%~dp0"
dir /b %SystemRoot%\servicing\Packages*containers*.mum >containers.txt
for /f %%i in ('findstr /i . containers.txt 2^>nul') do dism /online /norestart /add-package:"%SystemRoot%\servicing\Packages\%%i"
del containers.txt
dism /online /enable-feature /featurename:Containers -All /LimitAccess /ALL
pause
三、註冊為非HOME版(專業版)REG ADD "HKEY_LOCAL_MACHINE\software\Microsoft\Windows NT\CurrentVersion" /v EditionId /T REG_EXPAND_SZ /d Professional /F
四、安裝Docker執行DESKTOP後出現錯誤訊息,下載更新就好
來源文章 https://docs.microsoft.com/en-us/windows/wsl/install-win10#step-4—download-the-linux-kernel-update-package
https://wslstorestorage.blob.core.windows.net/wslblob/wsl_update_x64.msi
在疾管家的簡訊實聯制中,主要看到是透過LIFF功能,去掃QR CODE後,然後發送簡訊。所以技術有
1 LINE LIFF 功能
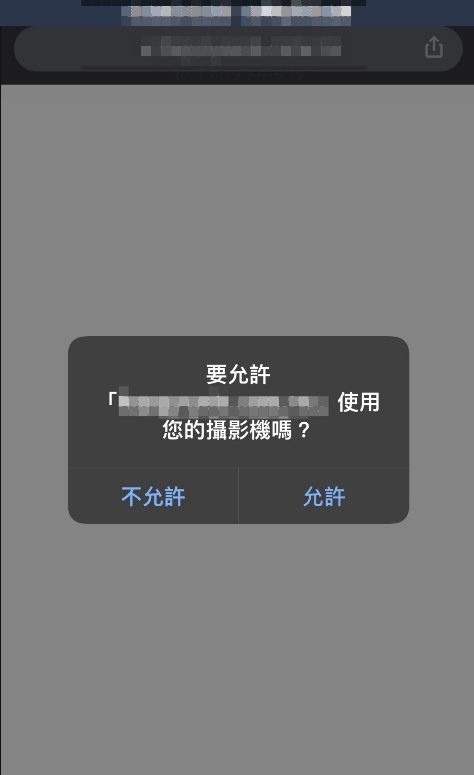
2 掃條碼功能(透過HTML5-QRCODE) 注意:網站要https才能有權限開啟鏡頭
3 SMS
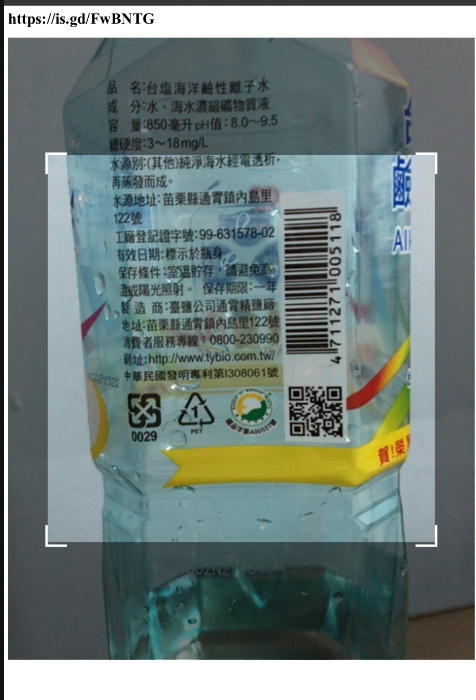
以下稍微實作一下,如何像疾管家一樣自動直接開啟後鏡頭
然後在掃描確認到開頭是SMSTO:1922後,透過SMS協定自動調到簡訊畫面
不過android/ios的簡訊中串body不同(ios是& android是 ? )
這樣就可以實現出像唐鳳政委與幕後功臣們所做出的功能了!
<html>
<head>
<meta charset="utf-8">
<title>壽山掃條碼測試</title>
</head>
<body>
<!-- 條碼顯示的內容顯示在 qr-reader-results -->
<div id="qr-reader-results"><h1 id="qrtext"></h1></div>
<!-- 掃描用 -->
<div id="qr-reader" style="width:100%"></div>
</body>
<script src="https://cdnjs.cloudflare.com/ajax/libs/html5-qrcode/2.0.3/html5-qrcode.min.js"></script>
<script>
<!-- 呼叫 html5qrcode 代入qr-reader -->
const html5QrCode = new Html5Qrcode("qr-reader");
const qrCodeSuccessCallback = (decodedText, decodedResult) => {
/* 處理成功掃描 */
document.getElementById("qrtext").innerHTML = decodedText;
if (decodedText.toUpperCase().startsWith("SMSTO:1922:")) {
var t = decodedText.split(":", 3),
r= t[1],
a= t[2],
o = "sms:" + r + "&body=" + a; // to-do 如果是android 要將&改為?
window.location.href = o;
}
html5QrCode.clear();
};
const config = { fps: 10, qrbox: 800 };
// 直接開啟後面鏡頭
<!-- 開啟前置鏡頭 -->
<!-- html5QrCode.start({ facingMode: "user" }, config, qrCodeSuccessCallback); -->
html5QrCode.start({
facingMode: "environment" },
config, qrCodeSuccessCallback);
</script>
</head>
</html>


進到網站 https://notify-bot.line.me/zh_TW/ ,右上角有一個登入,登入後選個人頁面
往下拉可以看到一個發行存取權杖(TOKEN),按發行權杖功能。按照步驟就可以取得權杖
複製權杖下來備用。
接下來在安裝ipwork的Delphi上,加入ipwhhtp的元件後,呼叫LINE NOTIFY的程式如下:
2021.06.12 更新 Delphi 版本 ipwork試用連結(官網)
https://www.nsoftware.com/download/download.aspx?sku=IPDF-A&type=demo
七行程式就可以了!
ipwhttp1.Config(‘CodePage=65001’);
ipwhttp1.Timeout := 10;
ipwhttp1.ResetHeaders;
ipwhttp1.OtherHeaders := ‘Authorization: Bearer +’這裡改成剛才的權杖';
ipwhttp1.ContentType := ‘application/x-www-form-urlencoded;’;
ipwhttp1.PostData:= ‘message=’+’這裡改成你要通知的內容';
ipwhttp1.Post(‘https://notify-api.line.me/api/notify’);
最近在測試,如果透過web申請帳號後,可不可以直接在DNS上一增子網域以及在IIS上增加站台的方式,直接申請後就有站台,在Windows 的網站主機上,似乎要透過appcmd與dnscmd達到。後來弄出了一個可以執行的方式,主要重點在於要有較高權限的帳密透過process執行cmd模式再去下指令。分享一下
/// <summary>
/// 新增IIS站台
/// </summary>
/// <param name=”subdomain”>網站名稱</param>
/// <param name=”domain”>網域</param>
/// <param name=”webpath”>網頁位置</param>
/// <returns></returns>
public bool AddSite(string subdomain, string domain, string webpath)
{
using (Process p = new Process())
{
p.StartInfo.FileName = @”cmd.exe”;
p.StartInfo.UseShellExecute = false;
p.StartInfo.CreateNoWindow = true;
p.StartInfo.RedirectStandardError = true;
p.StartInfo.RedirectStandardInput = true;
p.StartInfo.RedirectStandardOutput = true;
p.StartInfo.WindowStyle = ProcessWindowStyle.Hidden;
p.StartInfo.UserName = “高權限帳號”;
string pw = “高權限密碼”;
SecureString ss = new SecureString();
foreach (char c in pw)
{
ss.AppendChar(c);
}
p.StartInfo.Password = ss;
//
p.StartInfo.Arguments = “/c appcmd add site /name:”+subdomain+” /bindings:\”http/*:80:”+subdomain+”.”+domain+”,https/*:443:”+subdomain+”.”+domain+”\” /physicalPath:\””+webpath+”\””;
p.Start();
p.WaitForExit();
StreamReader sr = p.StandardOutput;
p.Close();
string message = sr.ReadToEnd().Replace(“\n”, “<br />”);
if (message.Contains(“ERROR”))
{
return false;
}
else
{
return true;
}
}
}
/// <summary>
/// 透過指令新增子網域(如: levin.ksi.com.tw)
/// </summary>
/// <param name=”subdomain”>子網域名稱</param>
/// <param name=”domain”>主網域</param>
/// <param name=”ip”>主機IP</param>
/// <returns></returns>
public bool AddDNS(string subdomain,string domain,string ip)
{
using (Process p = new Process())
{
p.StartInfo.FileName = @”cmd.exe”;
p.StartInfo.UseShellExecute = false;
p.StartInfo.CreateNoWindow = true;
p.StartInfo.RedirectStandardError = true;
p.StartInfo.RedirectStandardInput = true;
p.StartInfo.RedirectStandardOutput = true;
p.StartInfo.WindowStyle = ProcessWindowStyle.Hidden;
p.StartInfo.UserName = “高權限帳號”;
string pw = “高權限密碼”;
SecureString ss = new SecureString();
foreach (char c in pw)
{
ss.AppendChar(c);
}
p.StartInfo.Password = ss;
p.StartInfo.Arguments = @”/c dnscmd /recordadd ” + domain + ” ” + subdomain + ” A ” + ip;
p.Start();
p.WaitForExit();
StreamReader sr = p.StandardOutput;
p.Close();
string message = sr.ReadToEnd().Replace(“\n”, “<br />”);
if (message.Contains(“成功”)){
return true;
}
else
{
return false;
}
}
}