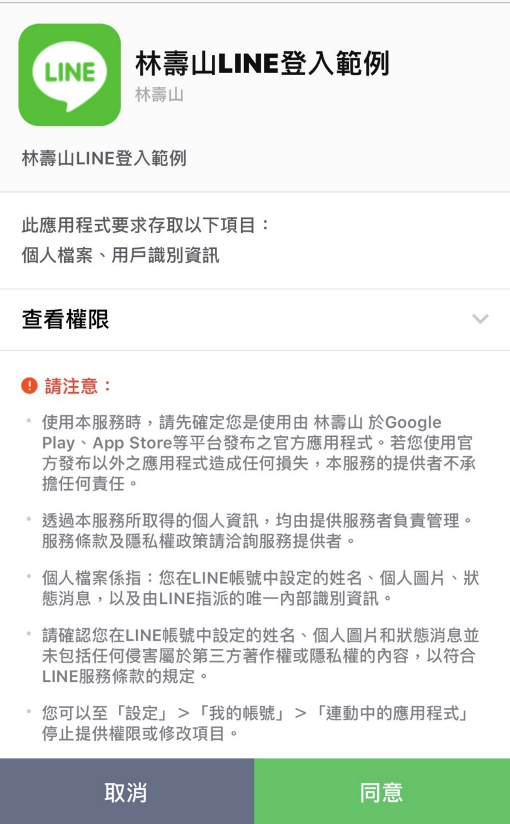
最近忙著拍攝一些PHP與LARAVEL以及DELPHI的教程
已經好一段時間沒有好好更新了
作者: 林壽山
目前任職於軟體公司研究開發部門,擔任專業處長,專注於.NET C# 開發,並具備豐富的POS 收銀系統與金流整合開發經驗。我精通各類支付系統的設計與開發,包含第三方支付(如綠界、藍新、歐付寶、速買配、馬來西亞 ePay/HappyPay、台新 One 碼)、行動支付(悠遊卡、一卡通、支付寶、微信支付、街口支付)、以及信用卡支付(聯合信用卡)。
熟悉多種開發技術,擅長PHP 網頁開發(CodeIgniter、Laravel 框架)、Delphi 程式設計、資料庫設計、C# WinForm/WebForm 應用開發、ASP.NET MVC、API 串接設計,並具備LINE 串接開發的豐富經驗。除了技術開發之外,我也熱衷於技術分享,曾擔任台中學校產業學院講師 5 年,培育新一代的軟體開發人才,致力於推動軟體技術的應用與創新。我對技術充滿熱忱,始終保持學習與探索的心態,期望透過軟體開發為企業與社會創造更大的價值。
Wowstick Mini 家用電動萬用螺絲筆
因為物聯網夯了好幾年,這幾年也喜歡玩一些電子零組件,但因為轉螺絲是一件很厭世的事情,剛好同事在網路上看到最近在募資的Wowstick Mini 家用電動萬用螺絲筆 ,就跟著敗一組下來用了。

Wowstick Mini 62in1 外包裝
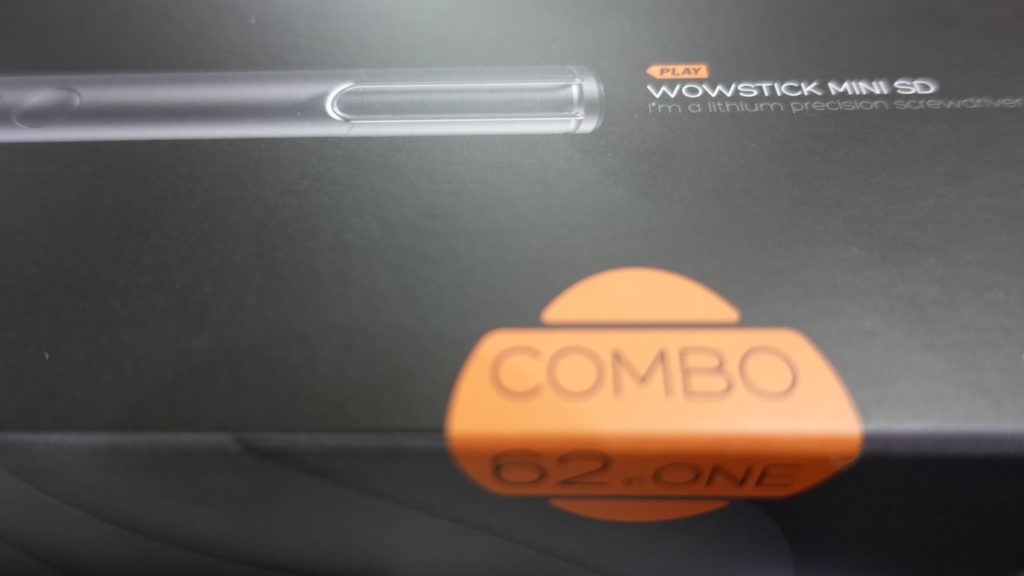
打開盒裝後,映入眼廉是排放整齊的一堆盒子。
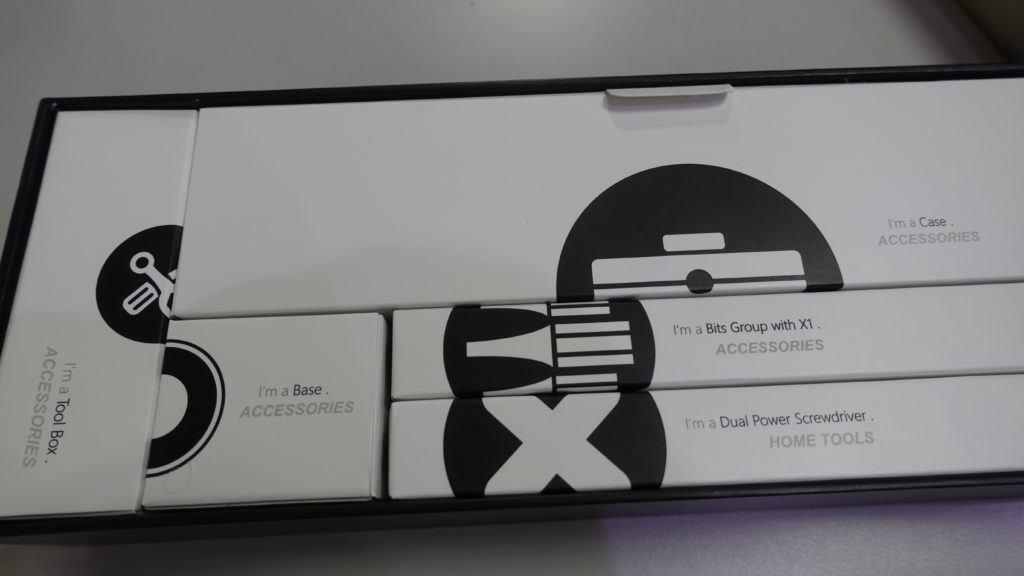
Wowstick Mini 內裝盒1
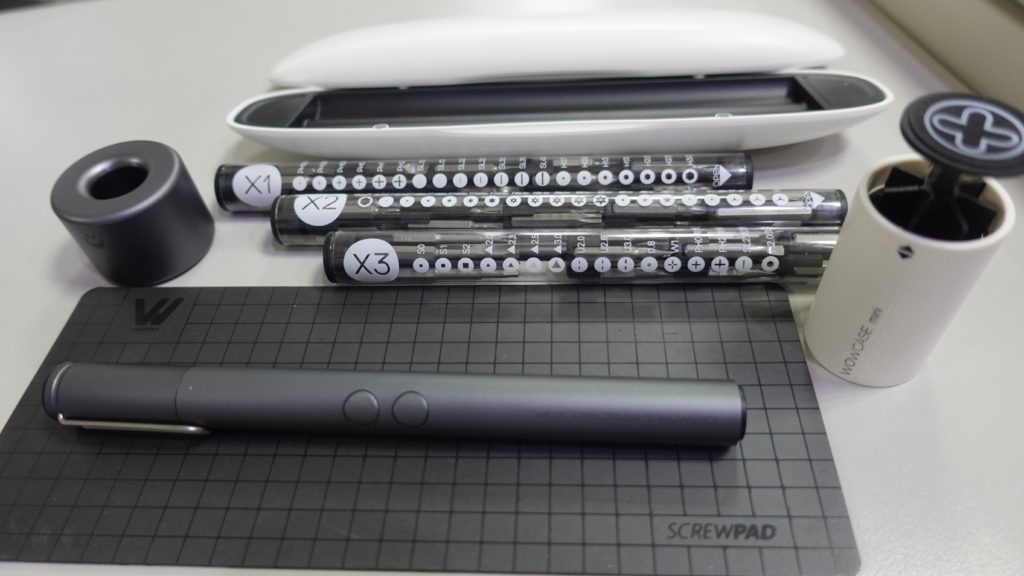
由上而下依序是
1 收納盒
2 X1~X3 管裝批頭收納盒 4*28mm國際標準批頭(起子頭)
3 萬用螺絲筆主體
4 Tool Box 裡面有一個迷你的起子頭收納短盒以及一個USB Type-C的充電線
5 Base 為底座
6 盒子最底部還有一個 Screw PAD 磁吸板
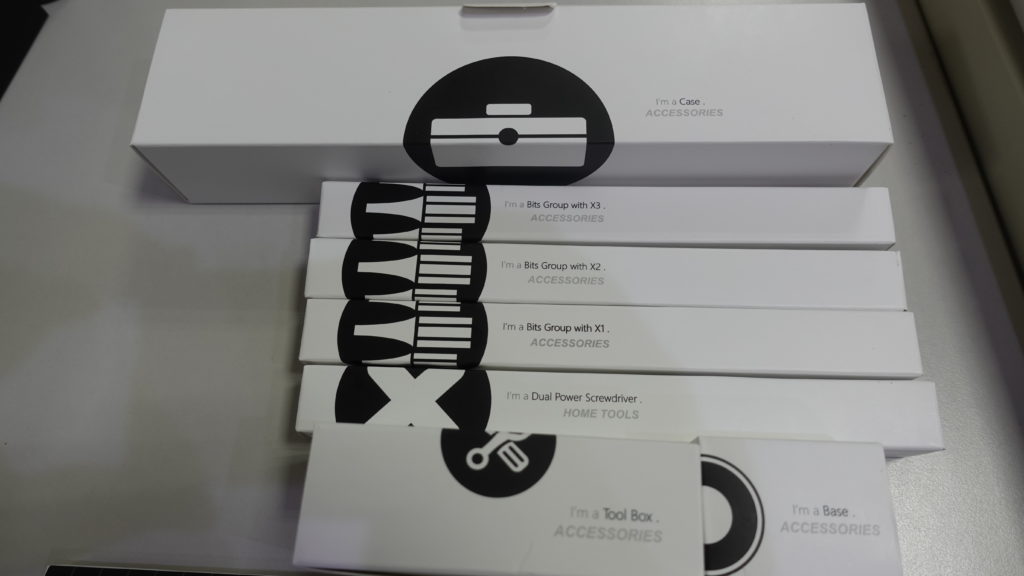
我們一一拆開後呈現如下
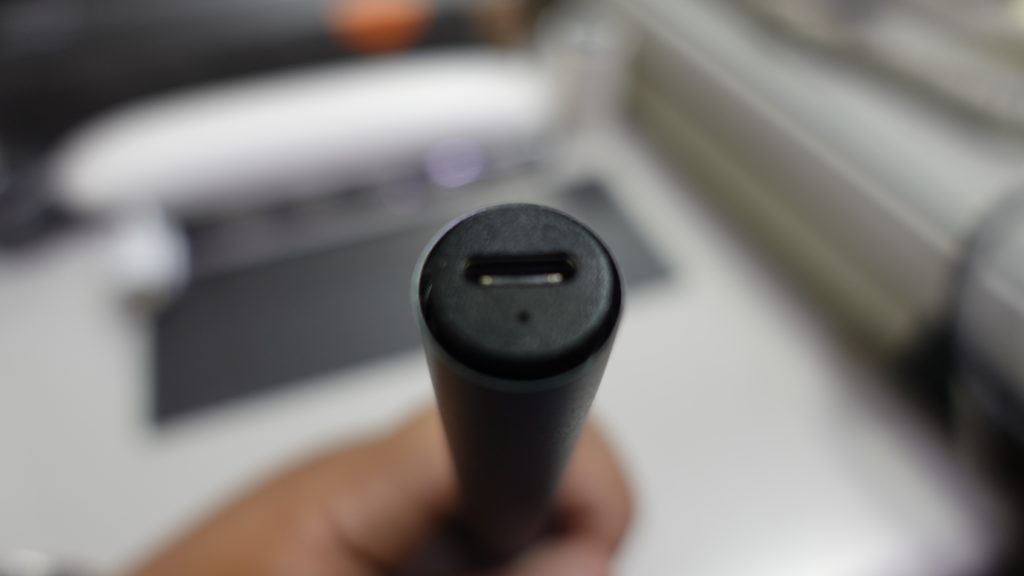
首先看萬用電動螺絲筆本身,底部有USB Type-C的充電孔,接上後充電會亮紅燈,充飽著亮綠燈。
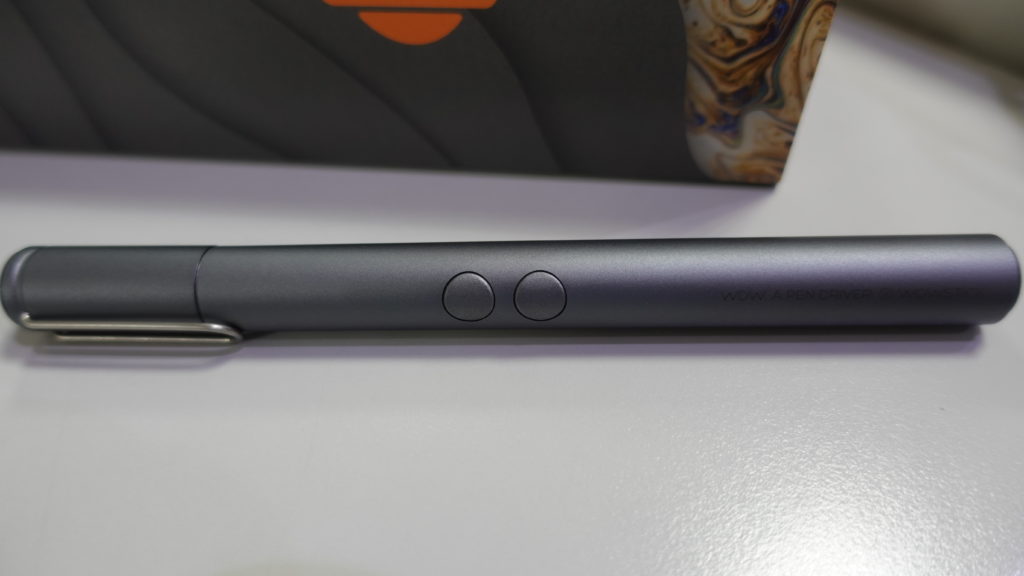
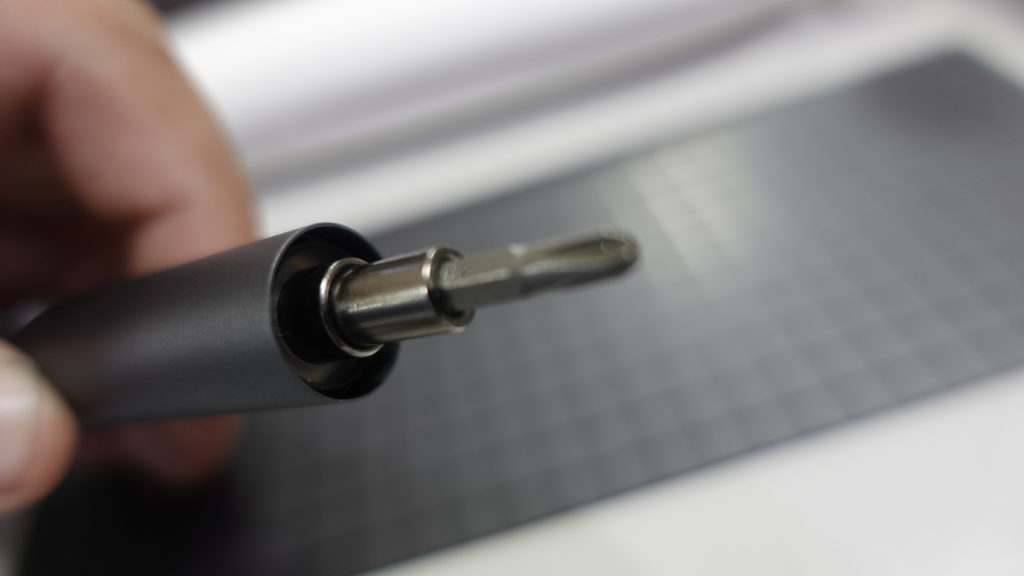
拿掉上蓋後,可以接上需要的起子頭,即可以使用
筒形的起子頭收納筒,需要使用時,拉出來就行了
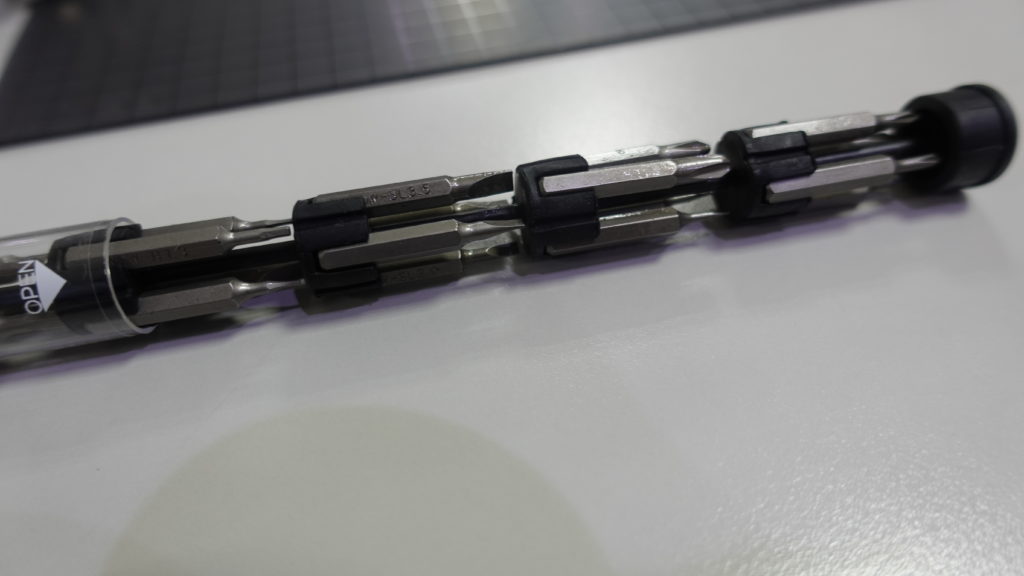
上面的按鈕有正轉以及反轉,按下後還有三顆LED燈會亮。

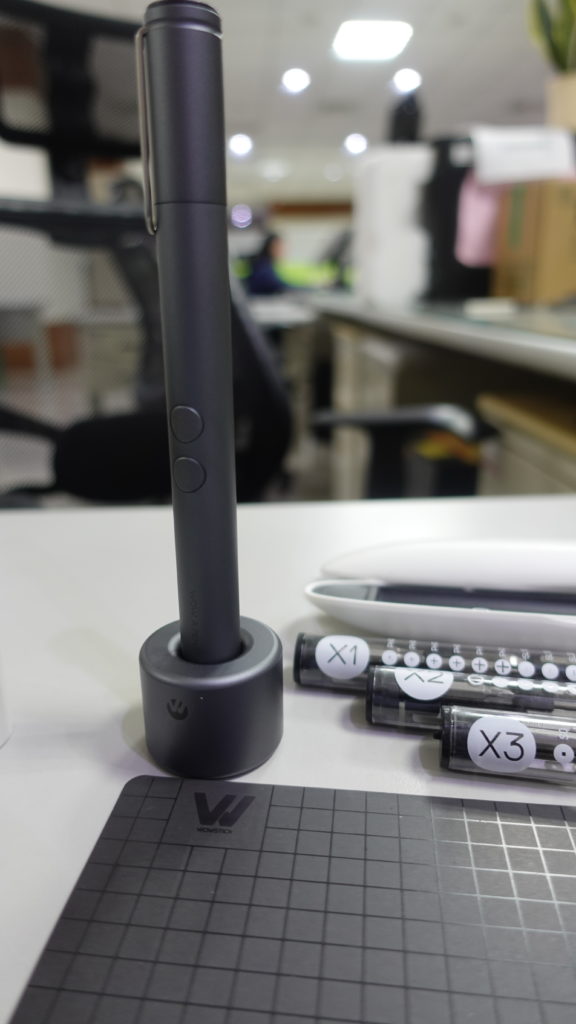
萬用電動螺絲筆不用時,放在底座上,一整個很有設計感
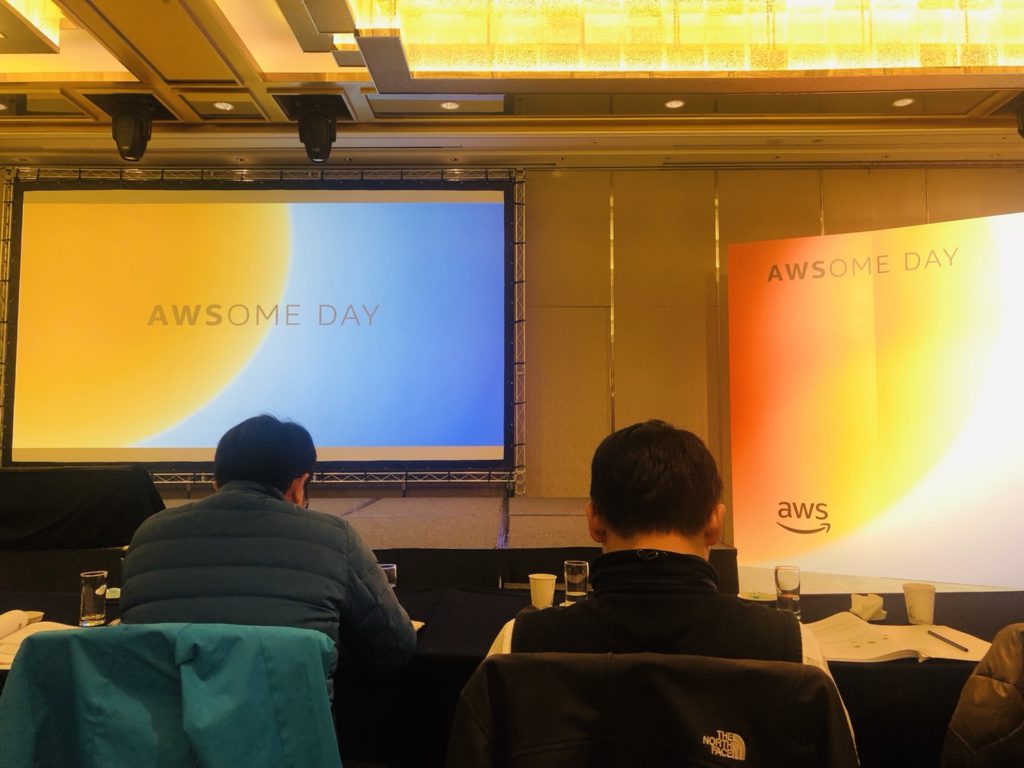
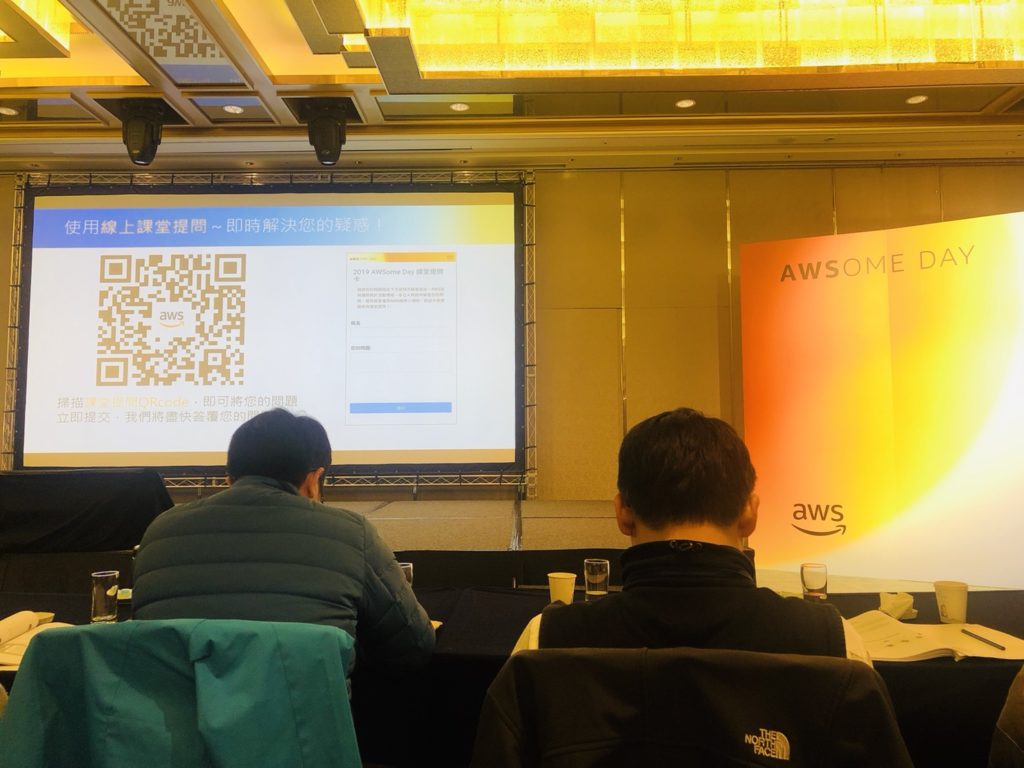
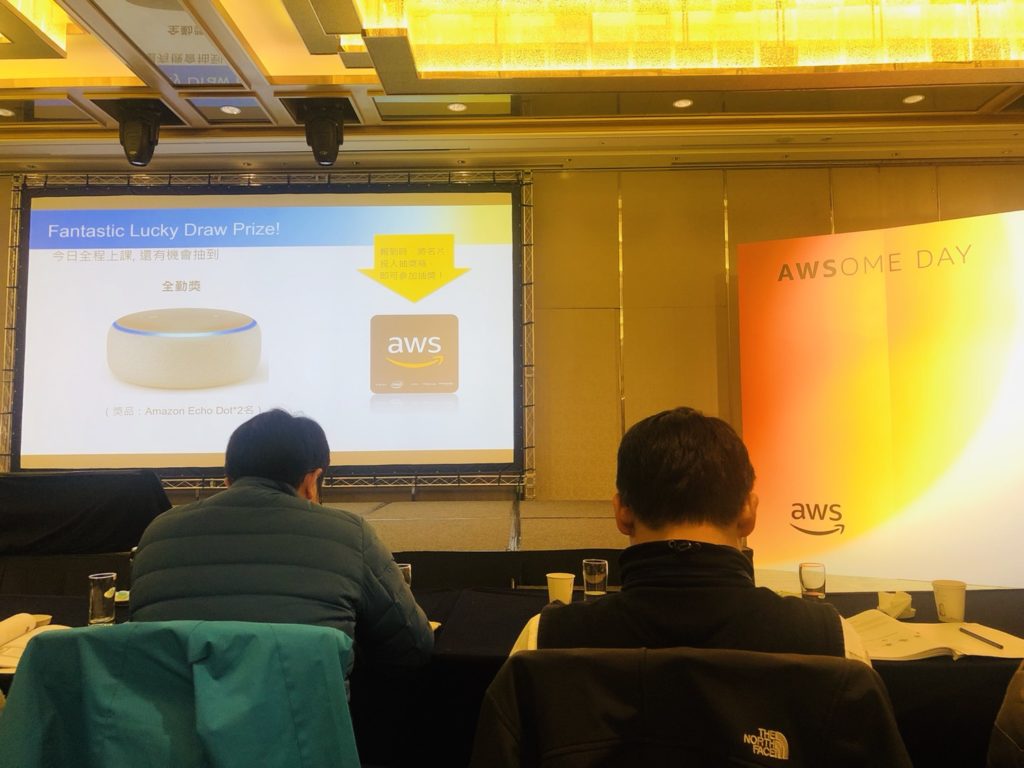
2019 Amazon AWSome DAY 台中場初體驗

雖然使用AWS服務也一陣子了,但都是自己從網路上摸索來的居多,但因為最近想把服務用得精進些,也剛好有開發上的需求。於是報名了1/23的AWSome Day!
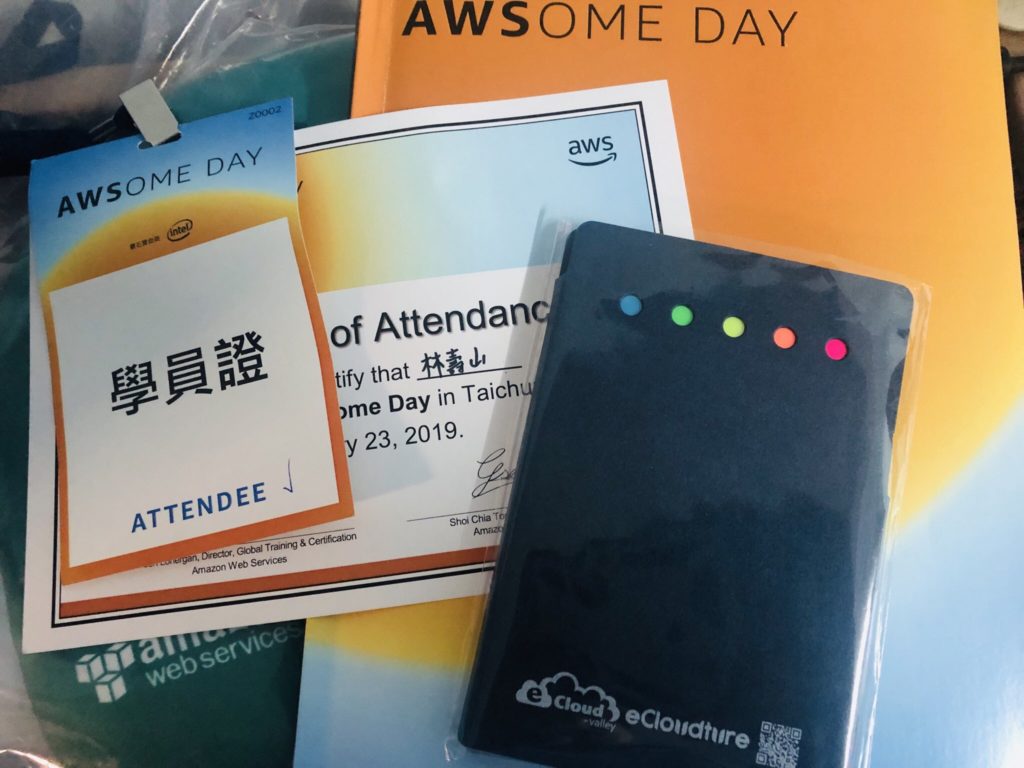
AWSOME DAY算是amazon的AWS服務101教程,針對AWS的核心服務,像是
運算 (Compute)EC2、儲存 (Storage)S3、資料庫 (Database)RDS/DynamoDB、和網路 (Networking)、負載平衡甚至目前的機器學習。用一整天的時間做整個overview外,帶領對AWS服務不熟悉但想入手的企業去瞭解裡頭的服務。
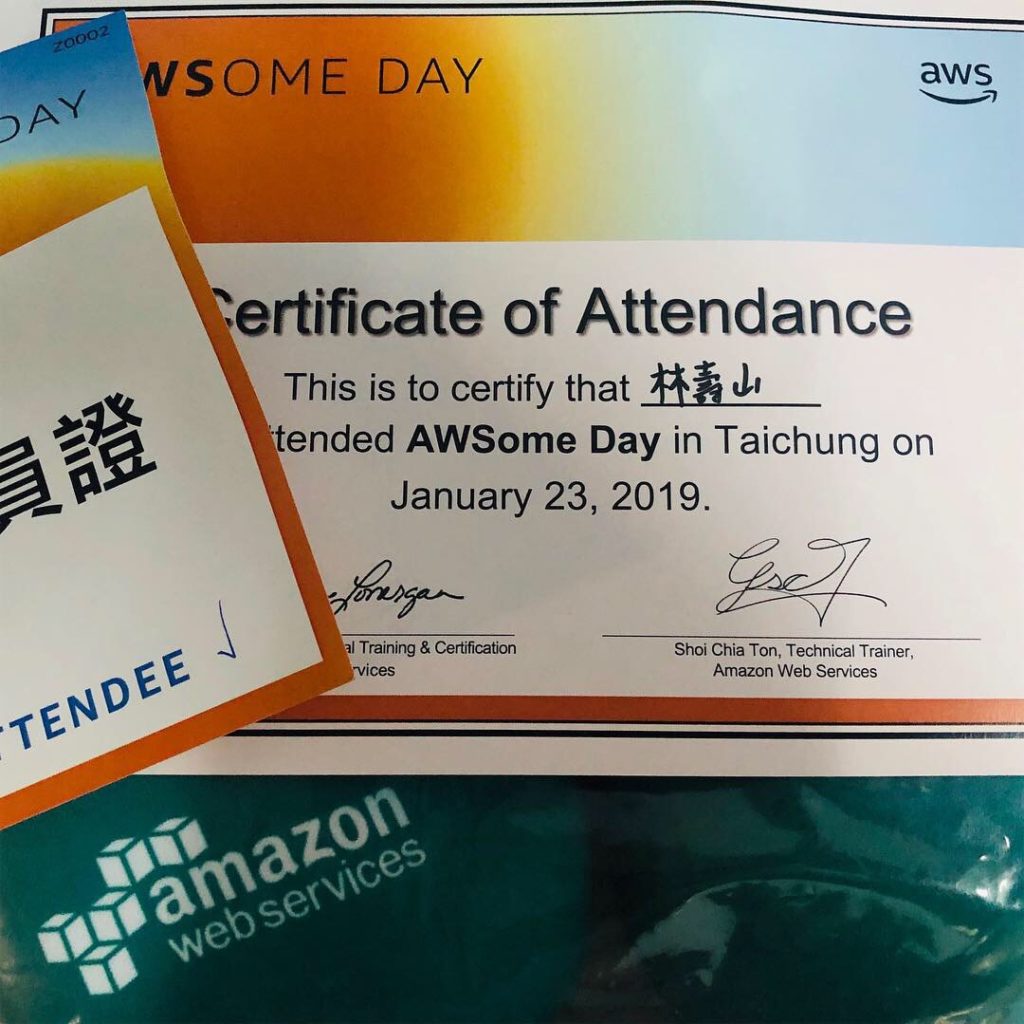
一整天下來的收獲滿滿,也糾正了不少自己以前看網路操作沒有好好規劃的架構。今年第一場在台中,台北場3月份開始,台北的朋友可以把握。

Laravel 5.7.17 發佈
2018.12.14 Laravel正式發佈了5.7.17的版本。主要是一些新的query builder方法以及偵測MariaDB連線失效的訊息還有改進Postgres增加foreign keys的改進。
新的query builder方法針對INSERT INTO SELECT增加了一個insertUsing的方法。然後呢在SQL HAVING二個值之間多了一個havingBetween。
對新的版本有興趣的朋友,可以參考Laravel上的changelog。
GitHub 5.7 changelog:
v5.7.17
Added
Added Database\Query\Builder::insertUsing method (#26732, 8216b46)
Added Database\Query\Builder::havingBetween method (#26758)
Added Packets out of order. Expected string to DetectsLostConnections trait (#26760)
Added NOT VALID option for skipping validation when adding postgres foreign keys (#26775)
Fixed
Fixed: Using store on an uploaded file when you push an empty file (#26809)
Fixed hiding for hidden commands (#26781)
Delphi 10.3 RIO 使用 Google Firebase(FCM)推播
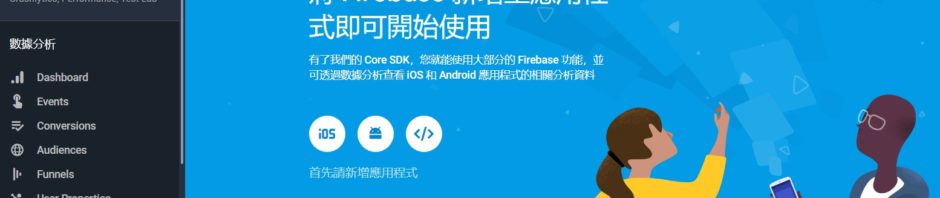
一、Firebase新增專案(網址: https://console.firebase.google.com )
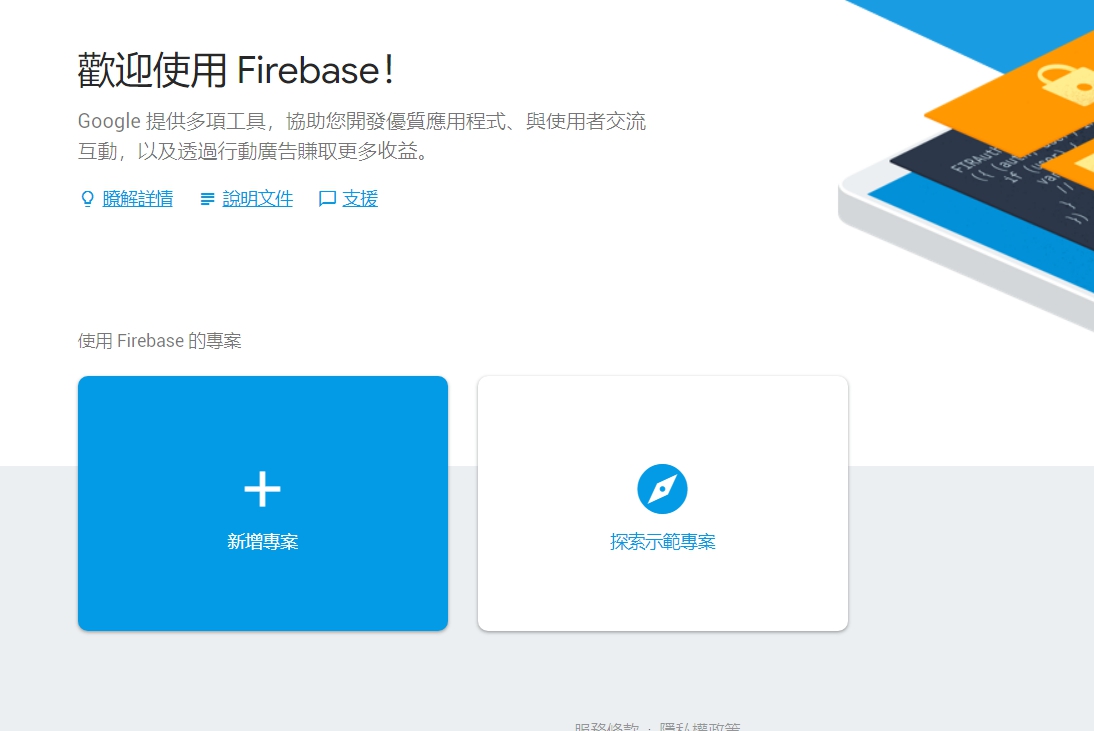
二、專案名稱可自訂,訂定後按建立專案

三、建立完專案後,點選中間android的連結

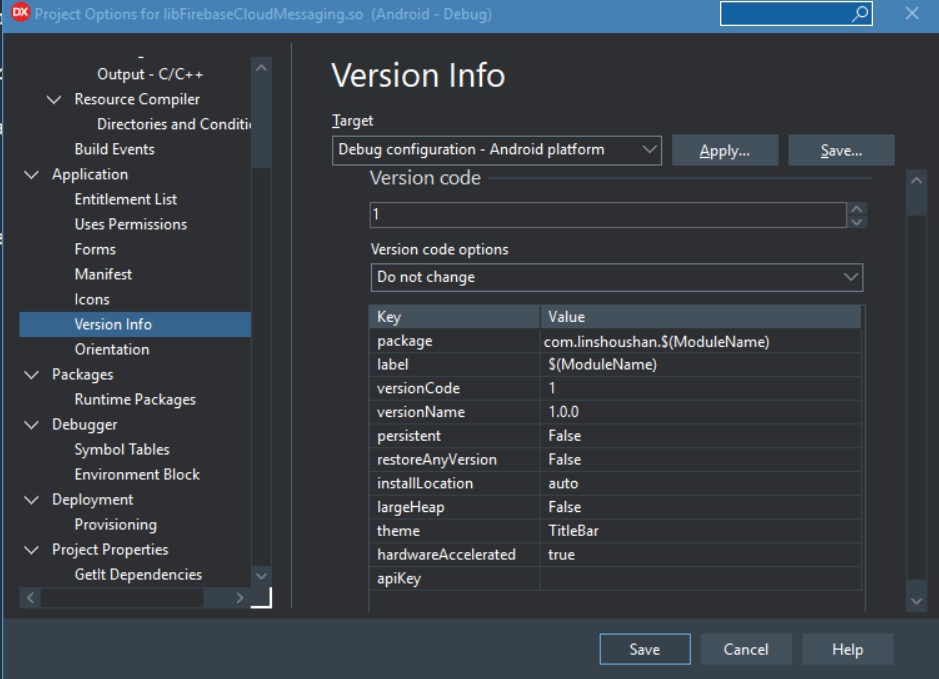
四、這邊很重要! Android的套件名稱要跟你要開發的名稱一致,這邊我輸入 com.linshoushan.FirebaseCloudMessaging,按註冊應用程式
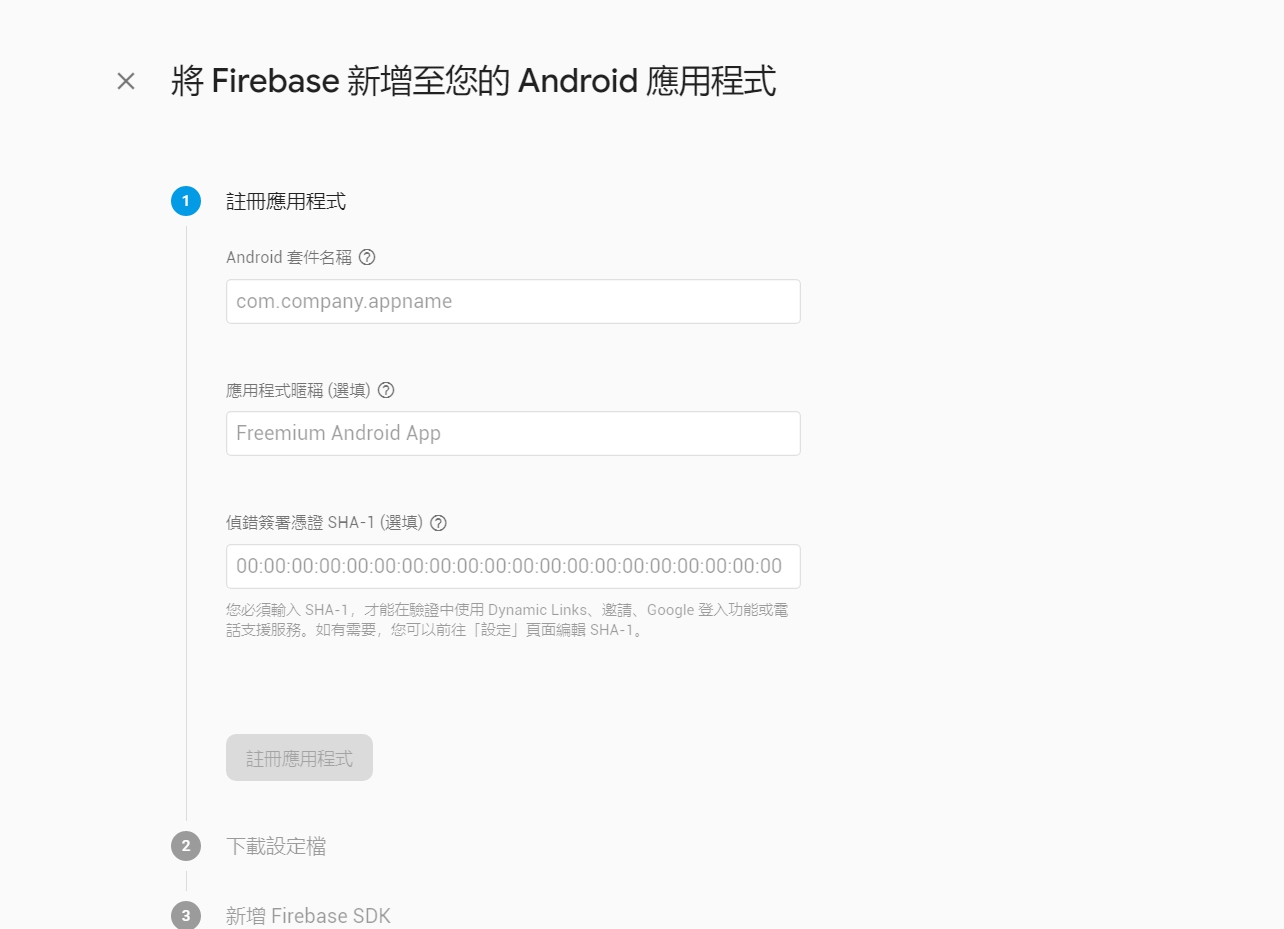
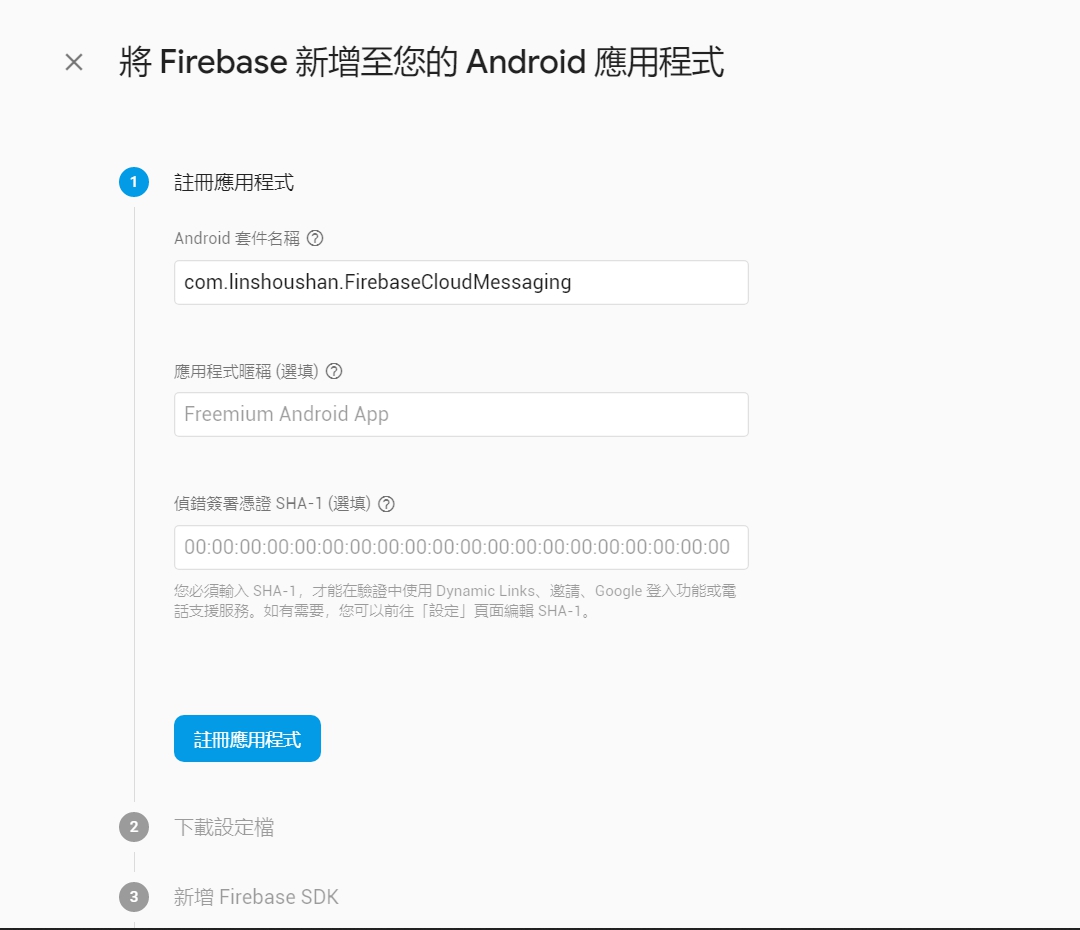
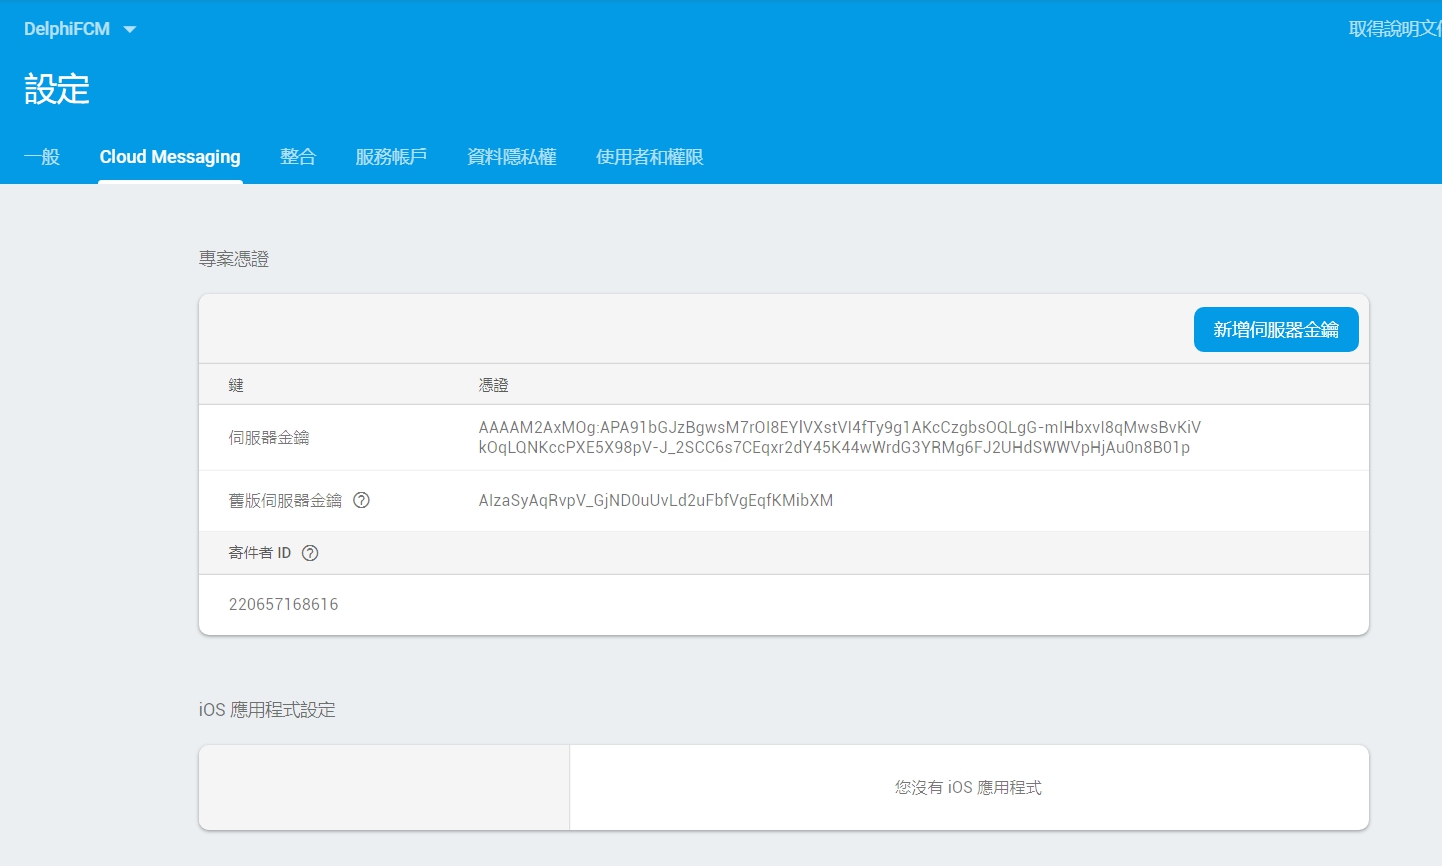
五、設定完後,進入Cloud Messagin頁面中,把寄件者ID記下來。就完成了Firebase基本的設定了
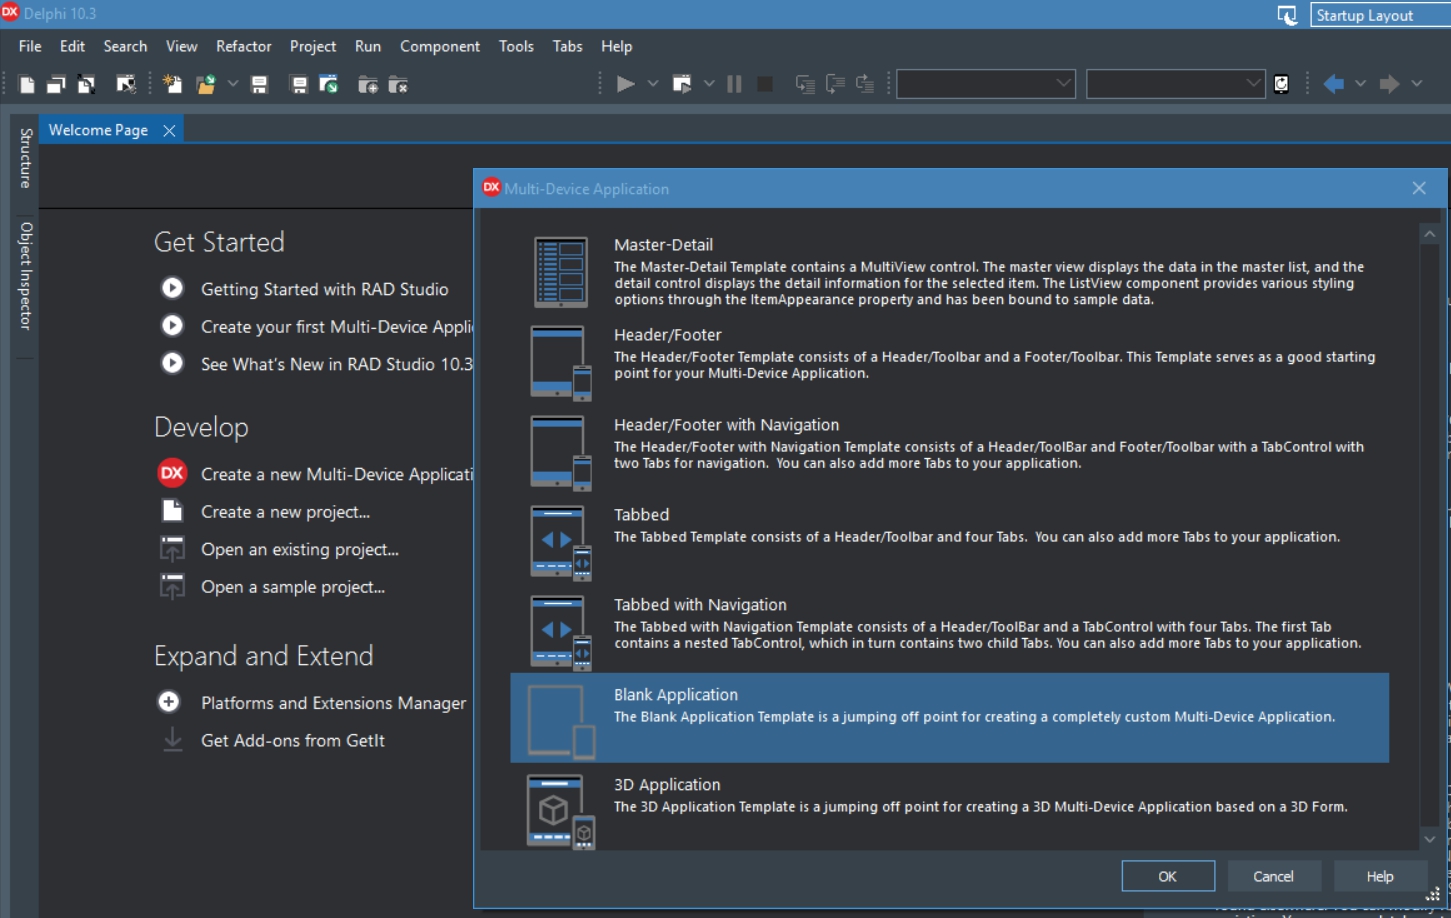
六、開啟Delphi 10.3 RIO,建立一個新的Multi-Device Application

七、在畫面上拖拉出Layout、Button、Memo
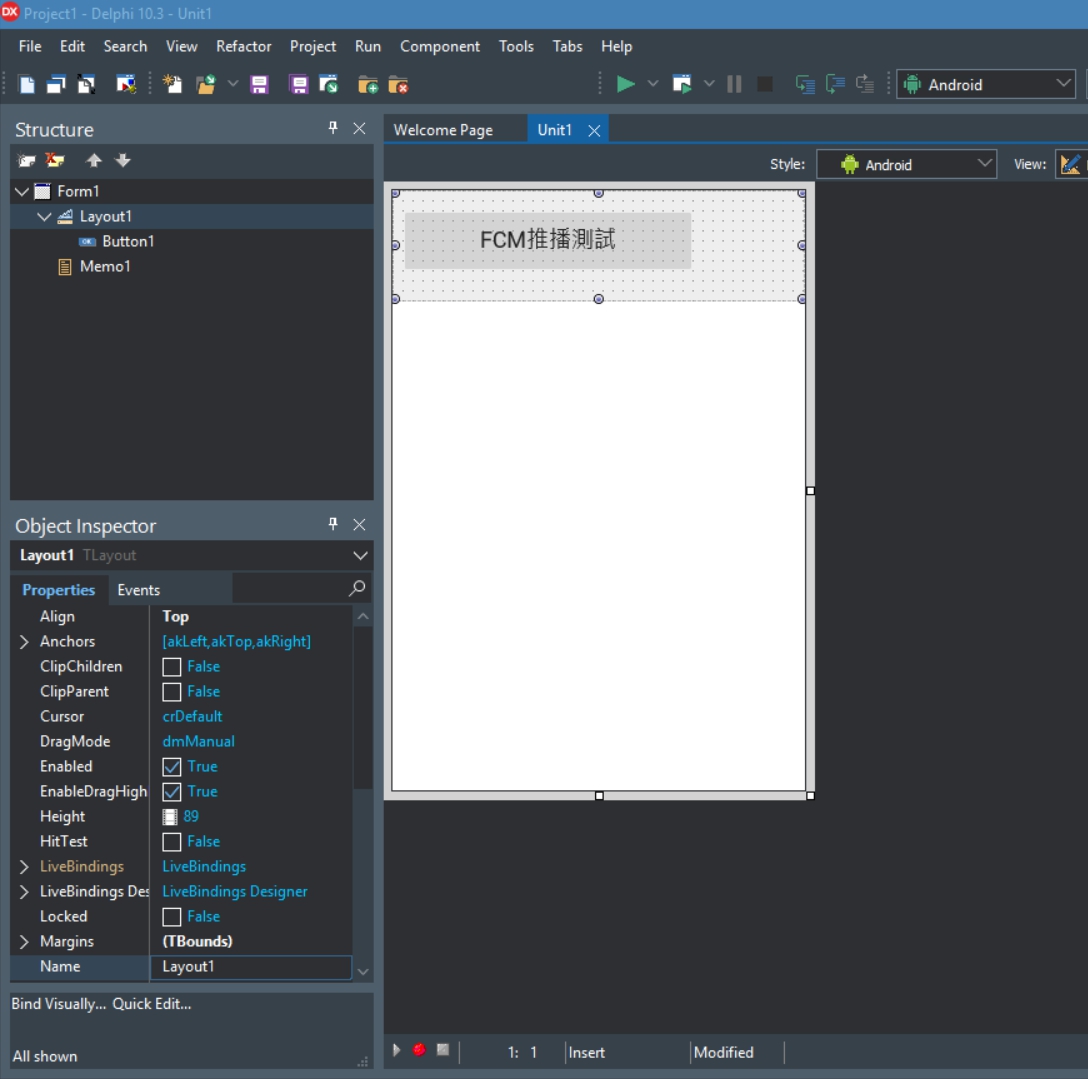
八、將Target Platforms切換成Android

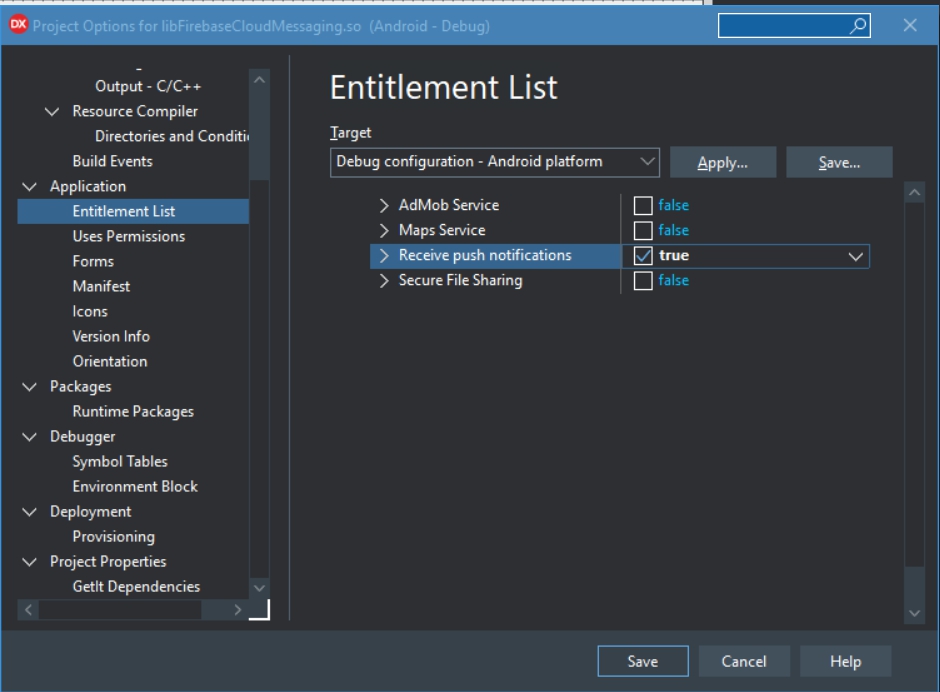
九、專案的Options中,在 Entitlement List中,把Receive push notifications 設為true
十、Version Info中,package的名稱記得改成在firebase中的設定
十一、修改AndroidManifest.template.xml,最後一行加上
(一開始會找不到這個檔案,壽山是先把專案存檔後,先做一次的build,然後檔案就出現了)
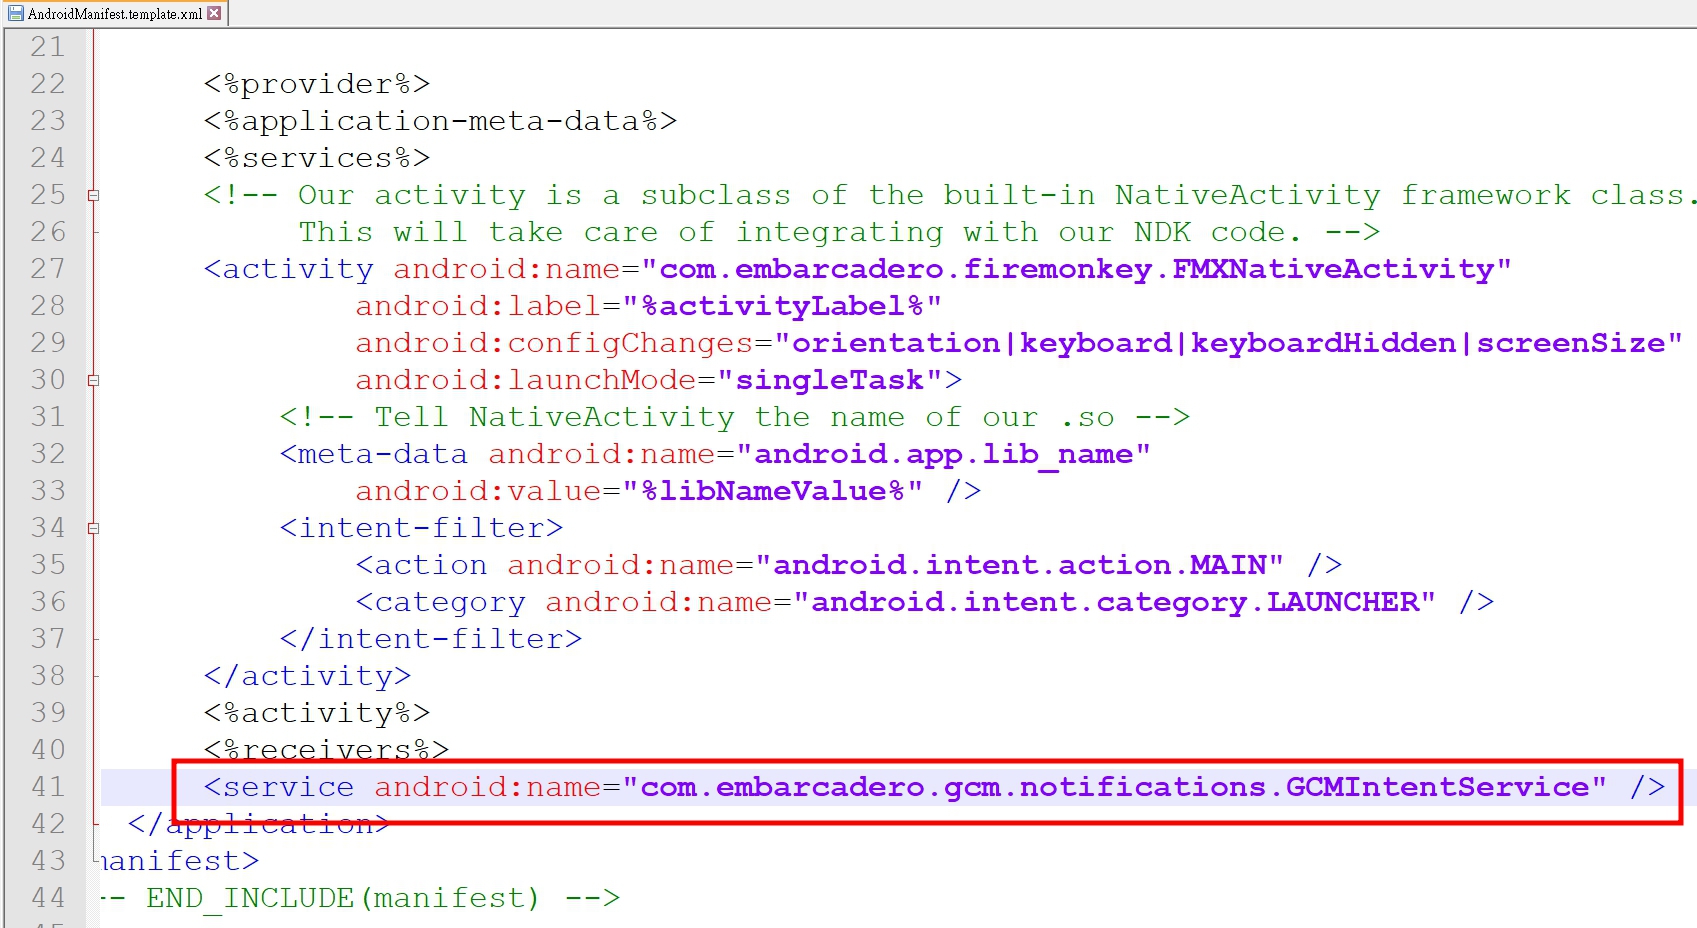
十二、加上相關程式碼
unit Unit1;

interface

// 1 新增use
// System.Notification, System.PushNotification, FMX.PushNotification.Android
uses
  System.SysUtils, System.Types, System.UITypes, System.Classes, System.Variants,
  FMX.Types, FMX.Controls, FMX.Forms, FMX.Graphics, FMX.Dialogs, FMX.StdCtrls,
  FMX.Controls.Presentation, FMX.ScrollBox, FMX.Memo, FMX.Layouts,
  System.Notification, System.PushNotification, FMX.PushNotification.Android;

type
  TForm1 = class(TForm)
    Layout1: TLayout;
    Memo1: TMemo;
    Button1: TButton;
    procedure FormCreate(Sender: TObject);
    procedure Button1Click(Sender: TObject);
  private
    { Private declarations }
  public
    { Public declarations }
    // 2 宣告相關的變數以及事件
    PushService: TPushService;
    ServiceConnection: TPushServiceConnection;
    DeviceId: string;
    DeviceToken: string;
    procedure DoServiceConnectionChange(Sender: TObject; PushChanges: TPushService.TChanges);
    procedure DoReceiveNotificationEvent(Sender: TObject; const ServiceNotification: TPushServiceNotification);
  end;

var
  Form1: TForm1;

implementation

{$R *.fmx}

procedure TForm1.Button1Click(Sender: TObject);
begin
  // 按下按鈕時打開 ServiceConnection
  ServiceConnection.Active := True;
end;

procedure TForm1.DoReceiveNotificationEvent(Sender: TObject;
  const ServiceNotification: TPushServiceNotification);
var
  MessageText: string;
  NotificationCenter: TNotificationCenter;
  Notification: TNotification;
begin
  // 取得通知的內容
  // 全部內容可以透過  ServiceNotification.DataObject.ToString看到
  MessageText := ServiceNotification.DataObject.GetValue('gcm.notification.body').Value;
  NotificationCenter := TNotificationCenter.Create(nil);
  try
    Notification := NotificationCenter.CreateNotification;
    try
      Notification.Name := MessageText;
      Notification.AlertBody := MessageText;
      Notification.Title := MessageText;
      Notification.EnableSound := False;
      NotificationCenter.PresentNotification(Notification);
    finally
      Notification.DisposeOf;
    end;
  finally
    NotificationCenter.DisposeOf;
  end;
end;

procedure TForm1.DoServiceConnectionChange(Sender: TObject;
  PushChanges: TPushService.TChanges);
begin
  // 取得裝置的ID跟TOKEN
  if TPushService.TChange.DeviceToken in PushChanges then
  begin
    DeviceId := PushService.DeviceIDValue[TPushService.TDeviceIDNames.DeviceId];
    DeviceToken := PushService.DeviceTokenValue[TPushService.TDeviceTokenNames.DeviceToken];
    Memo1.Lines.Add('設備ID = ' + DeviceId);
    Memo1.Lines.Add('設備TOKEN = ' + DeviceToken);
  end;
end;

procedure TForm1.FormCreate(Sender: TObject);
begin
  // 注意要把GCMAppID改成自己的
  PushService := TPushServiceManager.Instance.GetServiceByName(TPushService.TServiceNames.GCM);
  PushService.AppProps[TPushService.TAppPropNames.GCMAppID] := '220657168616';
  ServiceConnection := TPushServiceConnection.Create(PushService);
  ServiceConnection.OnChange := DoServiceConnectionChange;
  ServiceConnection.OnReceiveNotification := DoReceiveNotificationEvent;
end;

end.
十三、執行

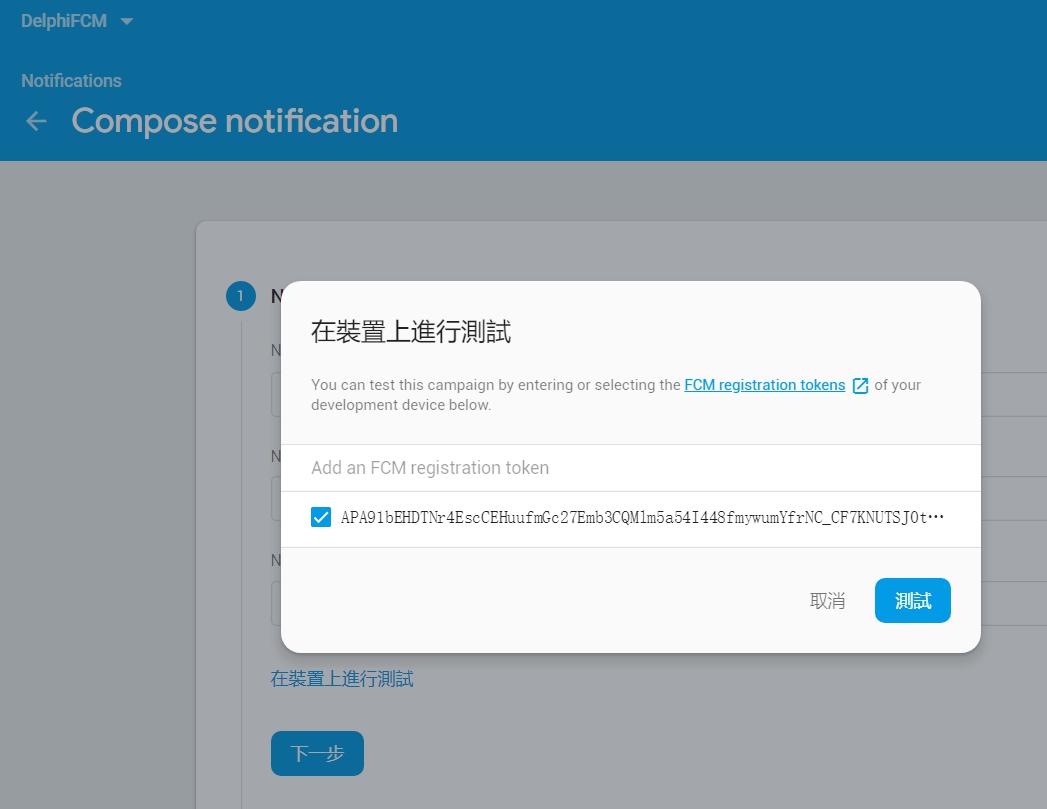
十四、記下TOKEN,回到Firebase中,選擇左邊功能列的Cloud Messageing,然後新增一筆測試訊息,將TOKEN值加入後按測試,就會收到推播訊息了。
Delphi 10.3 Rio發佈了!
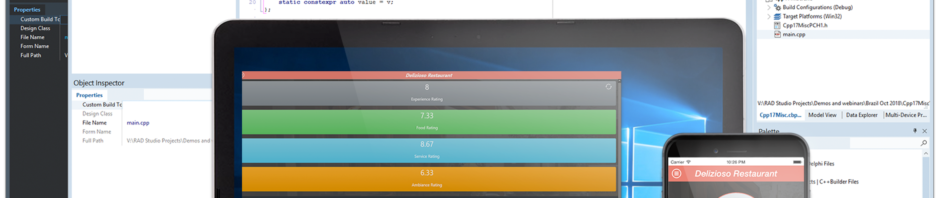
RAD Studio 10.3 代號Rio,能開發在Windows、macOS、iOS、Android和Linux Server的應用程式。
在C++的部份,加上了C++ 17 Win32支持;Delphi 的話則加上了inline variable declaration, type inference。
TeeChart與TeeGrid FireMonkey設計跨平台儀表板
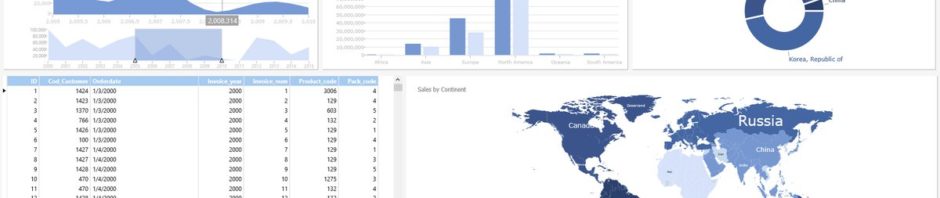

TeeChart與TeeGrid是Delphi上跨平台的第三方元件,目前展示了一個範例程式,可以製作企業用的儀表板畫面
https://www.steema.com/downloads/vcl
https://github.com/Steema/TeeChart-FireMonkey-samples/tree/master/Dashboard
Delphi 10.3將支援行內變數
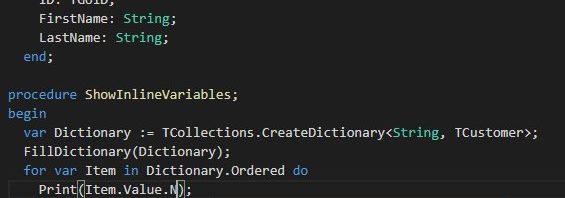

Twitter上看到Delphi 10.3將在這個月晚些更新支援行內變數。
Delphi 連接 SSL TLS 1.2 第三方支付金流問題
台灣最近銀行與第三方支付、行動支付發展越來越快,而Delphi使用indy元件時,如果處理SSL網站時不是很容易。
後來找到了ipwork的元件還不錯用。
列一下關鍵的程式
  ipwhttp1 := Tipwhttp.Create(Application);
 ipwhttp1.Config('CodePage=65001');
 posturl:=posturl+'barcode='+sBarcode;
 ipwhttp1.Post(sPaymentURL+'?'+posturl);
 result:=UTF8ToString(ipwhttp1.TransferredData);
  ipwhttp1.free;
另外處理像SHA/AES等加解密也很方便
function GetTokenKey(s:String):String;
var ipcHash1: TipcHash;
begin
  ipcHash1 := TipcHash.Create(Application);
  ipcHash1.Reset();
  ipcHash1.Algorithm := TipcHashAlgorithms(haSHA256);
  ipcHash1.InputMessage := s;
  ipcHash1.ComputeHash();
  result :=lowercase(ipcHash1.HashValue);
  ipcHash1.Free;
end;
PHP 使用 Line Login 帳號驗證登入
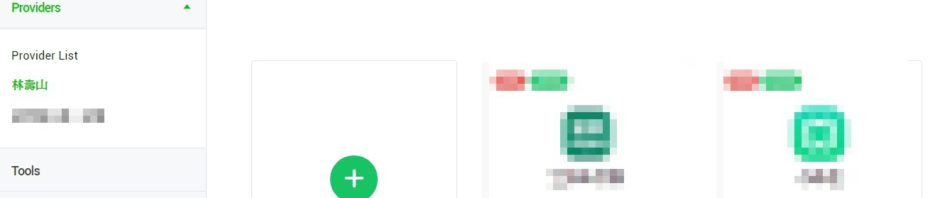
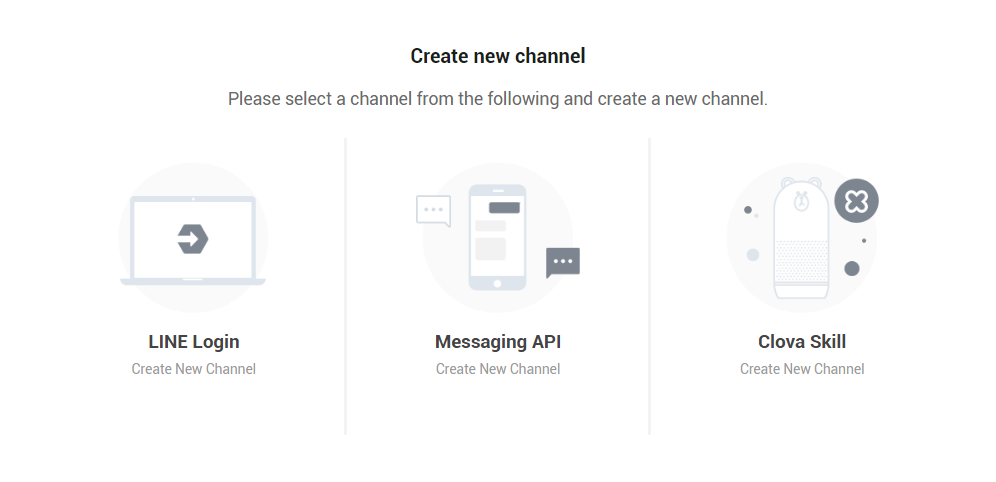
LINE Developers目前主要提供的服務有LINE Login登入、Messaging API訊息以及Clova Skill數位語音助理的功能。目前最多人使用的應該是Messaging API開發LINE 機器人服務,而LINE Login則可以與Facebook Login一樣讓使用者便利登入。以下介紹如何開發LINE Login.
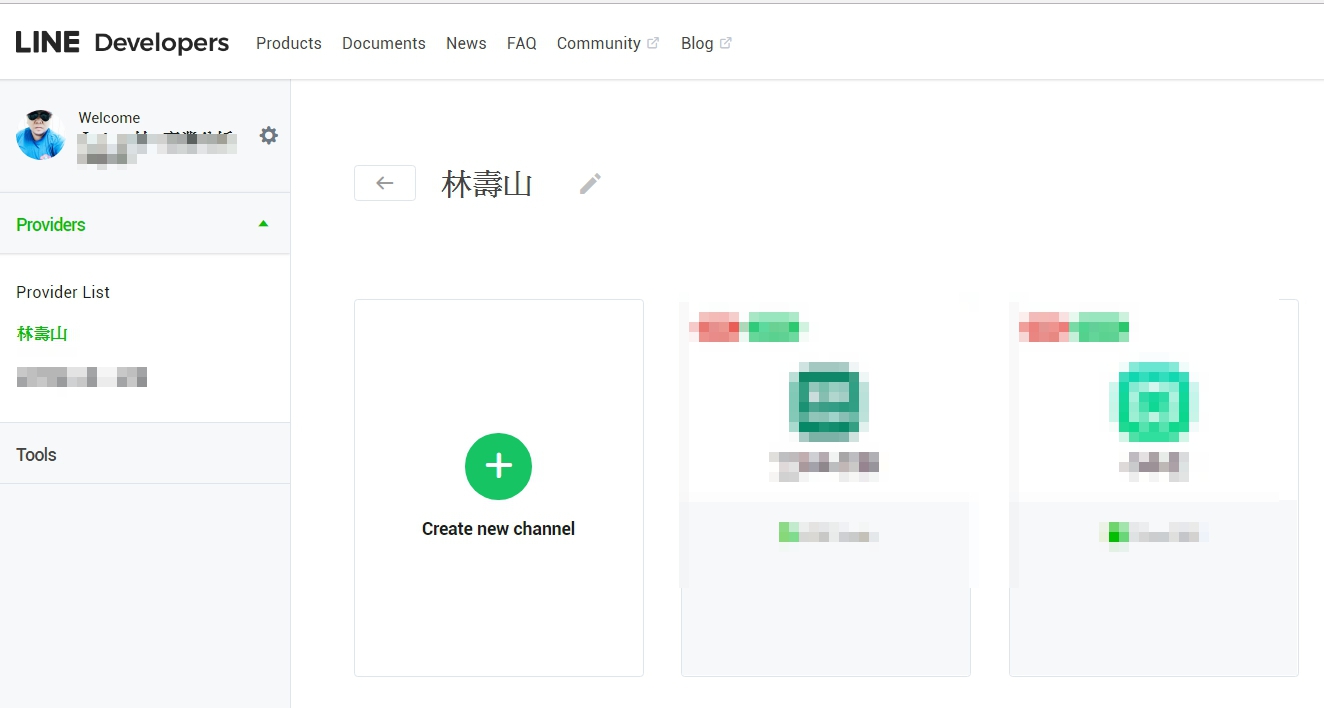
一、進入LINE Developers官方網站(https://developers.line.me/en/) ,然後新增一個channel(Create new channel)。
二、我們要開發的是LINE Login,所以點選LINE Login
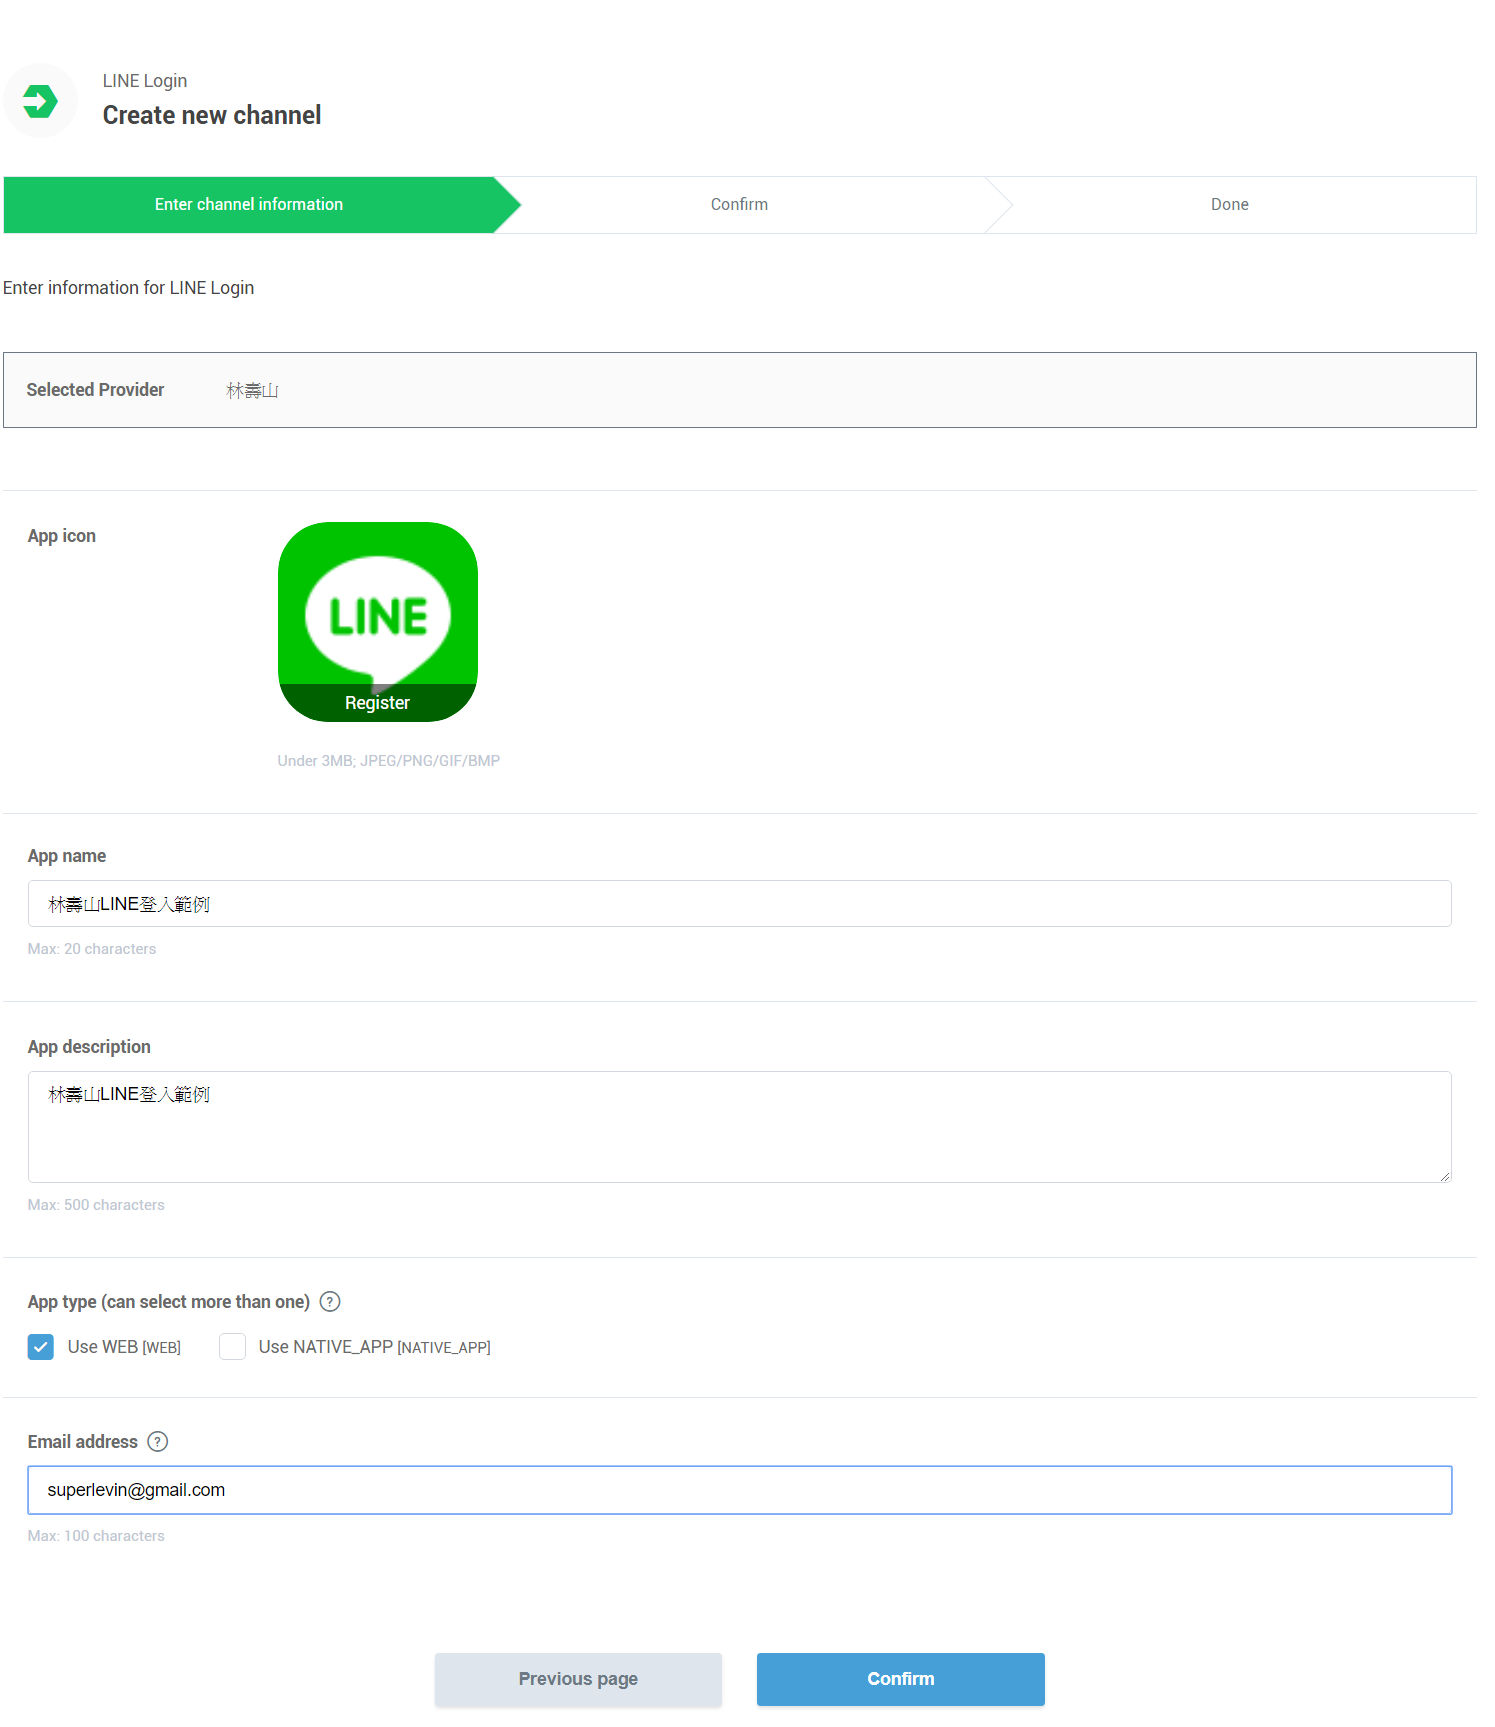
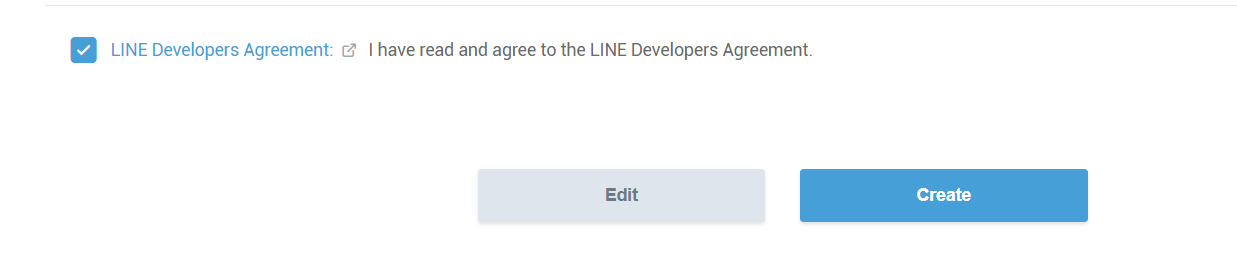
三、依序填入資料後按confirm確認,最後打勾同意開發者條款後按create即可
四、成功建立後,就會出現一個新的channel
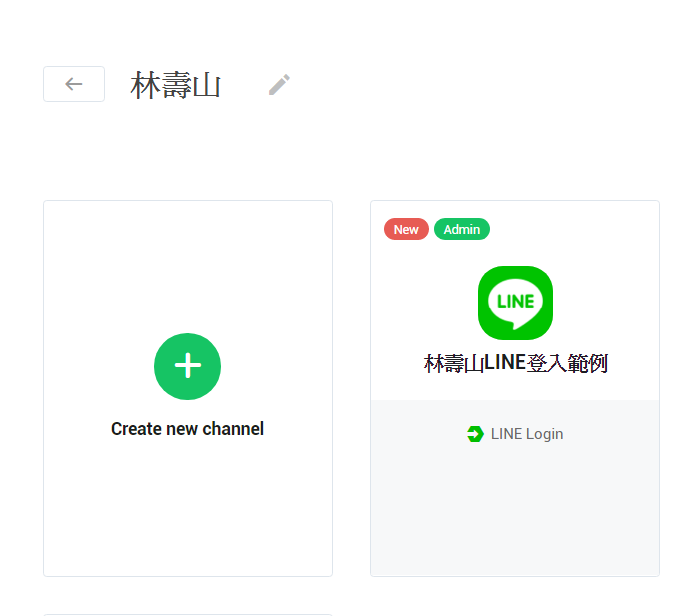
五、接著要把 Channel ID以及 Channel secret記下來

六、接著在第二頁的App settings中,輸入Callback URL後按Update。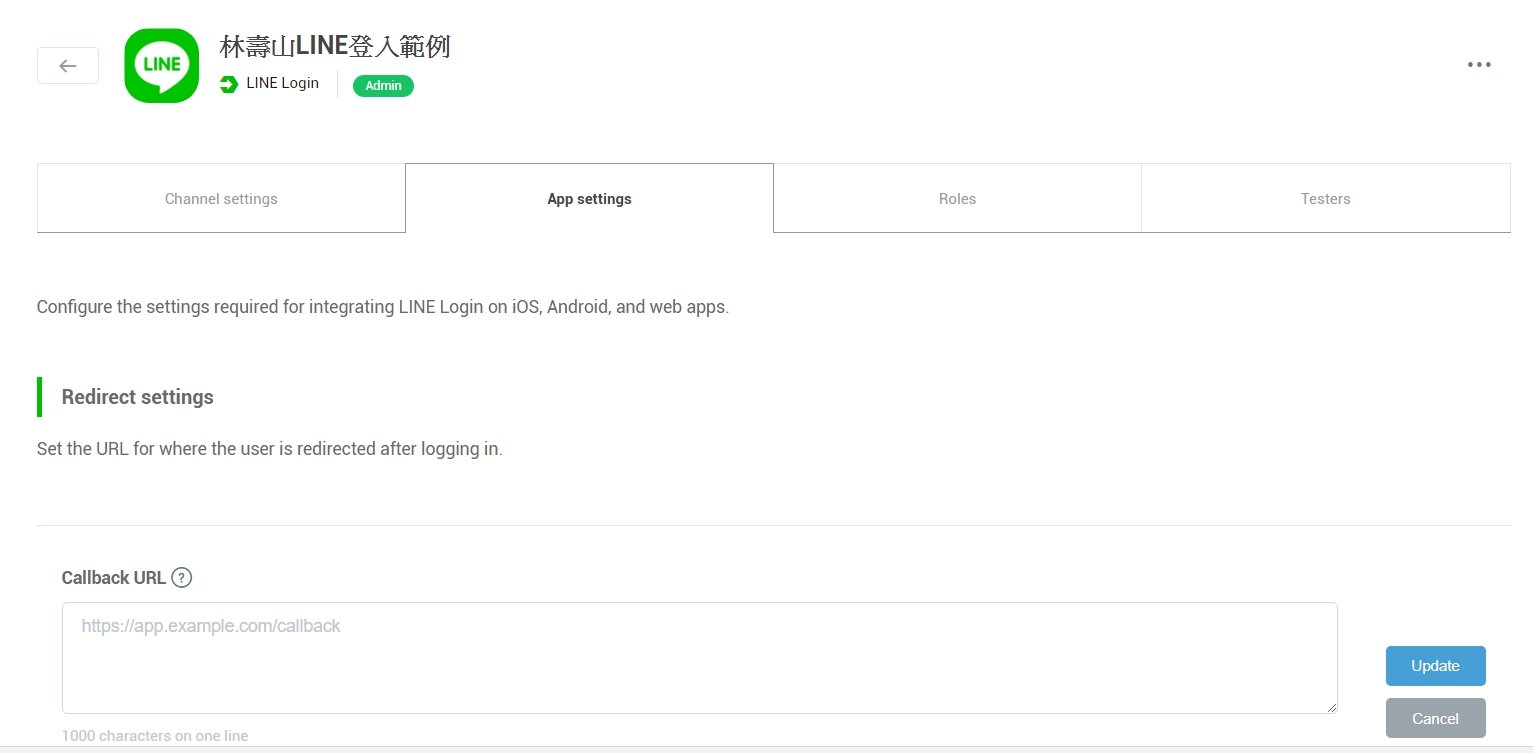
七、接著可以開始寫程式了!我們會使用的主要三個API為
Ⅰ https://access.line.me/oauth2/v2.1/authorize (登入連結)
Ⅱ https://api.line.me/oauth2/v2.1/token (取得Access Token)
Ⅲ https://api.line.me/v2/profile (取得登入者資料)
素材:Login Button(https://developers.line.me/en/docs/line-login/login-button/)
流程大致如下:

八、如欲索取原始碼,可來信或LINE : superlevin