一、Firebase新增專案(網址: https://console.firebase.google.com )
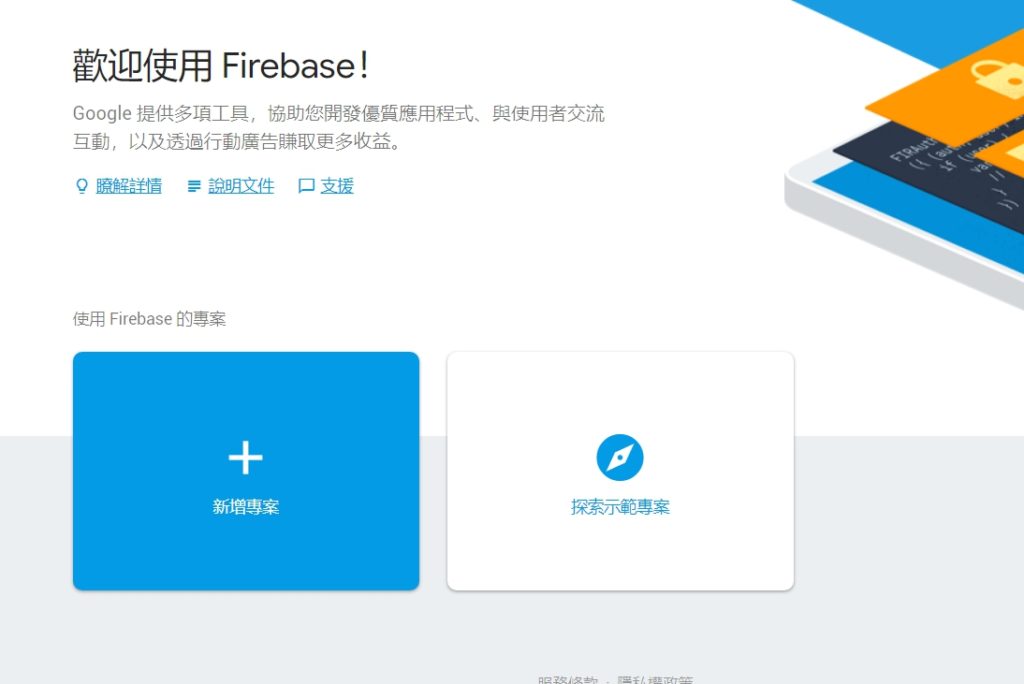
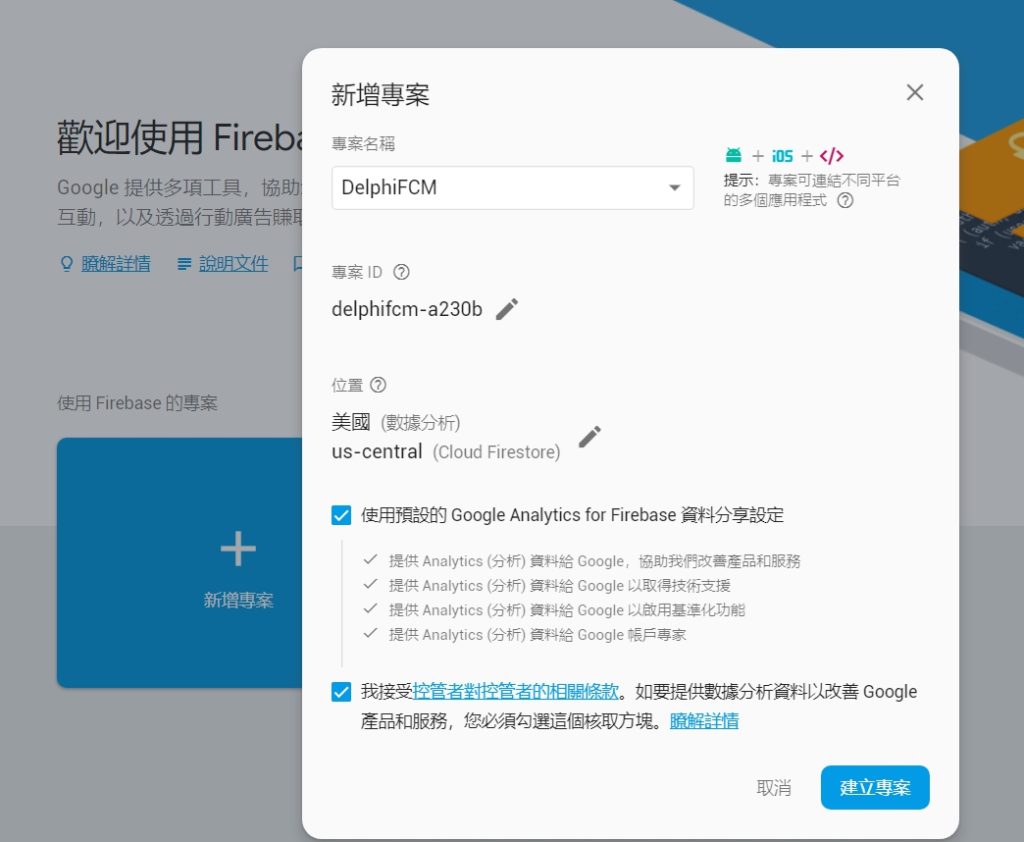
二、專案名稱可自訂,訂定後按建立專案
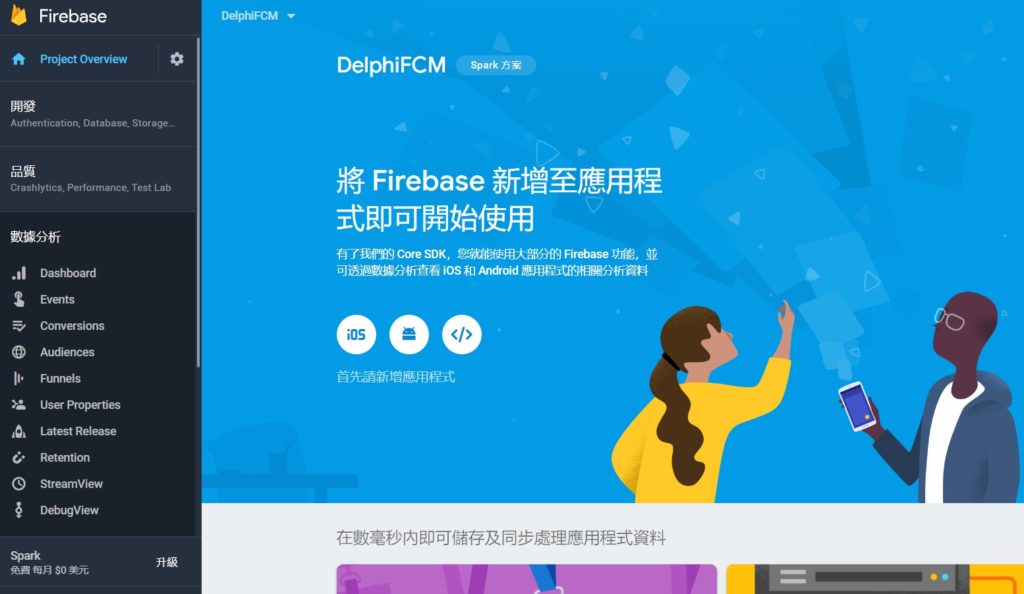
三、建立完專案後,點選中間android的連結
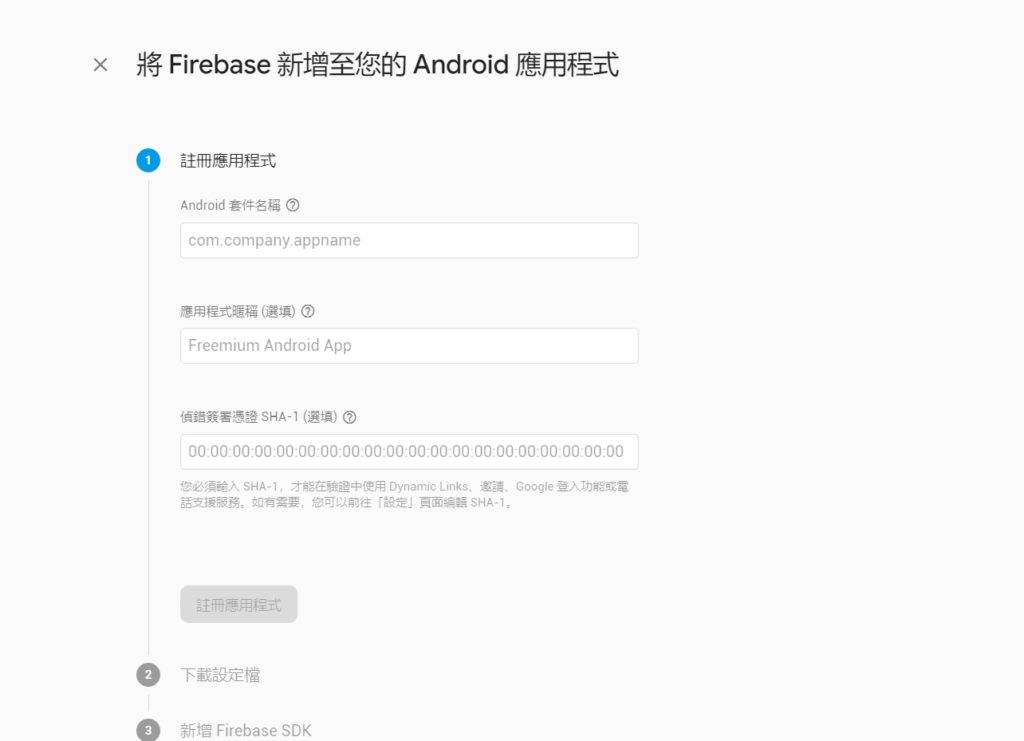
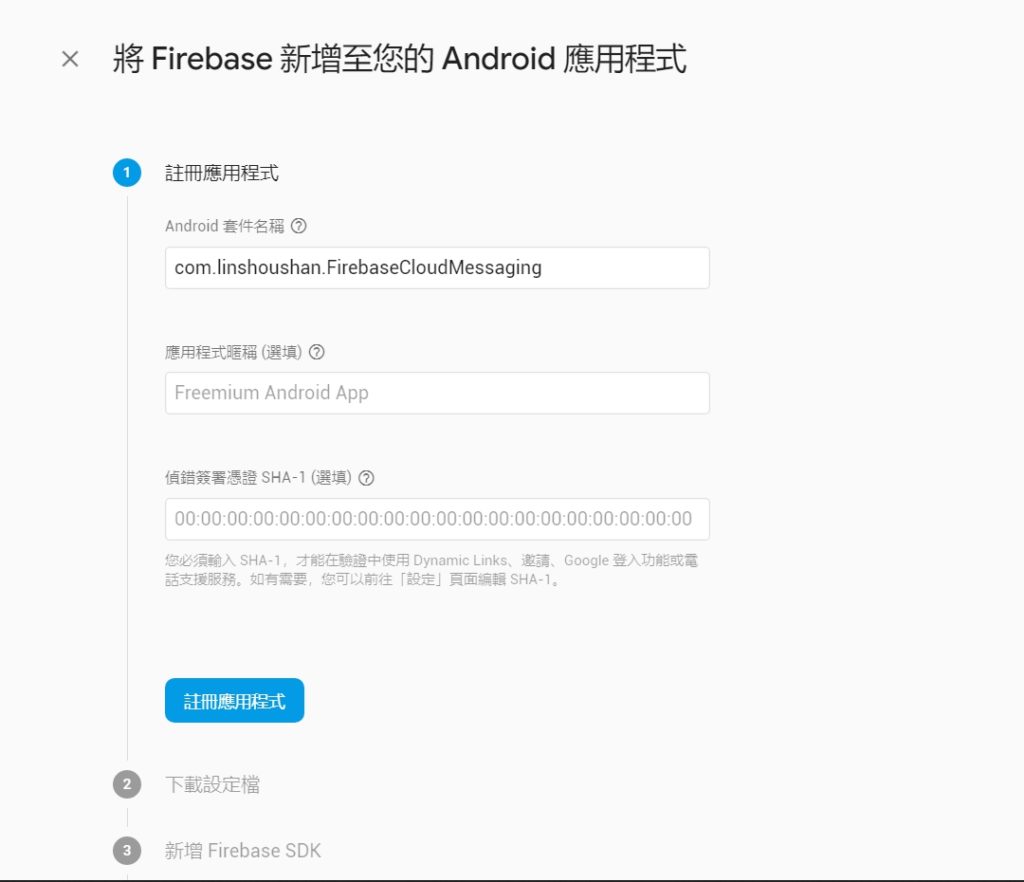
四、這邊很重要! Android的套件名稱要跟你要開發的名稱一致,這邊我輸入 com.linshoushan.FirebaseCloudMessaging,按註冊應用程式
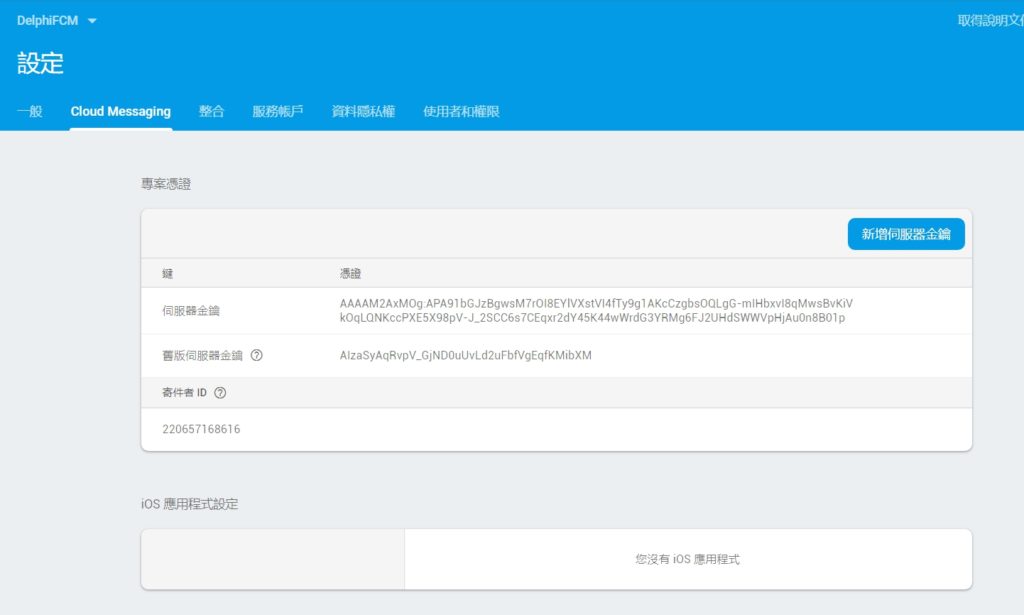
五、設定完後,進入Cloud Messagin頁面中,把寄件者ID記下來。就完成了Firebase基本的設定了
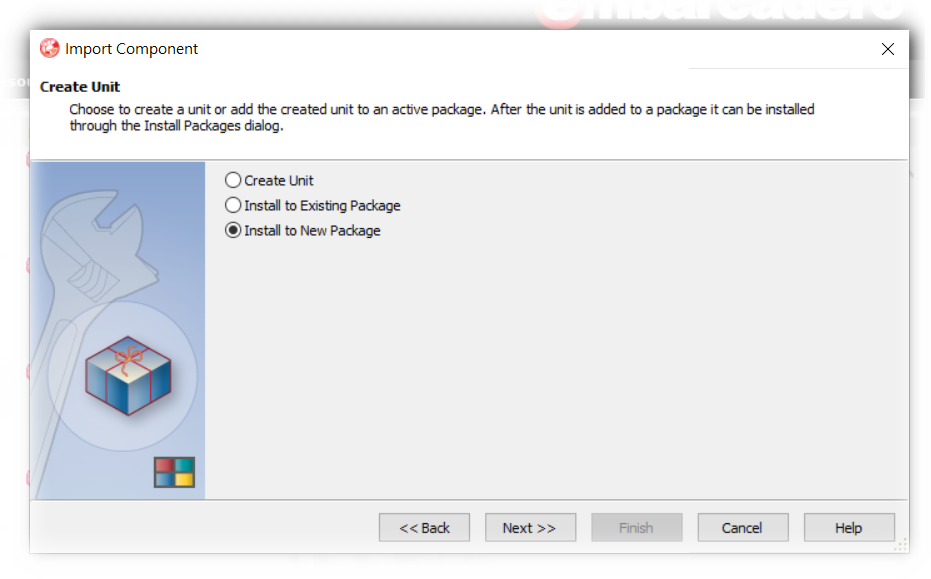
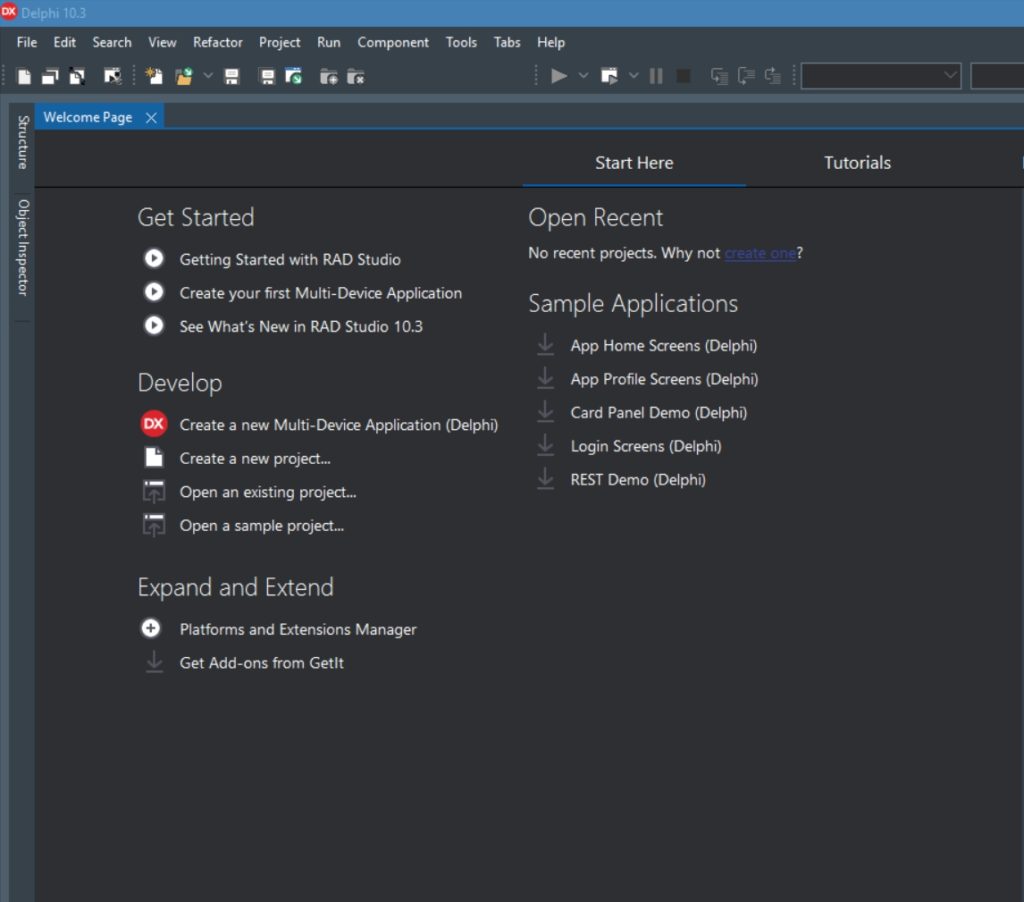
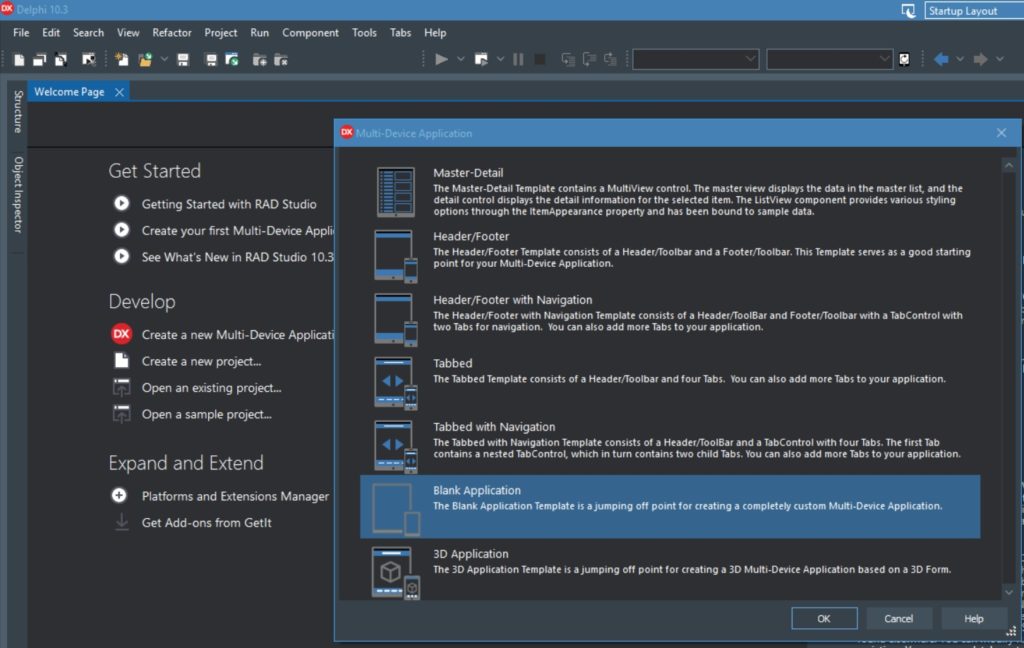
六、開啟Delphi 10.3 RIO,建立一個新的Multi-Device Application
七、在畫面上拖拉出Layout、Button、Memo
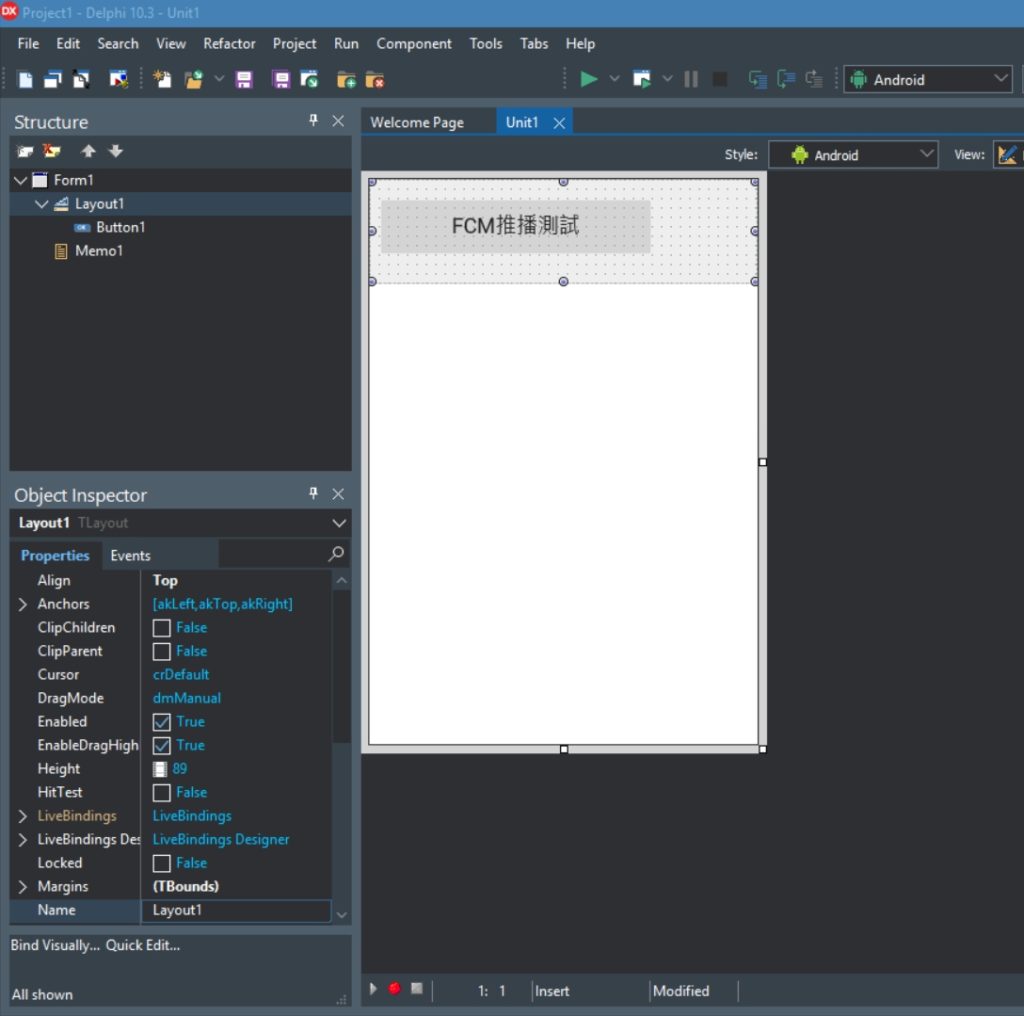
八、將Target Platforms切換成Android

九、專案的Options中,在 Entitlement List中,把Receive push notifications 設為true

十、Version Info中,package的名稱記得改成在firebase中的設定

十一、修改AndroidManifest.template.xml,最後一行加上
(一開始會找不到這個檔案,壽山是先把專案存檔後,先做一次的build,然後檔案就出現了)
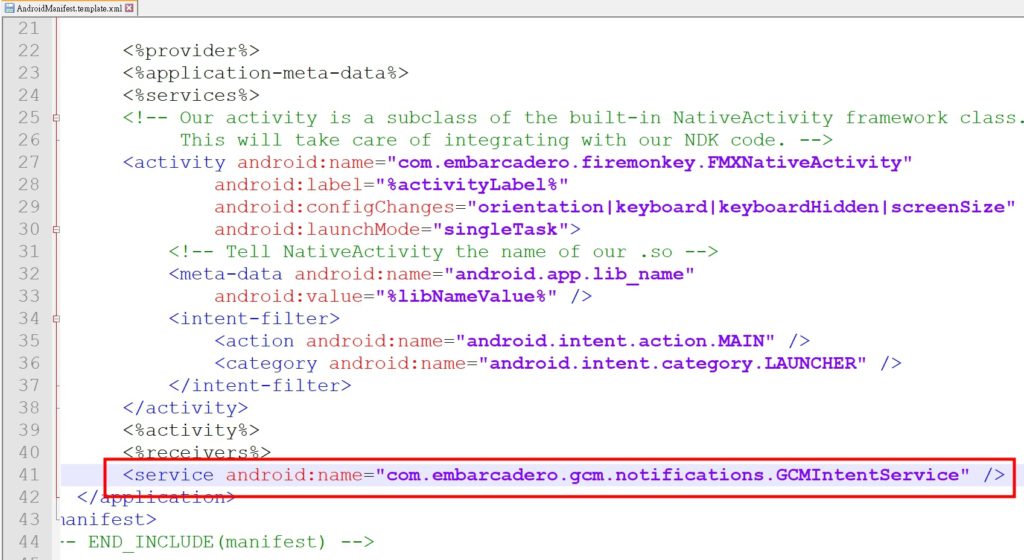
十二、加上相關程式碼
unit Unit1;

interface

// 1 新增use
// System.Notification, System.PushNotification, FMX.PushNotification.Android
uses
  System.SysUtils, System.Types, System.UITypes, System.Classes, System.Variants,
  FMX.Types, FMX.Controls, FMX.Forms, FMX.Graphics, FMX.Dialogs, FMX.StdCtrls,
  FMX.Controls.Presentation, FMX.ScrollBox, FMX.Memo, FMX.Layouts,
  System.Notification, System.PushNotification, FMX.PushNotification.Android;

type
  TForm1 = class(TForm)
    Layout1: TLayout;
    Memo1: TMemo;
    Button1: TButton;
    procedure FormCreate(Sender: TObject);
    procedure Button1Click(Sender: TObject);
  private
    { Private declarations }
  public
    { Public declarations }
    // 2 宣告相關的變數以及事件
    PushService: TPushService;
    ServiceConnection: TPushServiceConnection;
    DeviceId: string;
    DeviceToken: string;
    procedure DoServiceConnectionChange(Sender: TObject; PushChanges: TPushService.TChanges);
    procedure DoReceiveNotificationEvent(Sender: TObject; const ServiceNotification: TPushServiceNotification);
  end;

var
  Form1: TForm1;

implementation

{$R *.fmx}

procedure TForm1.Button1Click(Sender: TObject);
begin
  // 按下按鈕時打開 ServiceConnection
  ServiceConnection.Active := True;
end;

procedure TForm1.DoReceiveNotificationEvent(Sender: TObject;
  const ServiceNotification: TPushServiceNotification);
var
  MessageText: string;
  NotificationCenter: TNotificationCenter;
  Notification: TNotification;
begin
  // 取得通知的內容
  // 全部內容可以透過  ServiceNotification.DataObject.ToString看到
  MessageText := ServiceNotification.DataObject.GetValue('gcm.notification.body').Value;
  NotificationCenter := TNotificationCenter.Create(nil);
  try
    Notification := NotificationCenter.CreateNotification;
    try
      Notification.Name := MessageText;
      Notification.AlertBody := MessageText;
      Notification.Title := MessageText;
      Notification.EnableSound := False;
      NotificationCenter.PresentNotification(Notification);
    finally
      Notification.DisposeOf;
    end;
  finally
    NotificationCenter.DisposeOf;
  end;
end;

procedure TForm1.DoServiceConnectionChange(Sender: TObject;
  PushChanges: TPushService.TChanges);
begin
  // 取得裝置的ID跟TOKEN
  if TPushService.TChange.DeviceToken in PushChanges then
  begin
    DeviceId := PushService.DeviceIDValue[TPushService.TDeviceIDNames.DeviceId];
    DeviceToken := PushService.DeviceTokenValue[TPushService.TDeviceTokenNames.DeviceToken];
    Memo1.Lines.Add('設備ID = ' + DeviceId);
    Memo1.Lines.Add('設備TOKEN = ' + DeviceToken);
  end;
end;

procedure TForm1.FormCreate(Sender: TObject);
begin
  // 注意要把GCMAppID改成自己的
  PushService := TPushServiceManager.Instance.GetServiceByName(TPushService.TServiceNames.GCM);
  PushService.AppProps[TPushService.TAppPropNames.GCMAppID] := '220657168616';
  ServiceConnection := TPushServiceConnection.Create(PushService);
  ServiceConnection.OnChange := DoServiceConnectionChange;
  ServiceConnection.OnReceiveNotification := DoReceiveNotificationEvent;
end;

end.
十三、執行
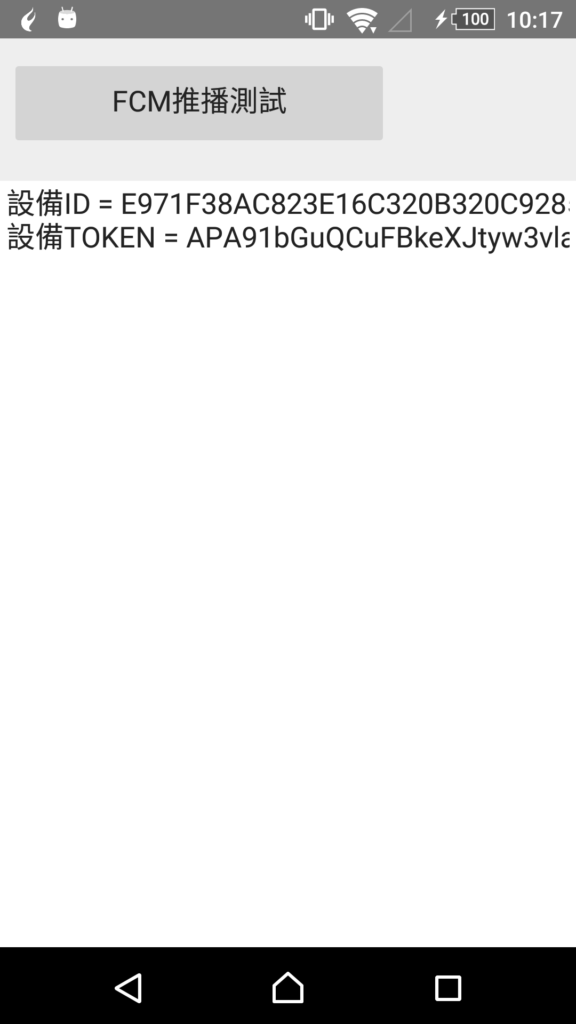
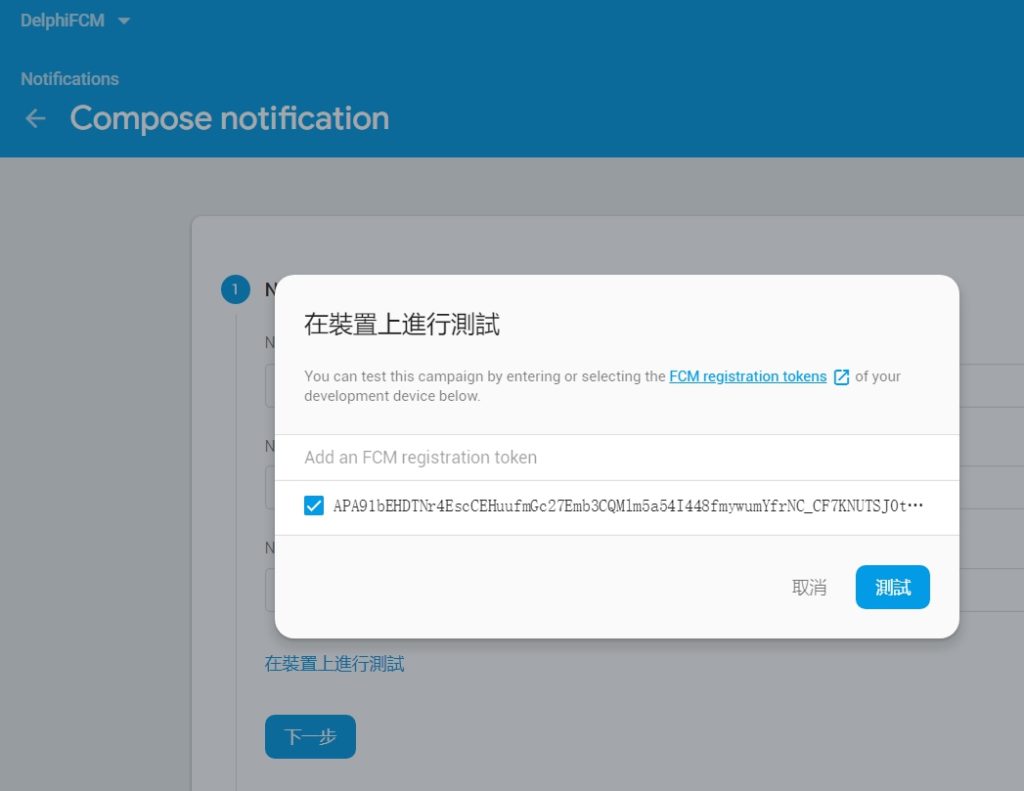
十四、記下TOKEN,回到Firebase中,選擇左邊功能列的Cloud Messageing,然後新增一筆測試訊息,將TOKEN值加入後按測試,就會收到推播訊息了。
